
My First Original Witbier v1: 10.5 L Brew, RAPT Pill Gravity, and Kegging
A 10.5 L attempt at my first original Hoegaarden-inspired Witbier: RAPT Pill fermentation tracking, an independent EOF decision, and a few unexpected mistakes—a yeast mix-up, lower-than-assumed Saaz alpha acids, and a priming dose consistent with about 2.8 instead of the planned 2.4 CO2 volumes. Lessons for the next batch.
This is the real 10.5 L brew of my Brewfather-designed Witbier v1 recipe. But I later realized I had accidentally pitched New England yeast instead of Wit yeast. The Saaz package also had a different alpha-acid percentage from my design assumption. And the priming sugar dose suggests I had calculated for about 2.8 volumes of CO₂, not the planned 2.4. Not quite the Hoegaarden-inspired repeatable recipe I had in mind! I am keeping the measurements and tasting notes as a real-world experiment before trying the intended design again.
At a glance
After several BrewArt kits and a community Hoegaarden clone, I wanted to go one step further: design my own extract recipe and actually brew it. I had already worked through the malt extract, color, original gravity, and hop bitterness in Brewfather. This time I scaled that plan to 10.5 L (2.77 US gal), brewed it on the stove, and tracked the fermentation in a BeerDroid with a RAPT Pill.
This is not the previous 10 L BrewArt clone batch. It is the actual brewing follow-up to my Brewfather Witbier v1 recipe design. The finished, conditioned tasting has not been recorded yet.
1. From a 10 L design to a 10.5 L batch
▶ Read the original Brewfather Witbier v1 recipe-design article
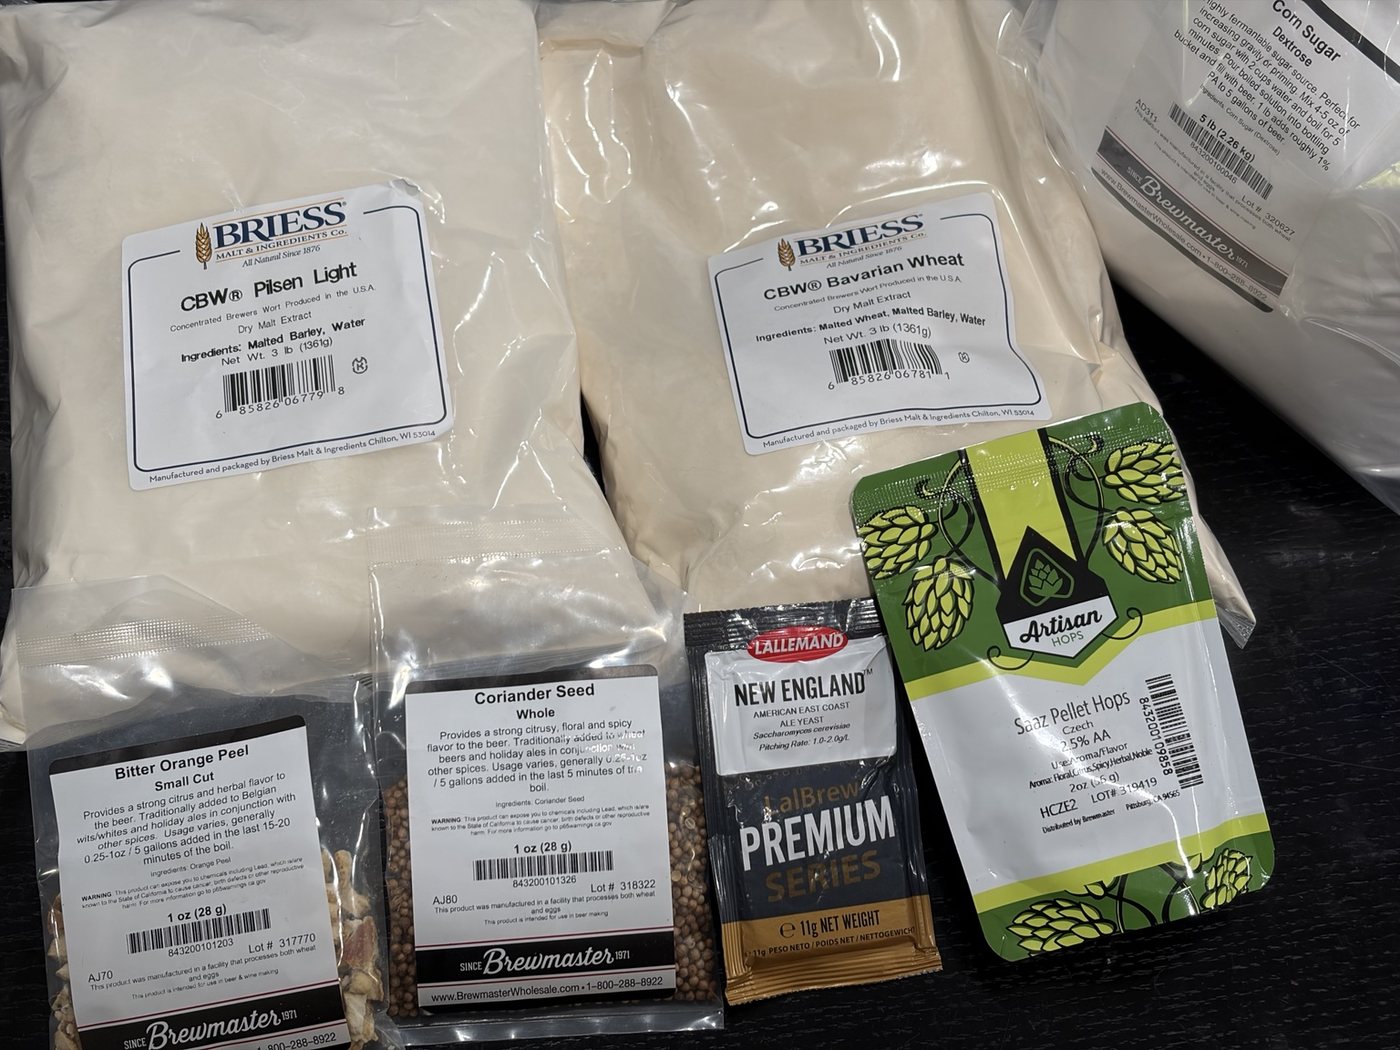
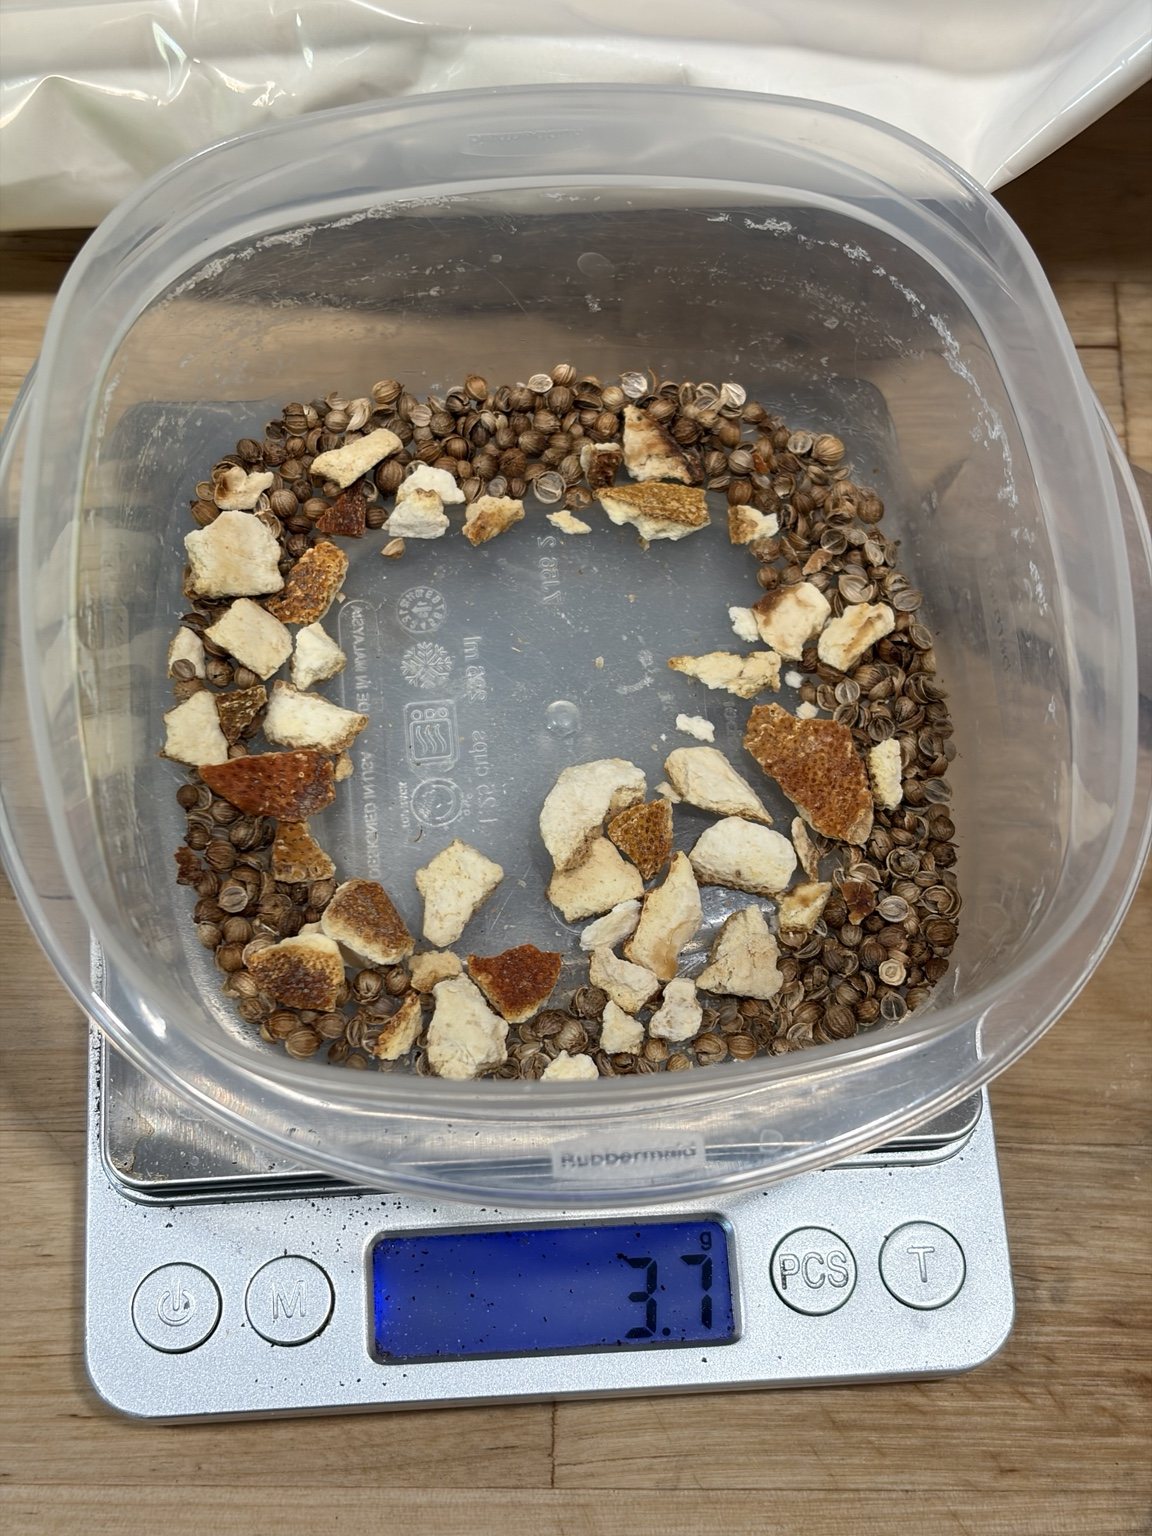
The original recipe used 900 g Bavarian Wheat DME and 450 g Pilsen Light DME for 10 L. For this batch I planned 10.5 L and scaled the main ingredient amounts by 1.05. I weighed out the spices to match the new batch size.
| Ingredient | Original 10 L design | 10.5 L batch |
|---|---|---|
| Bavarian Wheat DME | 900 g | 945 g scaled target |
| Pilsen Light DME | 450 g | 472.5 g scaled target |
| Czech Saaz | 10 g / 60 min | 10.5 g target; photo reads 10.6 g |
| Whole coriander seed | 2.0 g / final 5 min | 2.1 g |
| Bitter orange peel | 3.5 g / final 5 min | about 3.7 g |
| Yeast | Planned: LalBrew Wit | Accidentally pitched New England instead of Wit |
Brewfather predicted OG 1.046, FG 1.008, ABV ~5.0%, IBU ~12, color 5.7 EBC, and a carbonation target of 2.4 vol CO₂ for the original 10 L design. These were targets. I accidentally pitched the wrong yeast. I intended to use LalBrew Wit, but grabbed the LalBrew New England packet (11 g) I had bought for a future hazy beer. This was a genuine mix-up, not a deliberate recipe modification. I only realized afterwards. I will evaluate its effect when I taste the finished beer.
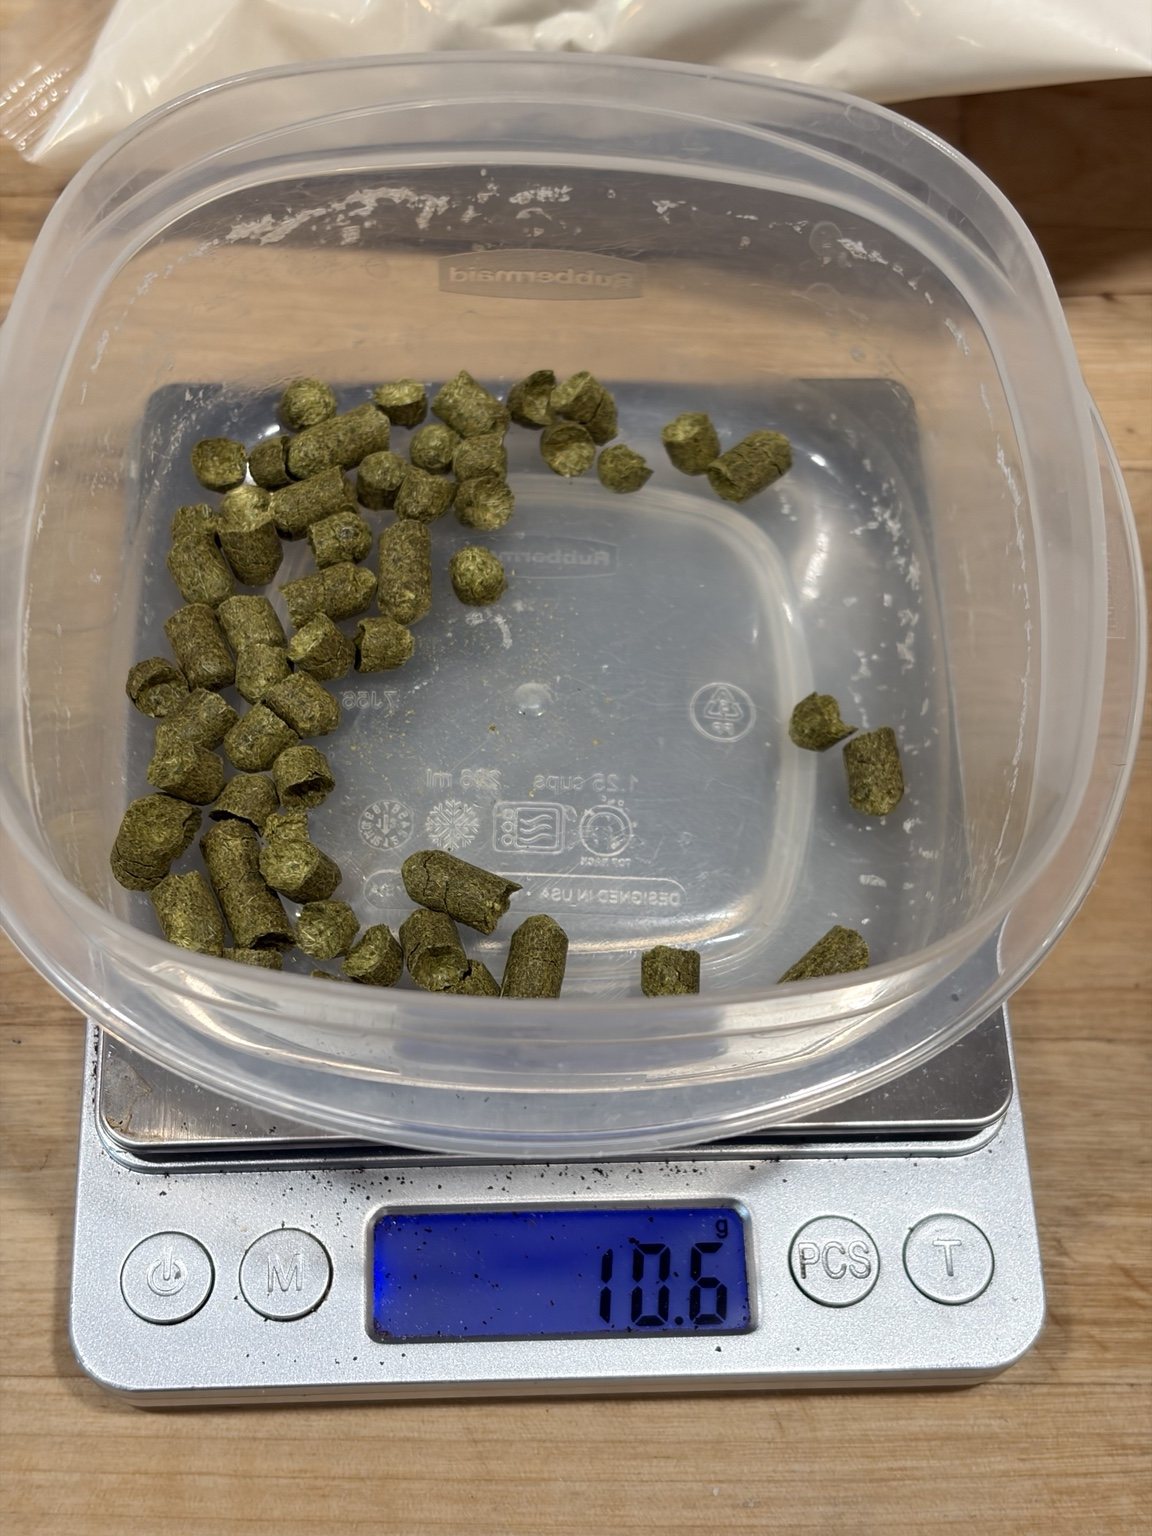
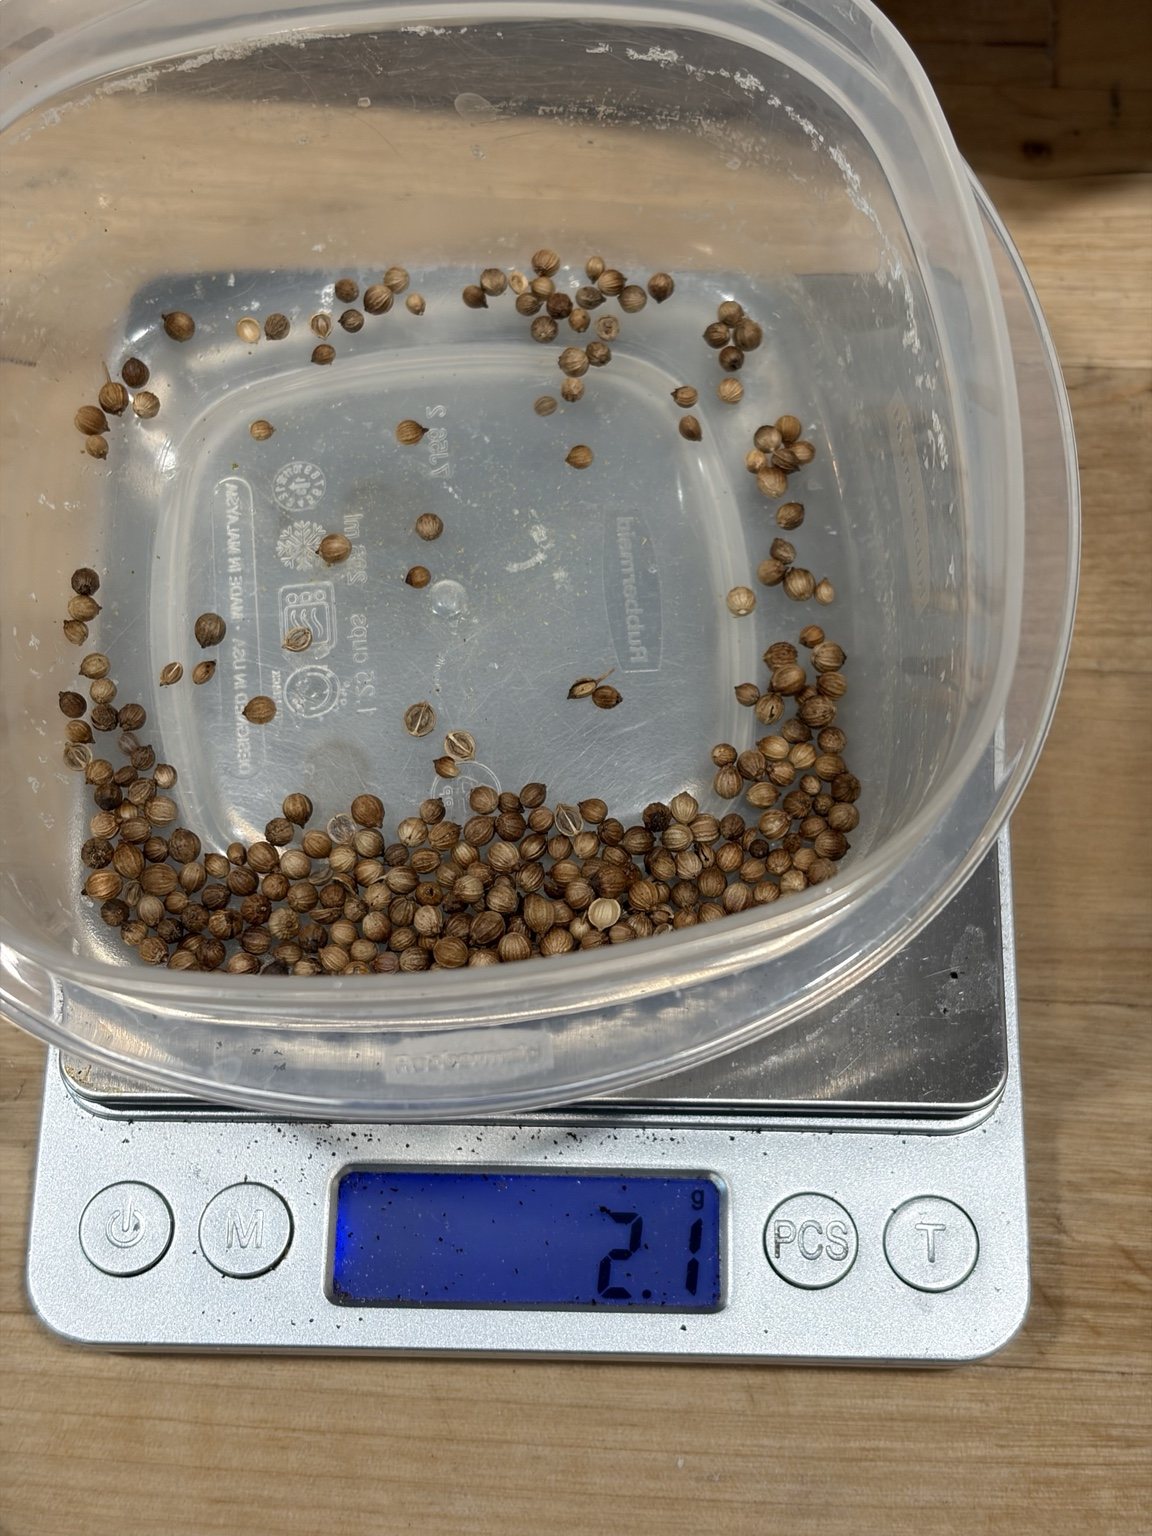
The recipe design used an assumed 4.5% AA for Saaz to estimate ~12 IBU. The delivered package was labeled 2.5% AA. With everything else held constant, the alpha-acid contribution would scale to about 56% of the original assumption. This is not a laboratory measurement of the finished beer’s IBU, but it may explain part of the mild bitterness I tasted later.
2. Dissolving DME and boiling the wort
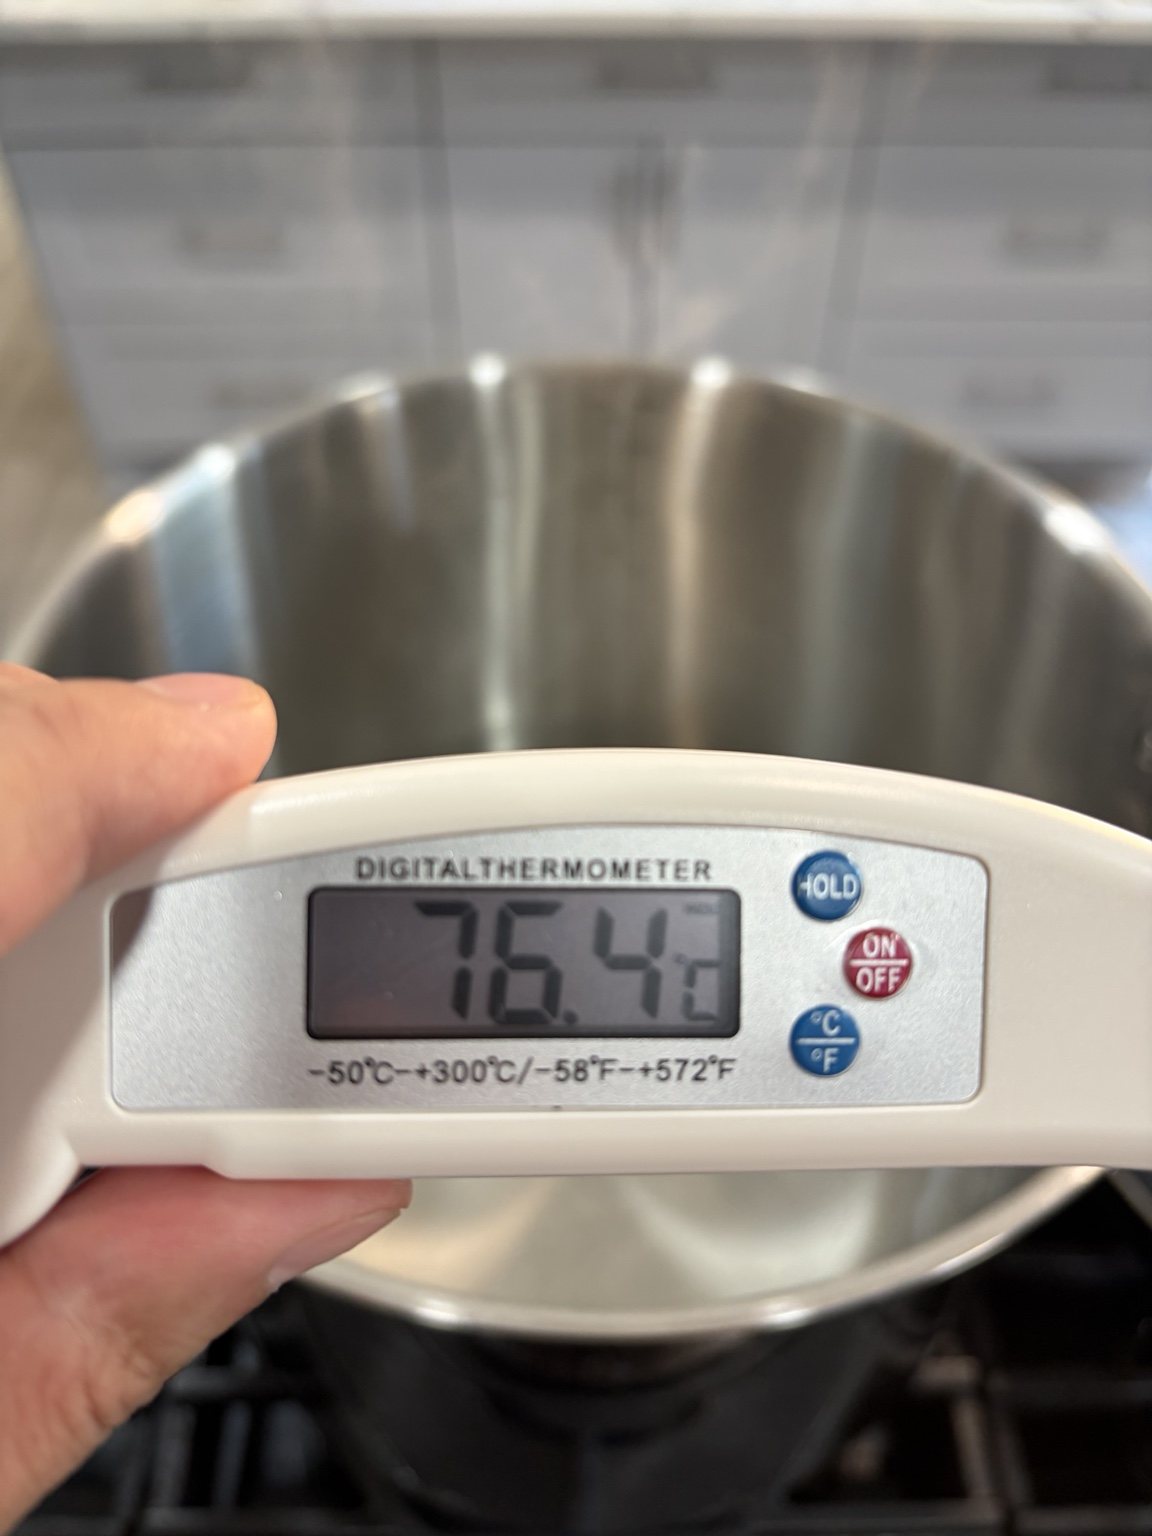
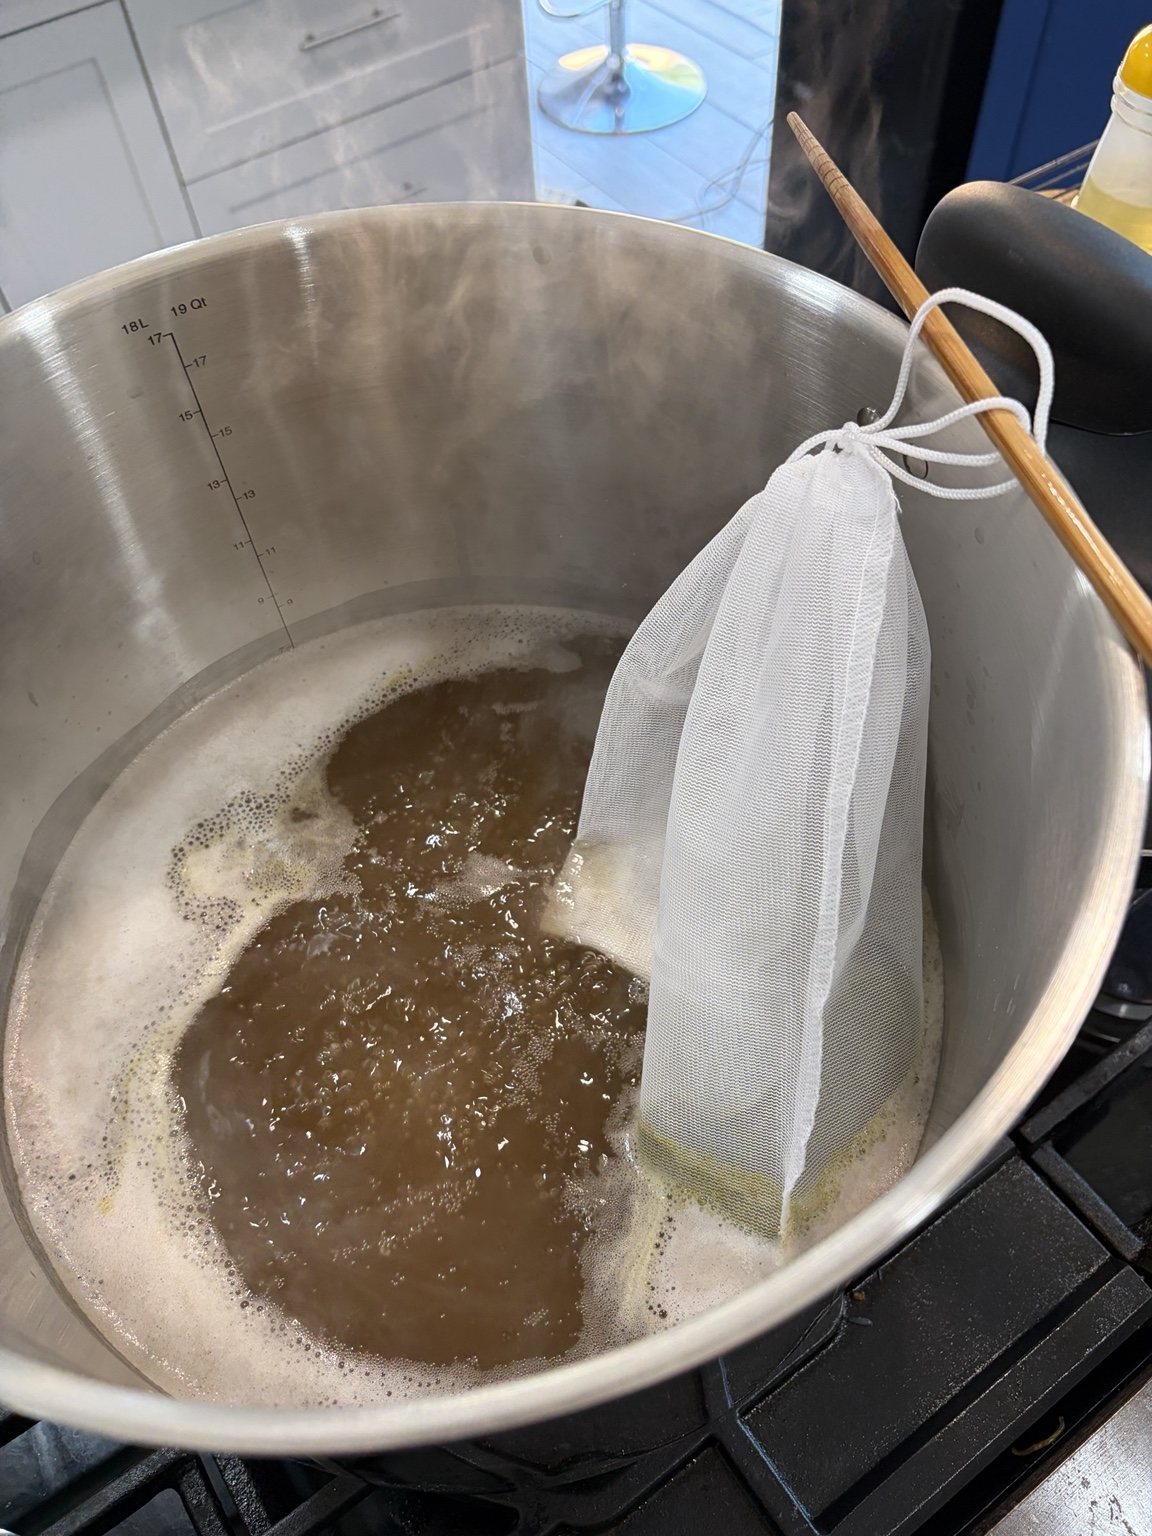
I heated water in a large kettle. One preparation photo shows 76.4°C (169.5°F). The wheat and Pilsen dry malt extracts were weighed out and added gradually, changing the mixture from a light, powdery surface into brown wort.
Rather than dumping in all the DME at once, I dissolved it in two additions. A large addition of dry extract can clump on the surface or sink to the bottom and scorch. Adding it in stages while stirring makes it easier to dissolve evenly.
There is also a reason to favor staged extract additions in a pale Witbier: adding part of the extract later, instead of boiling the full concentration for the entire period, can limit heat-related darkening. I did not run a color-comparison test in this batch. I had already discussed the staged DME schedule together with the Brewfather assumptions before this brew. The plan was to use a Pilsen Light DME wort for the 60-minute Saaz boil, then dissolve the remaining extract later, taking the changing wort concentration and its effect on hop utilization into account. I followed that two-stage approach for the 10.5 L batch; the split addition itself was intentional, not an adjustment I forgot to model. The separate mistake was leaving the Saaz alpha-acid assumption at 4.5% instead of updating it to the 2.5% shown on the purchased hops, which may have reduced the bitterness.
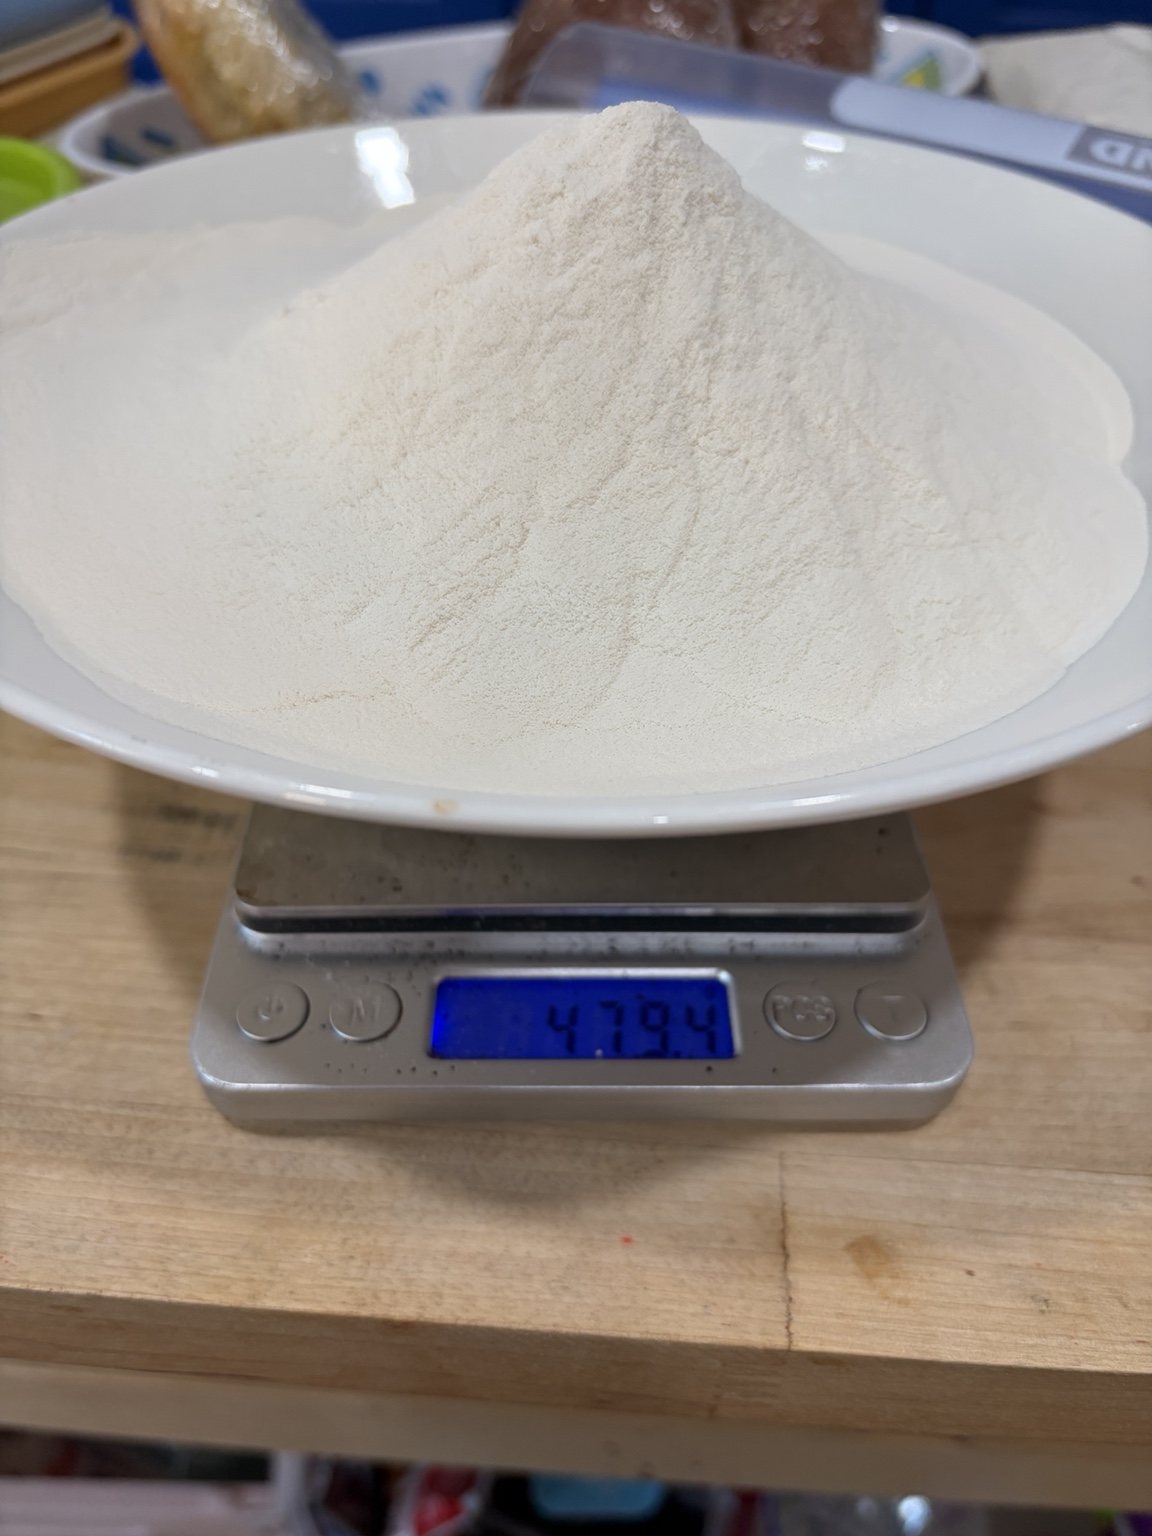
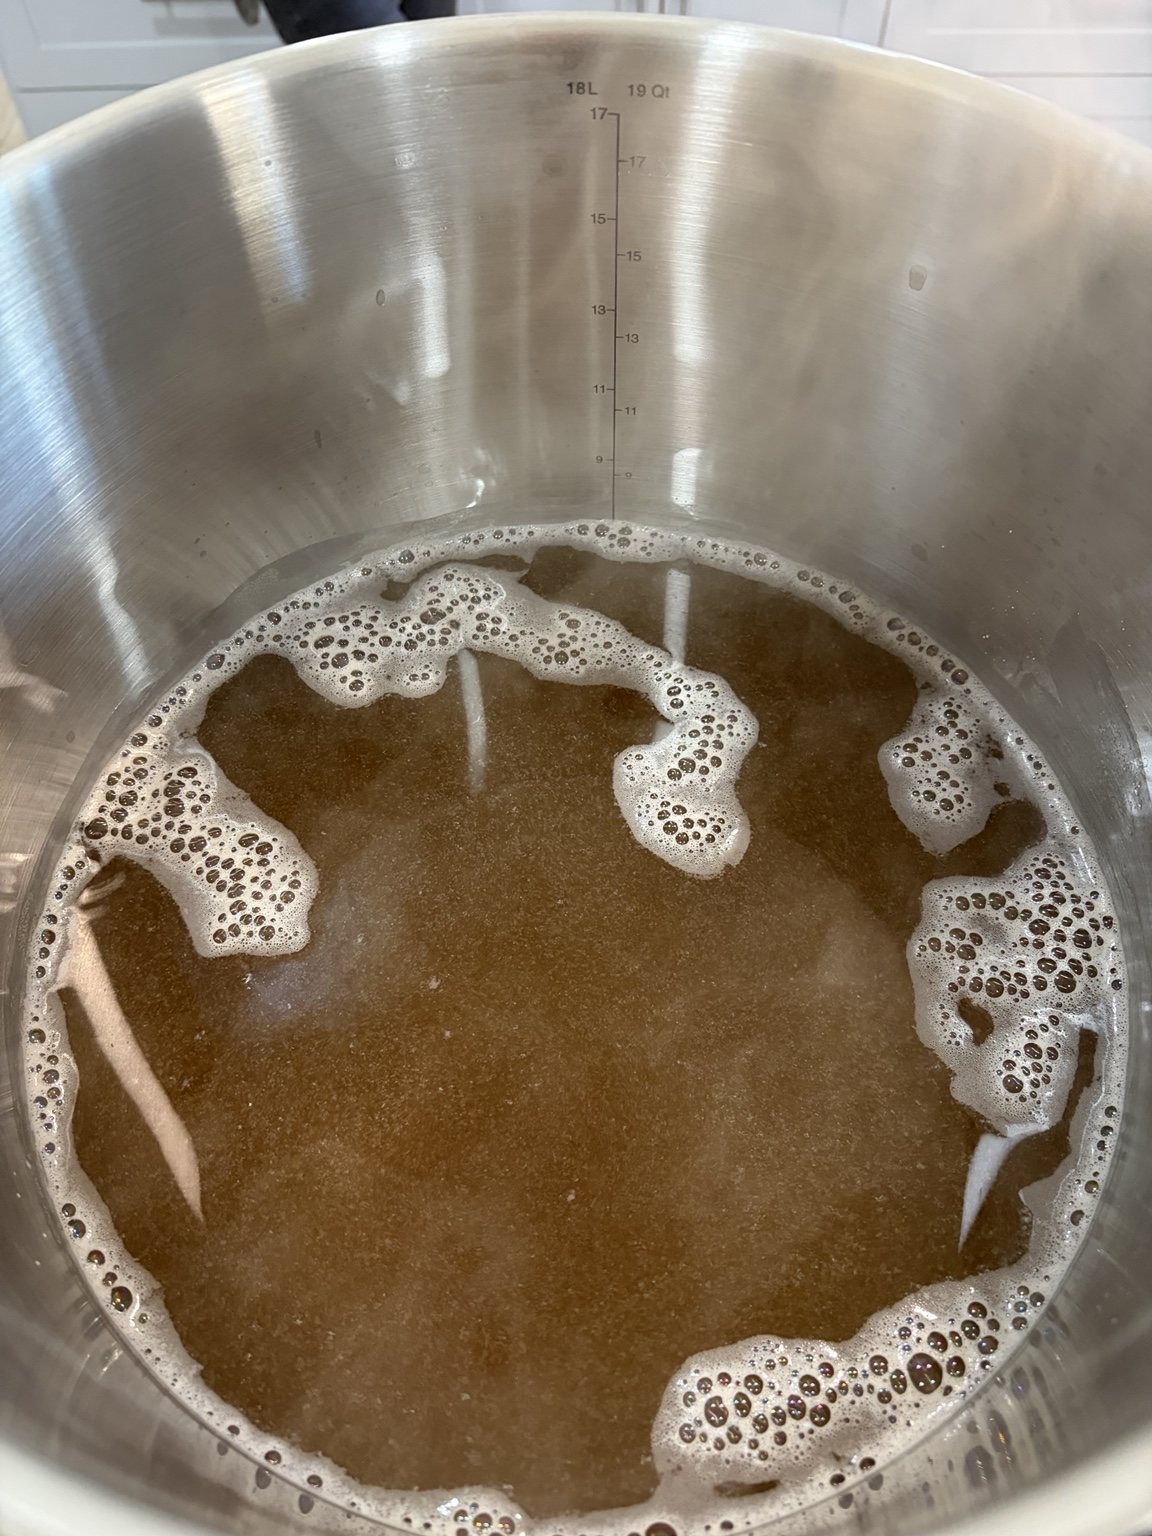
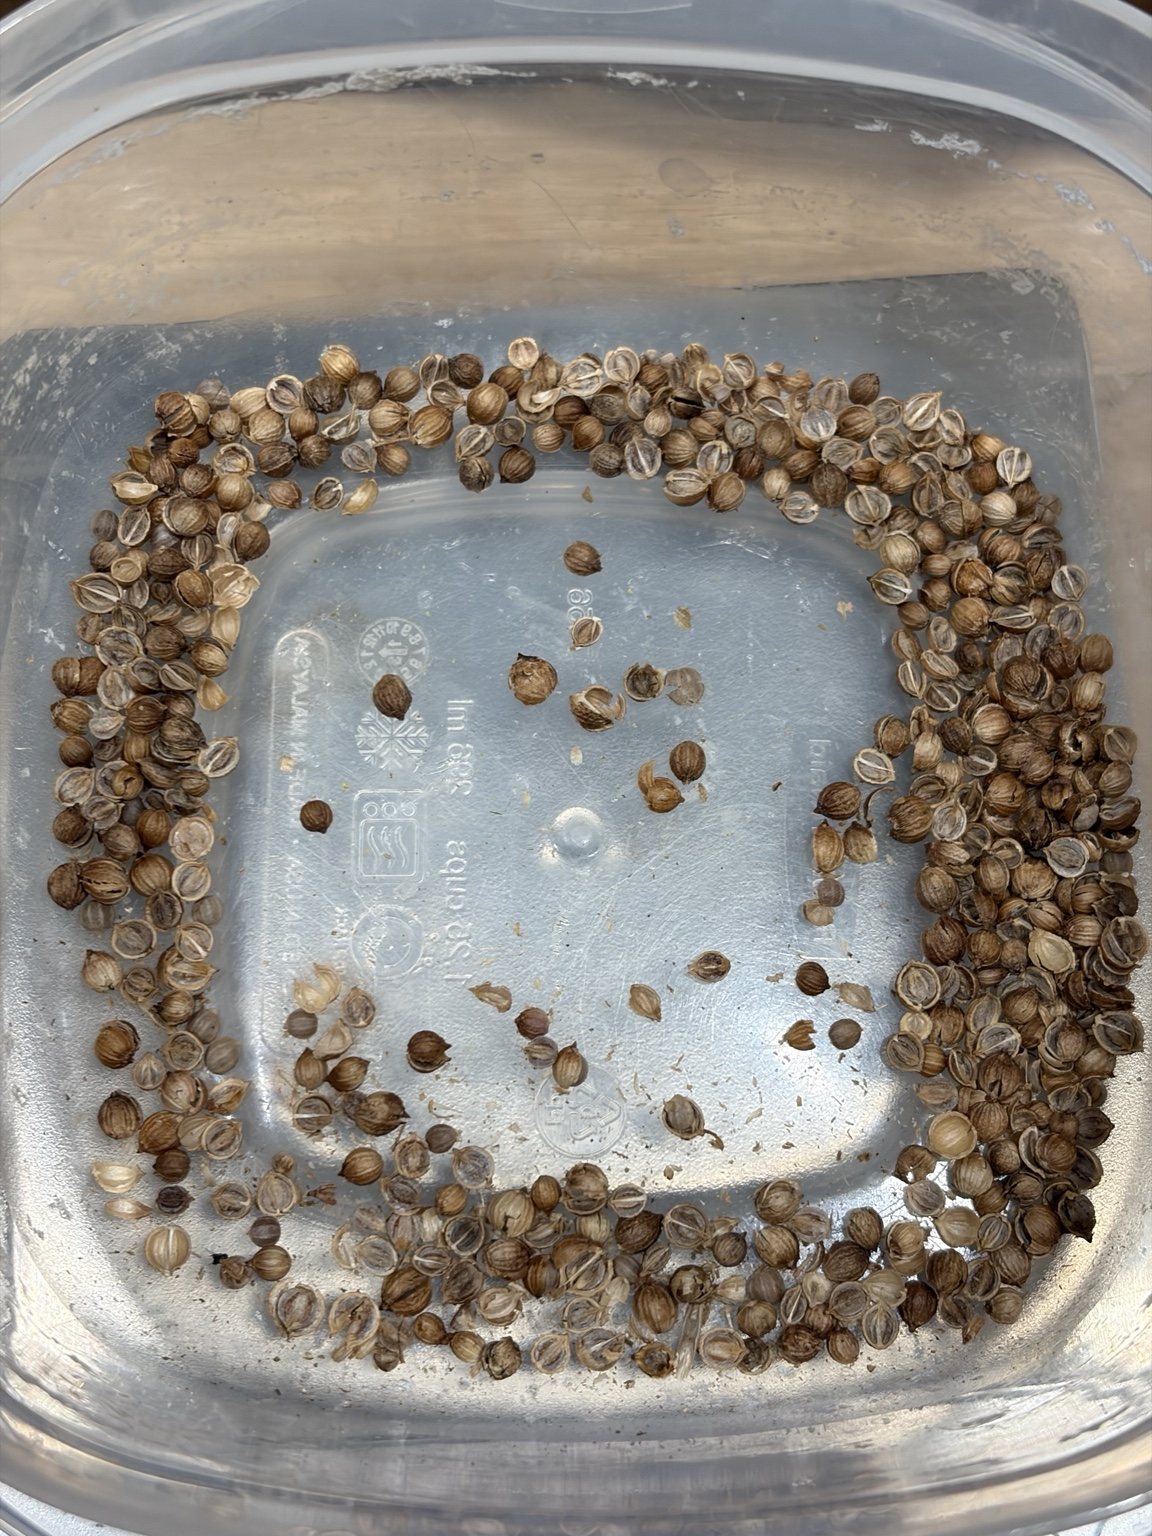
Saaz went into the 60-minute boil for bitterness. I added the crushed coriander and bitter orange peel with about 5 minutes remaining, using a mesh bag to make it easier to remove the spices. This separates the main bittering addition from the late spice addition.
3. Cooling the wort to 21.4°C before pitching
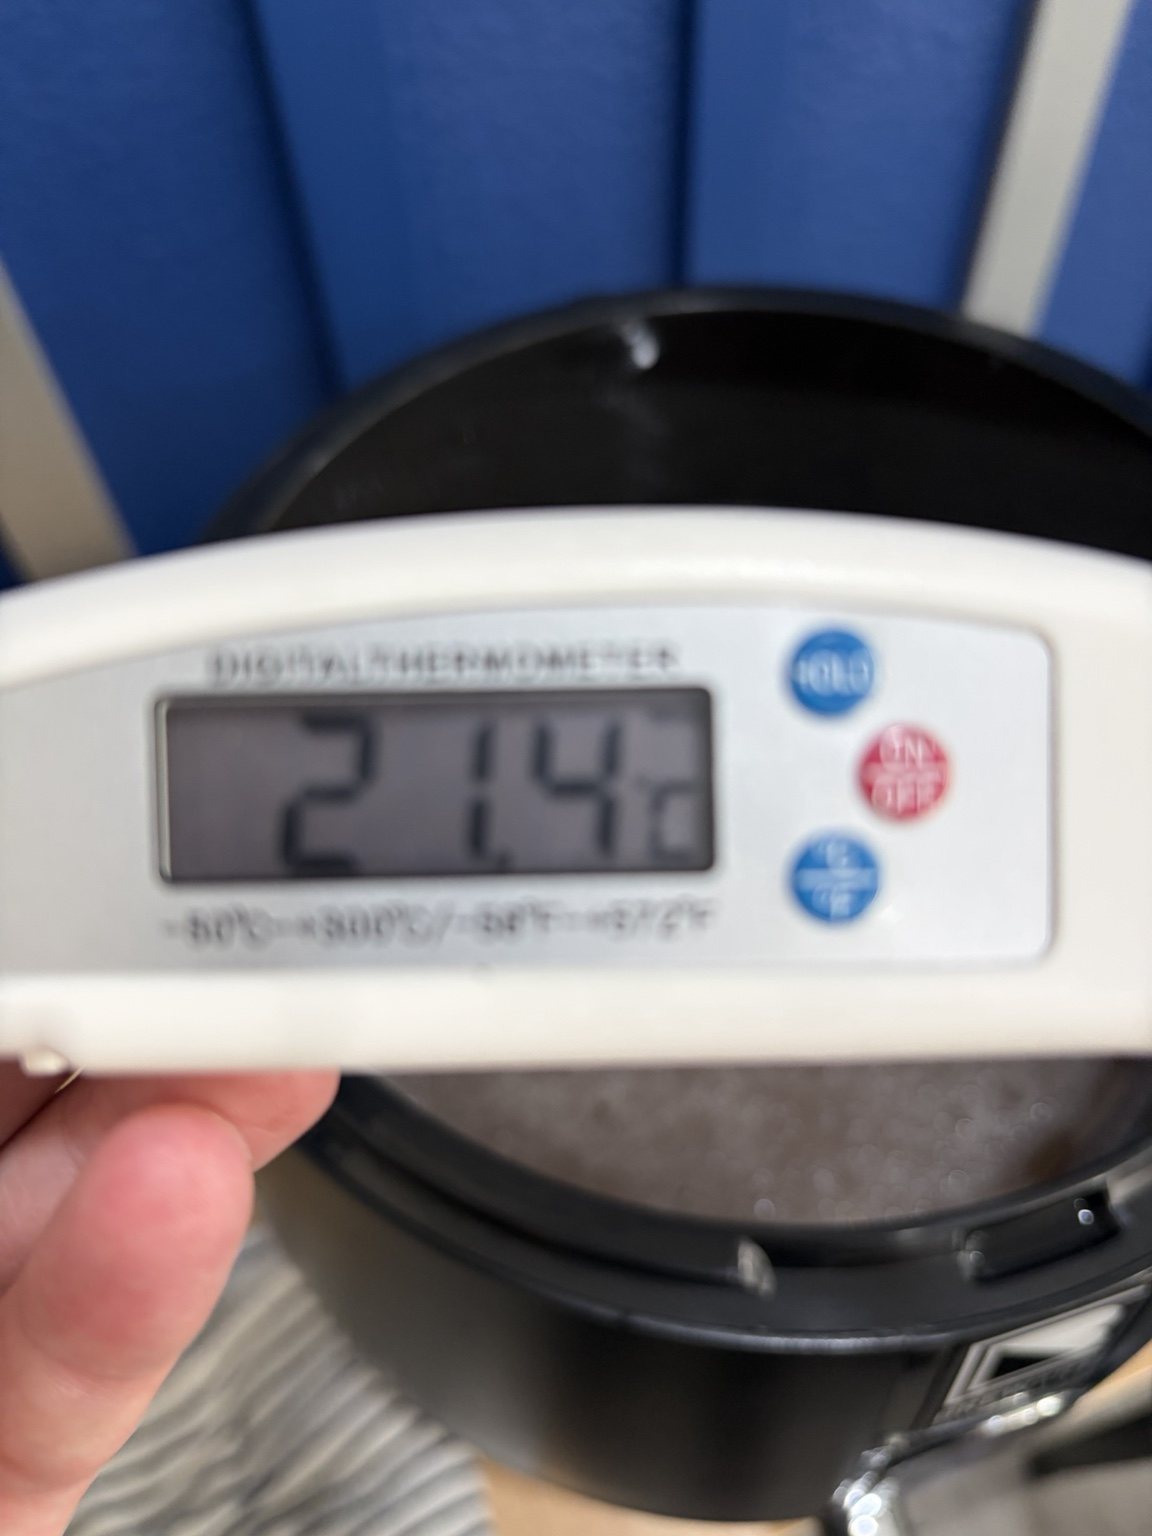
After the boil, I chilled the pot in an ice bath. Before pitching the yeast, the thermometer showed 21.4°C (70.5°F). The equipment contacting the cooled wort was cleaned and sanitized for fermentation and transfer.
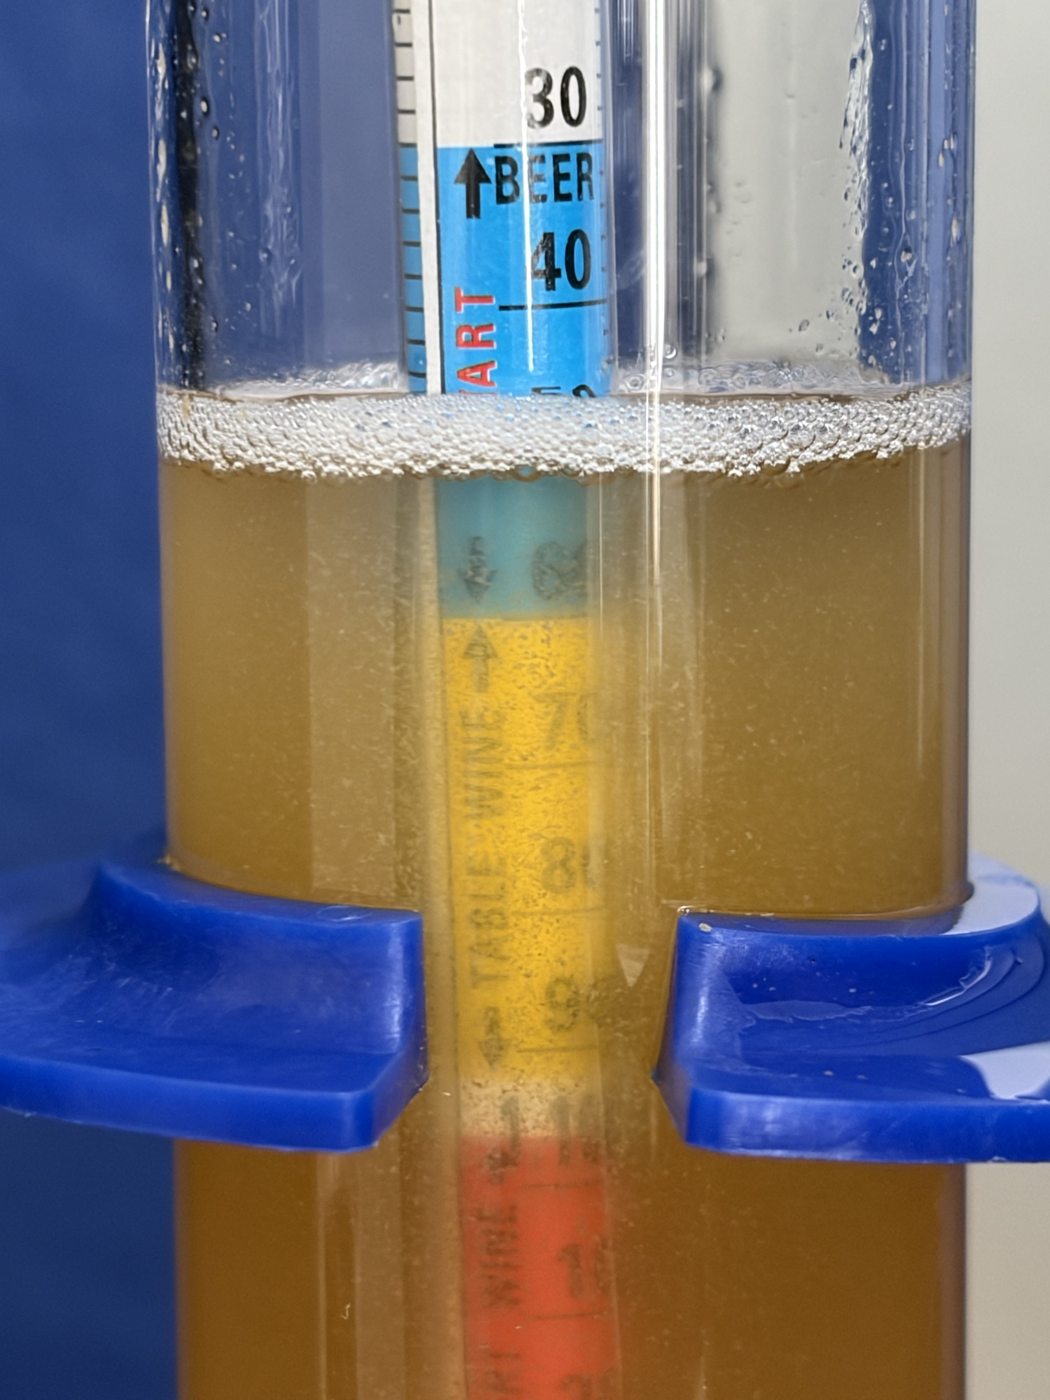
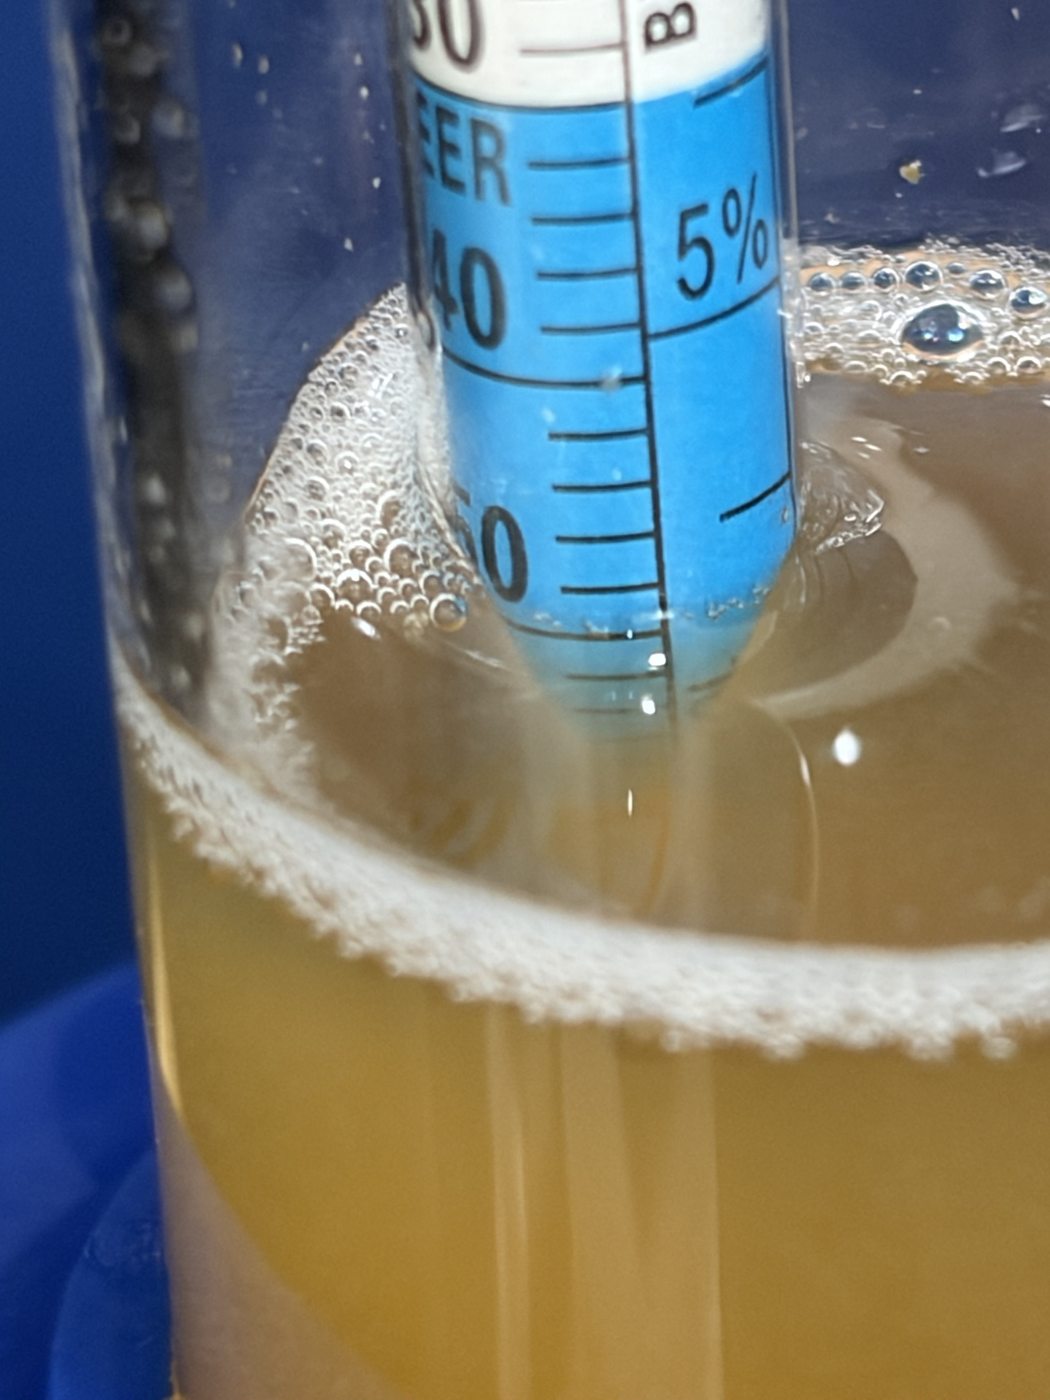
I did measure OG with a regular hydrometer. The brew-day photos below show a reading in roughly the 1.05x range. Foam obscures the meniscus, so I am not claiming a precise third decimal place. These are real OG photos, separate from the 1.046 Brewfather prediction.
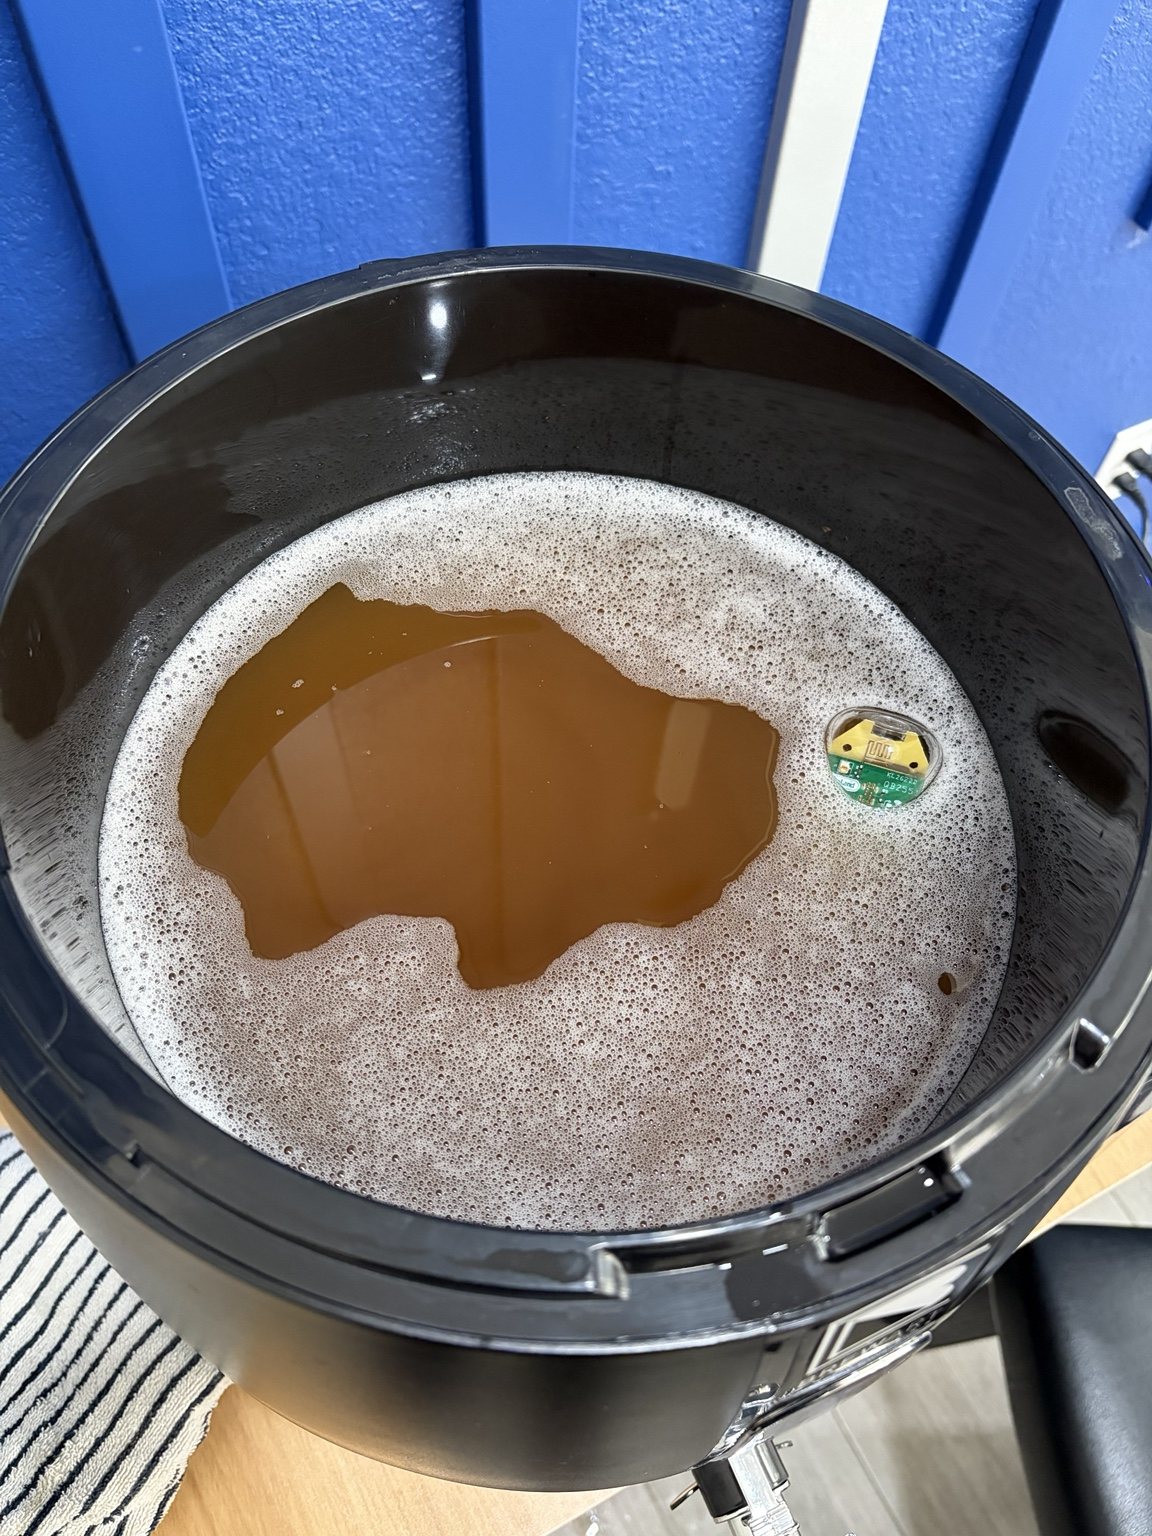
I added the RAPT Pill to the BeerDroid to track gravity and liquid temperature. The surface foam and the floating Pill in the photo document the physical setup; foam by itself is not a quantitative fermentation measurement.
Pitching LalBrew New England yeast into the wort.
4. BeerDroid settings: 21°C propagation, then 17°C fermentation
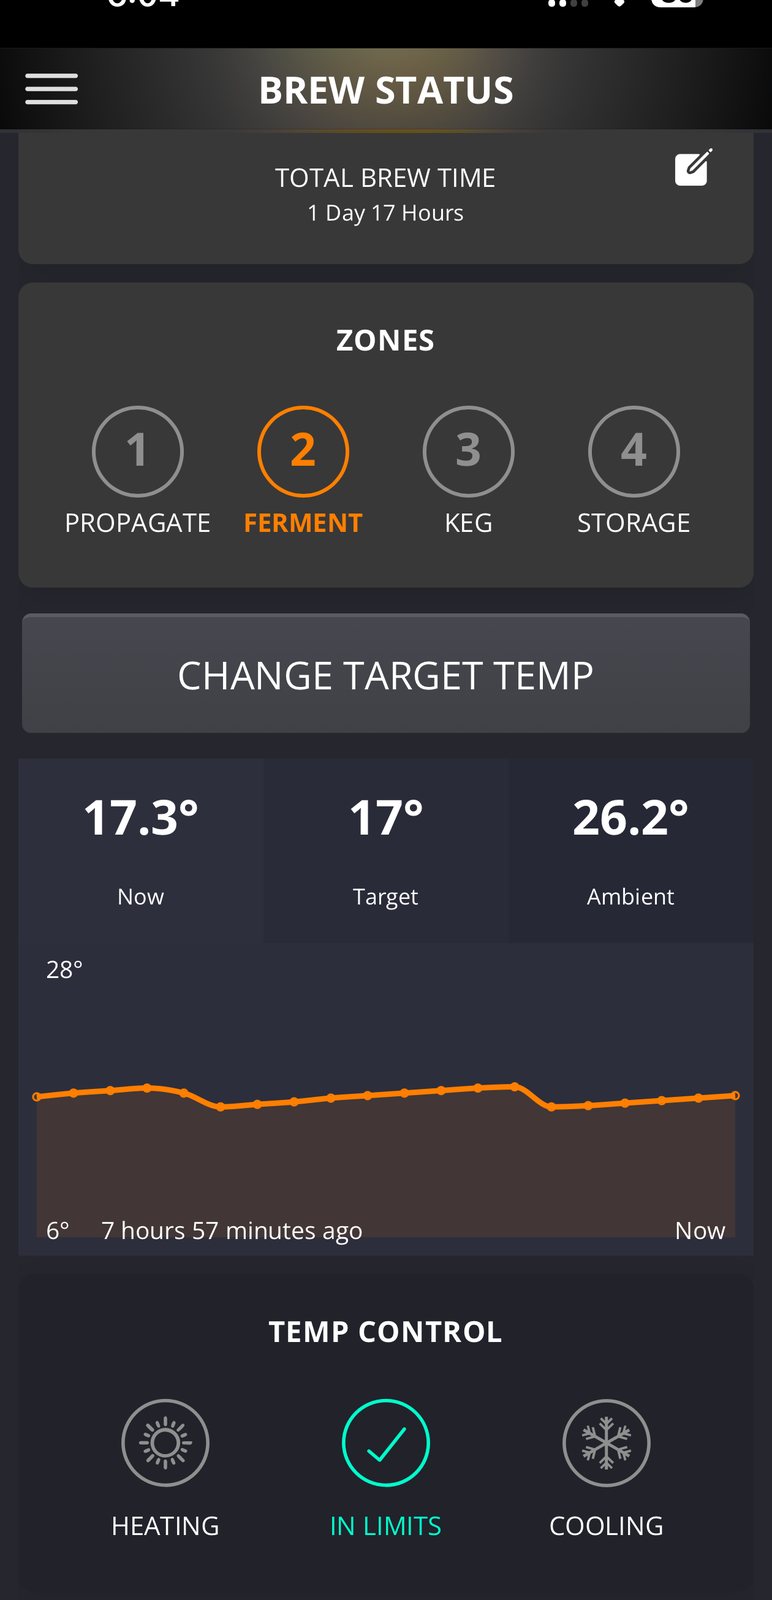
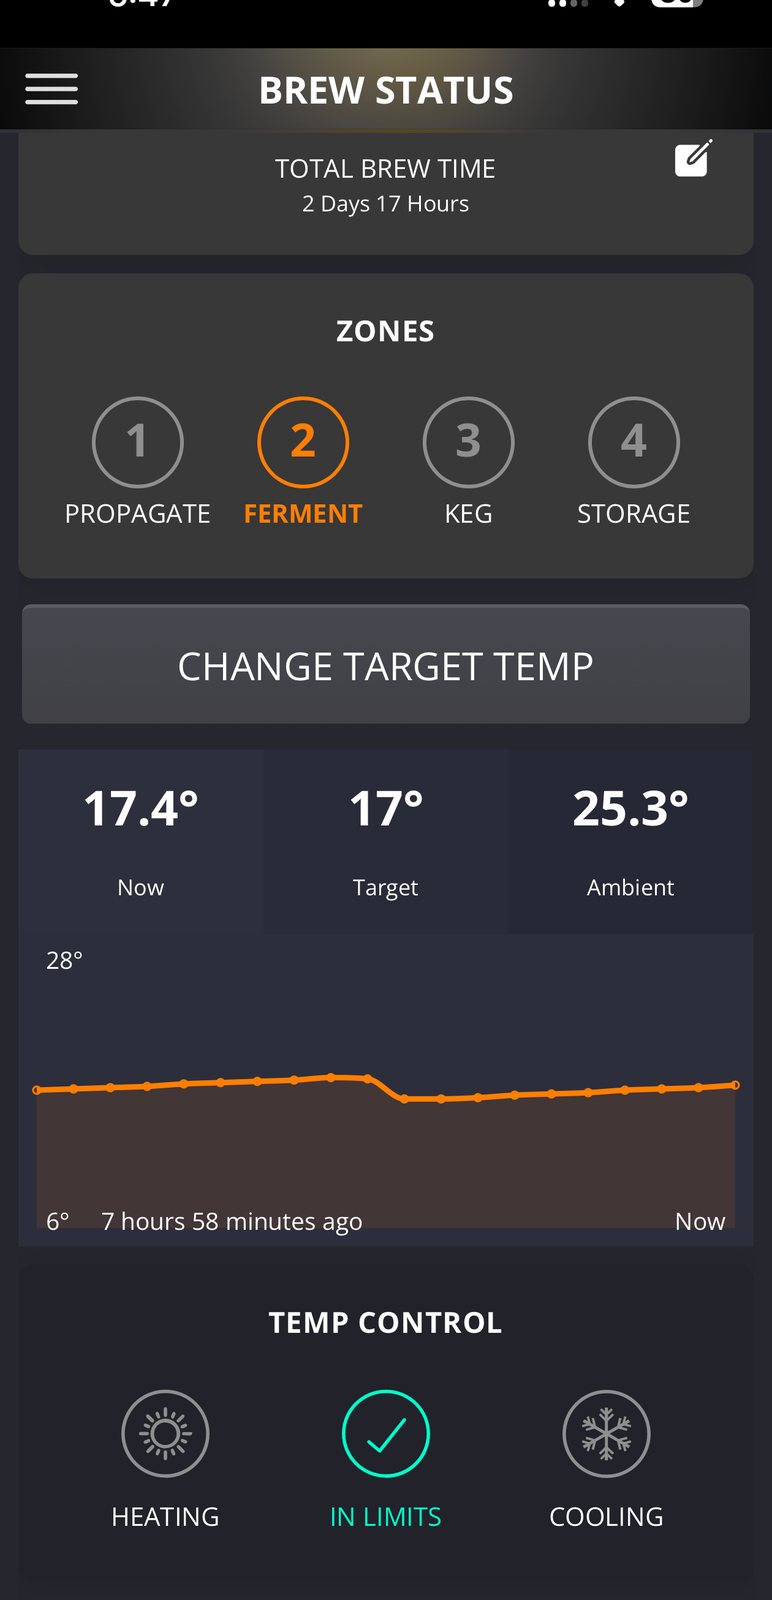
I programmed 21°C (70°F) for the propagation stage, followed by 17°C (63°F) for fermentation. This differs from the initial recipe-design assumption of 19°C fermentation. Even when ambient readings were 25–26°C (77–79°F), the BeerDroid display stayed close to the 17°C target.
One important caveat: Lallemand lists a recommended fermentation range of 18–25°C (64–77°F) for the LalBrew New England yeast I actually used. My 17°C setpoint was therefore 1°C below its published lower limit. This may have affected fermentation speed or flavor, but because I did not run a controlled temperature comparison, I cannot attribute the results to that one variable. Fermentation temperature is worth testing in a future batch.
5. Watching fermentation begin and accelerate
I filmed the BeerDroid window from the start of fermentation. I used the RAPT Pill gravity trend alongside the visible movement rather than judging fermentation from bubbles alone.
This first clip shows the viewing window shortly after pitching, at the start of fermentation.
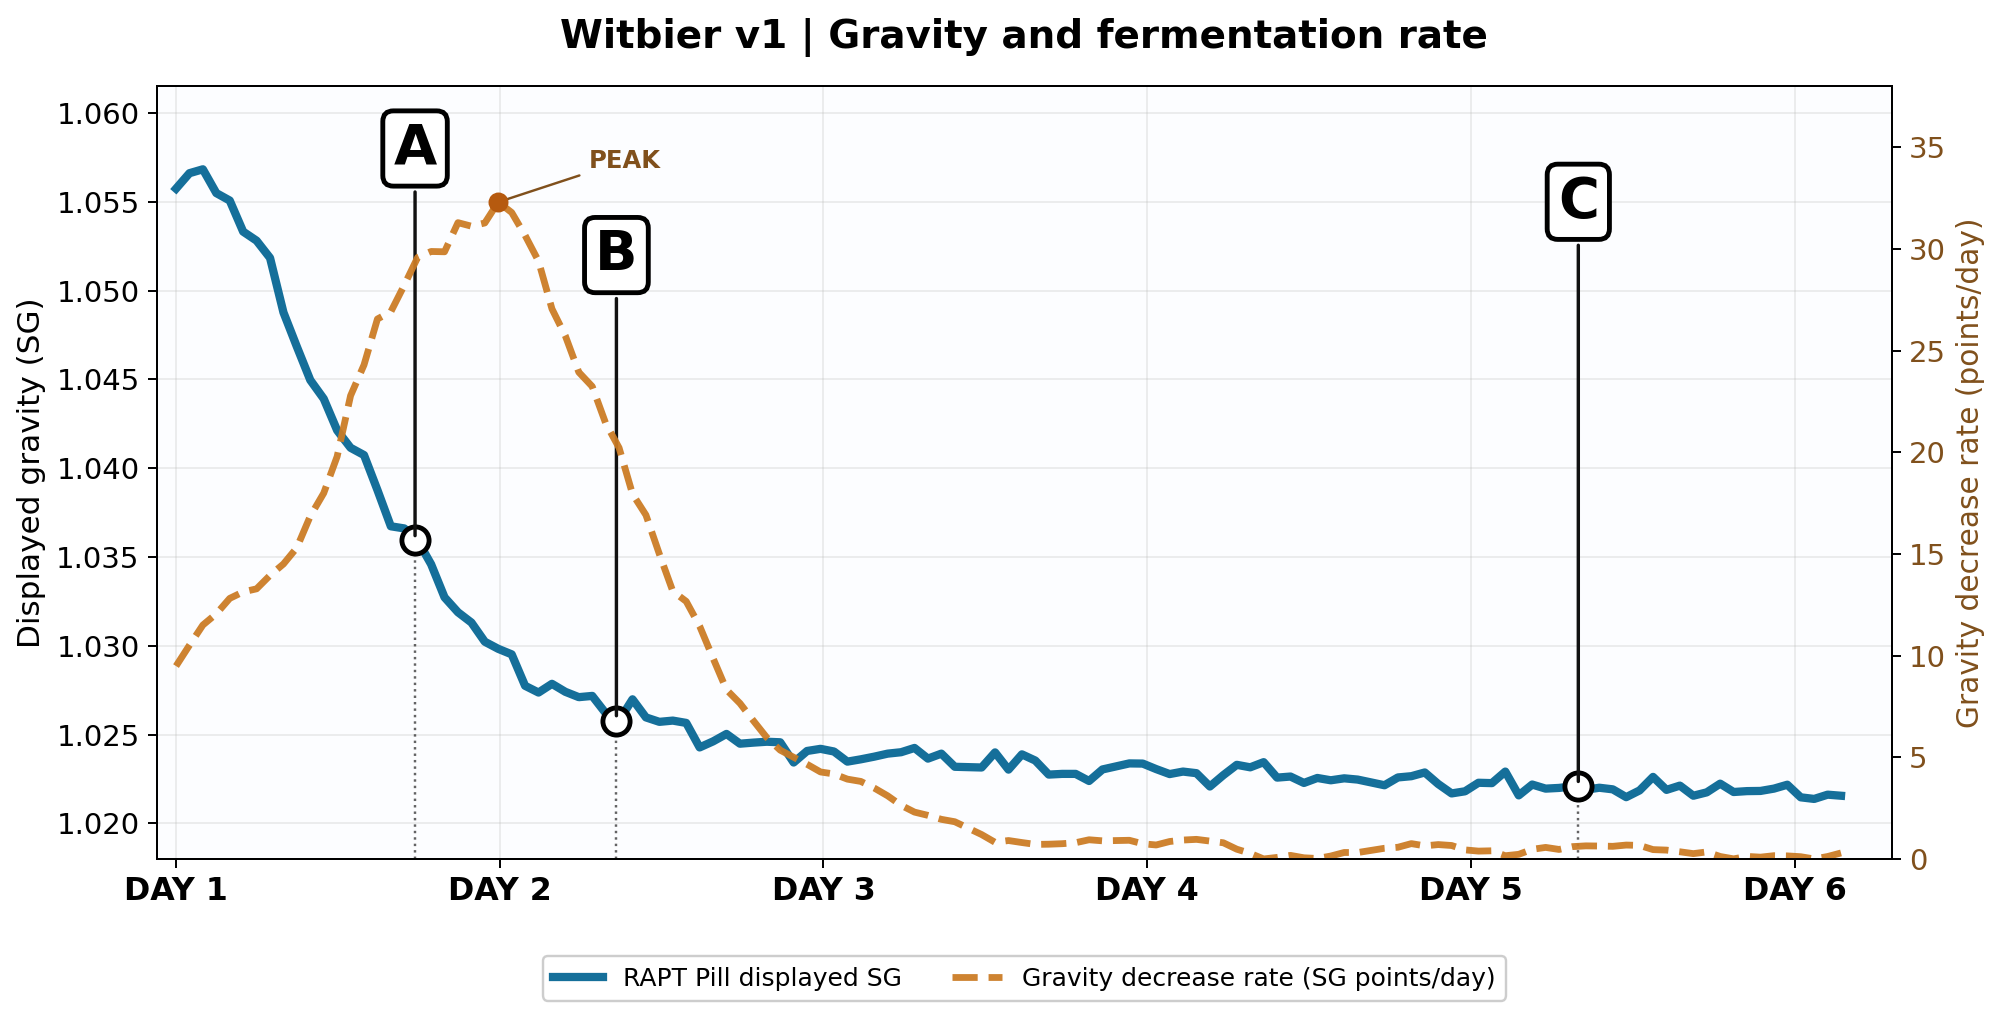
Gravity fell rapidly early on, then slowed. The following graph and clips show that change together.
6. RAPT Pill data from DAY 1 through DAY 6
I organized 122 RAPT Pill readings after excluding two implausible values following removal from the fermenter. Gravity fell quickly at first and then approached a near-flat trend.
To show how fermentation developed, I marked A (DAY 1, before peak rate), B (DAY 2, after peak), and C (DAY 5, late stage) for the actual viewing-window clips. Blue shows gravity; the orange dashed line shows gravity decrease rate (SG points/day), a proxy for how rapidly fermentable sugars were being consumed.
Real fermentation clips matched to A, B and C on the graph
| RAPT day | Displayed SG (first → last) | Interpretation |
|---|---|---|
| DAY 1 | 1.05574 → 1.02983 | Fastest gravity drop |
| DAY 2 | 1.02952 → 1.02420 | Still dropping but slowing |
| DAY 3 | 1.02405 → 1.02337 | Small decline |
| DAY 4 | 1.02306 → 1.02181 | Small decline with variation |
| DAY 5 | 1.02229 → 1.02218 | Near-flat readings |
| DAY 6 | 1.02147 → 1.02156 | Final readings remain near-stable |
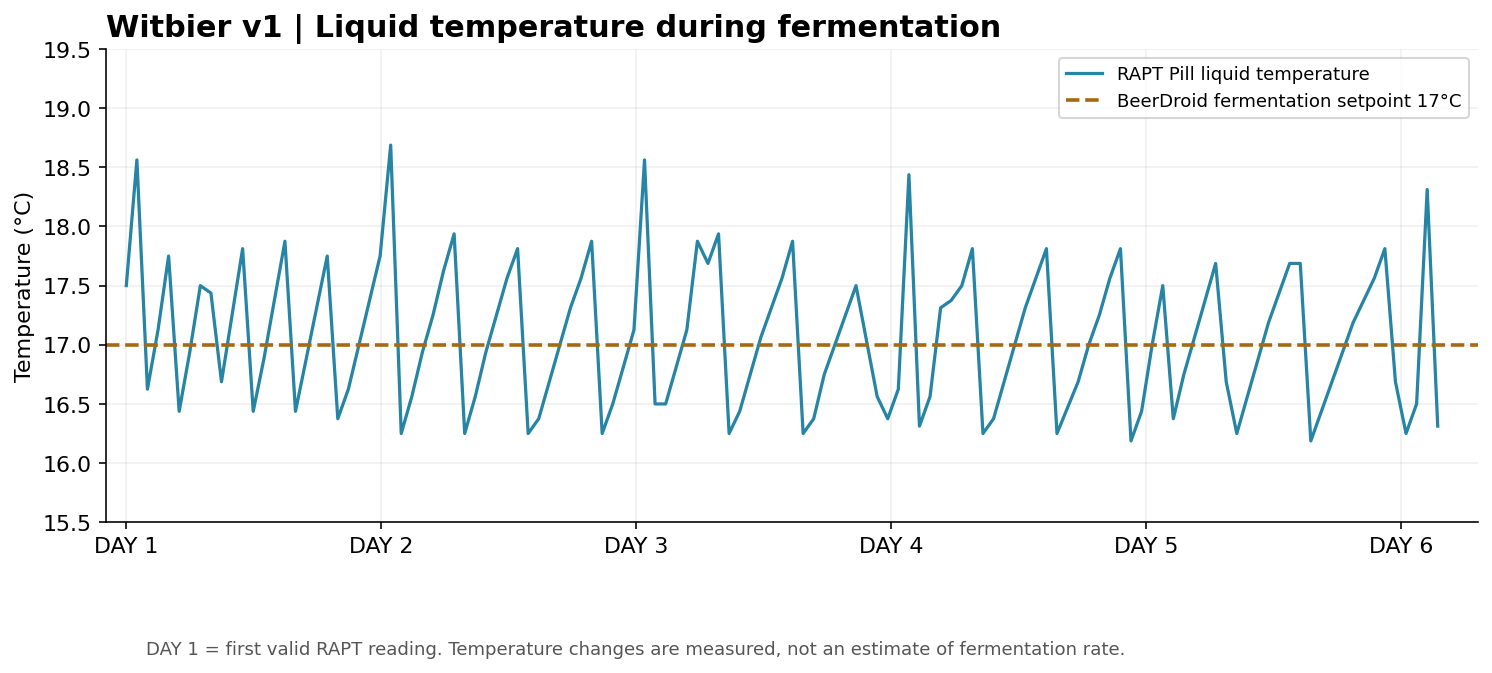
The Pill recorded a repeated liquid-temperature cycle of roughly 16.2–18.7°C. In this batch, that cycling reflects BeerDroid’s on/off cooling control: fermentation heat and ambient heat ingress raise the temperature, cooling starts around 1°C above the 17°C setpoint, and stops around 1°C below it, after which the wort warms again. The Pill measures liquid temperature while BeerDroid has its own sensor, so their instantaneous readings need not match.
7. Calling EOF myself rather than waiting for BeerDroid
The central experiment was deciding when to keg using my own measurements, before the BeerDroid EOF / Ready to Keg notification. Near the end, two RAPT readings separated by almost 24 hours were almost identical:
| Point | Reading |
|---|---|
| About 24 hours earlier | RAPT SG 1.02158 |
| At my kegging decision | RAPT SG 1.02156 |
| Change | −0.00002 (0.02 SG points) |
I interpreted the nearly flat trend as fermentation having largely settled and proceeded to kegging. This is my data-based EOF decision for this batch, not proof that a flat reading alone guarantees complete fermentation or safe pressure in every batch.
8. I also measured FG with a regular hydrometer
This is an important distinction. The RAPT Pill was reading around 1.022 near the end. However, I also took a conventional hydrometer reading while kegging. The liquid line in the photo appears to be around FG 1.010. I report that as an approximate reading because the meniscus and any temperature correction cannot be established precisely from the image alone.
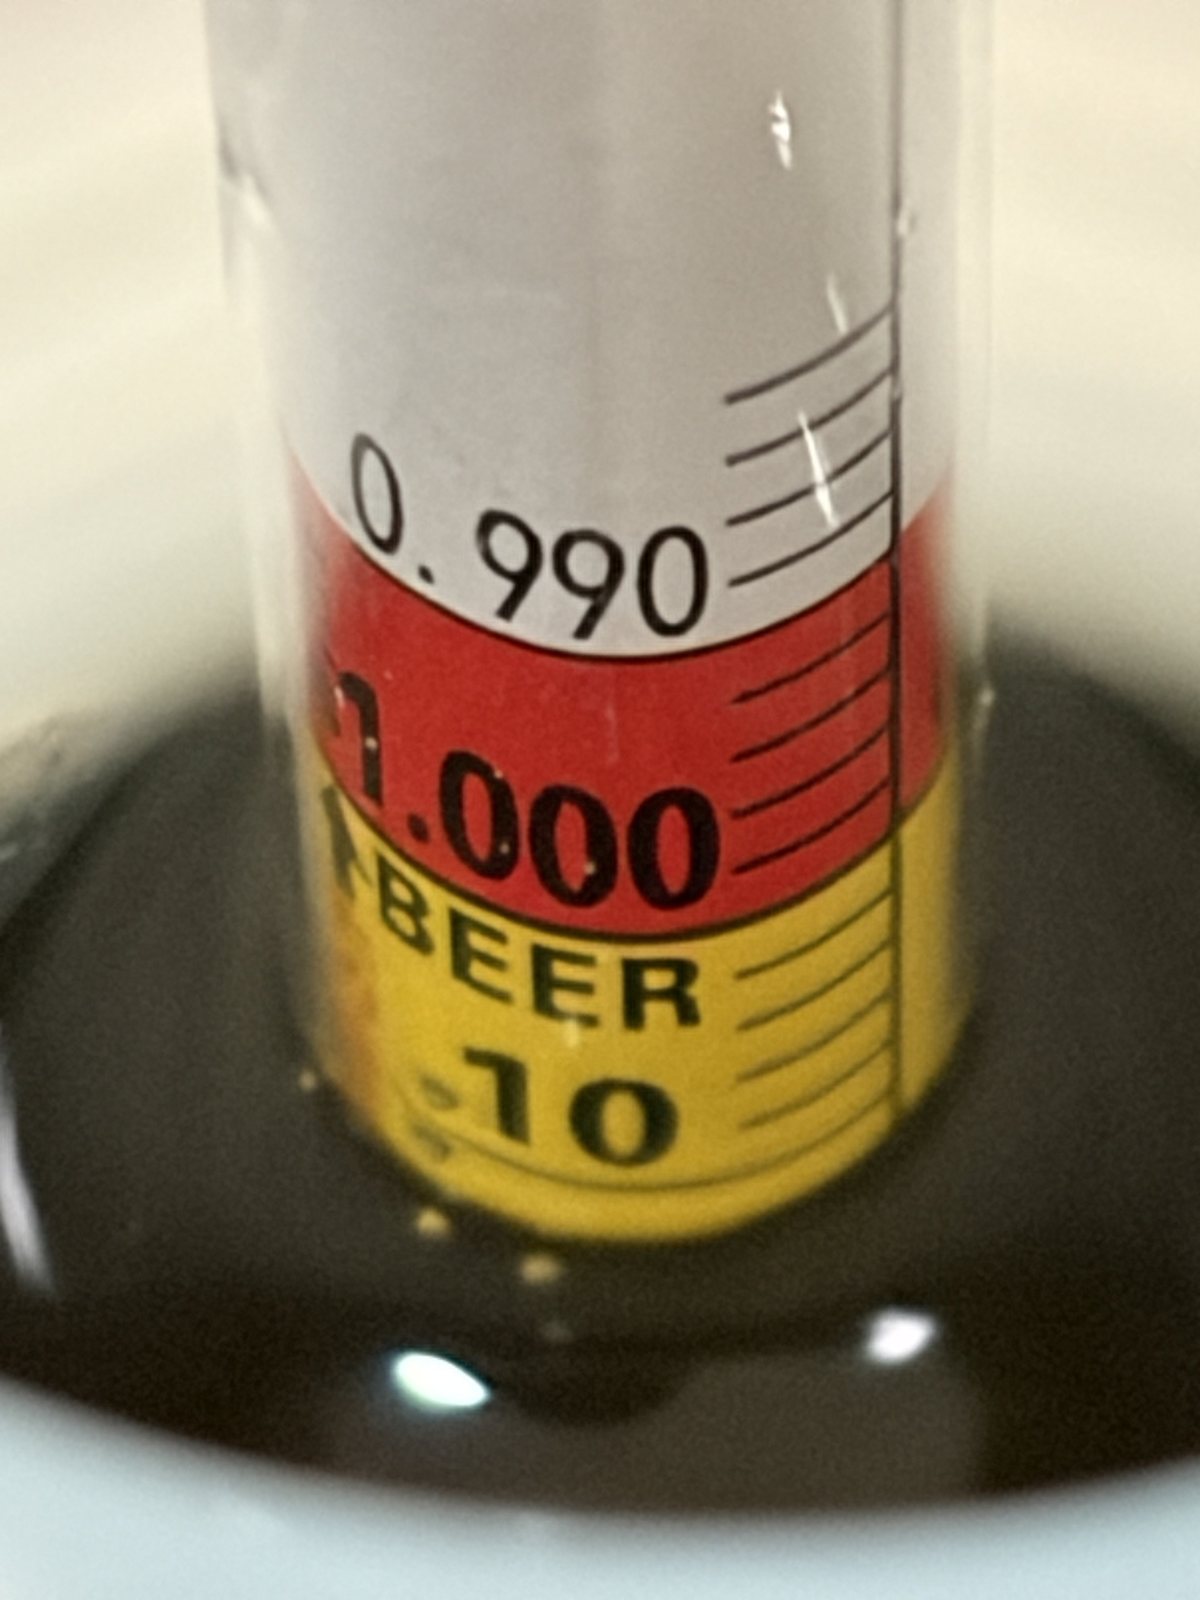
The final Pill display was about SG 1.02156 while my regular hydrometer indicated FG around 1.010. The Pill needs additional Advanced Calibration. I will compare it against a known-gravity solution and my conventional hydrometer rather than speculating about the exact cause.
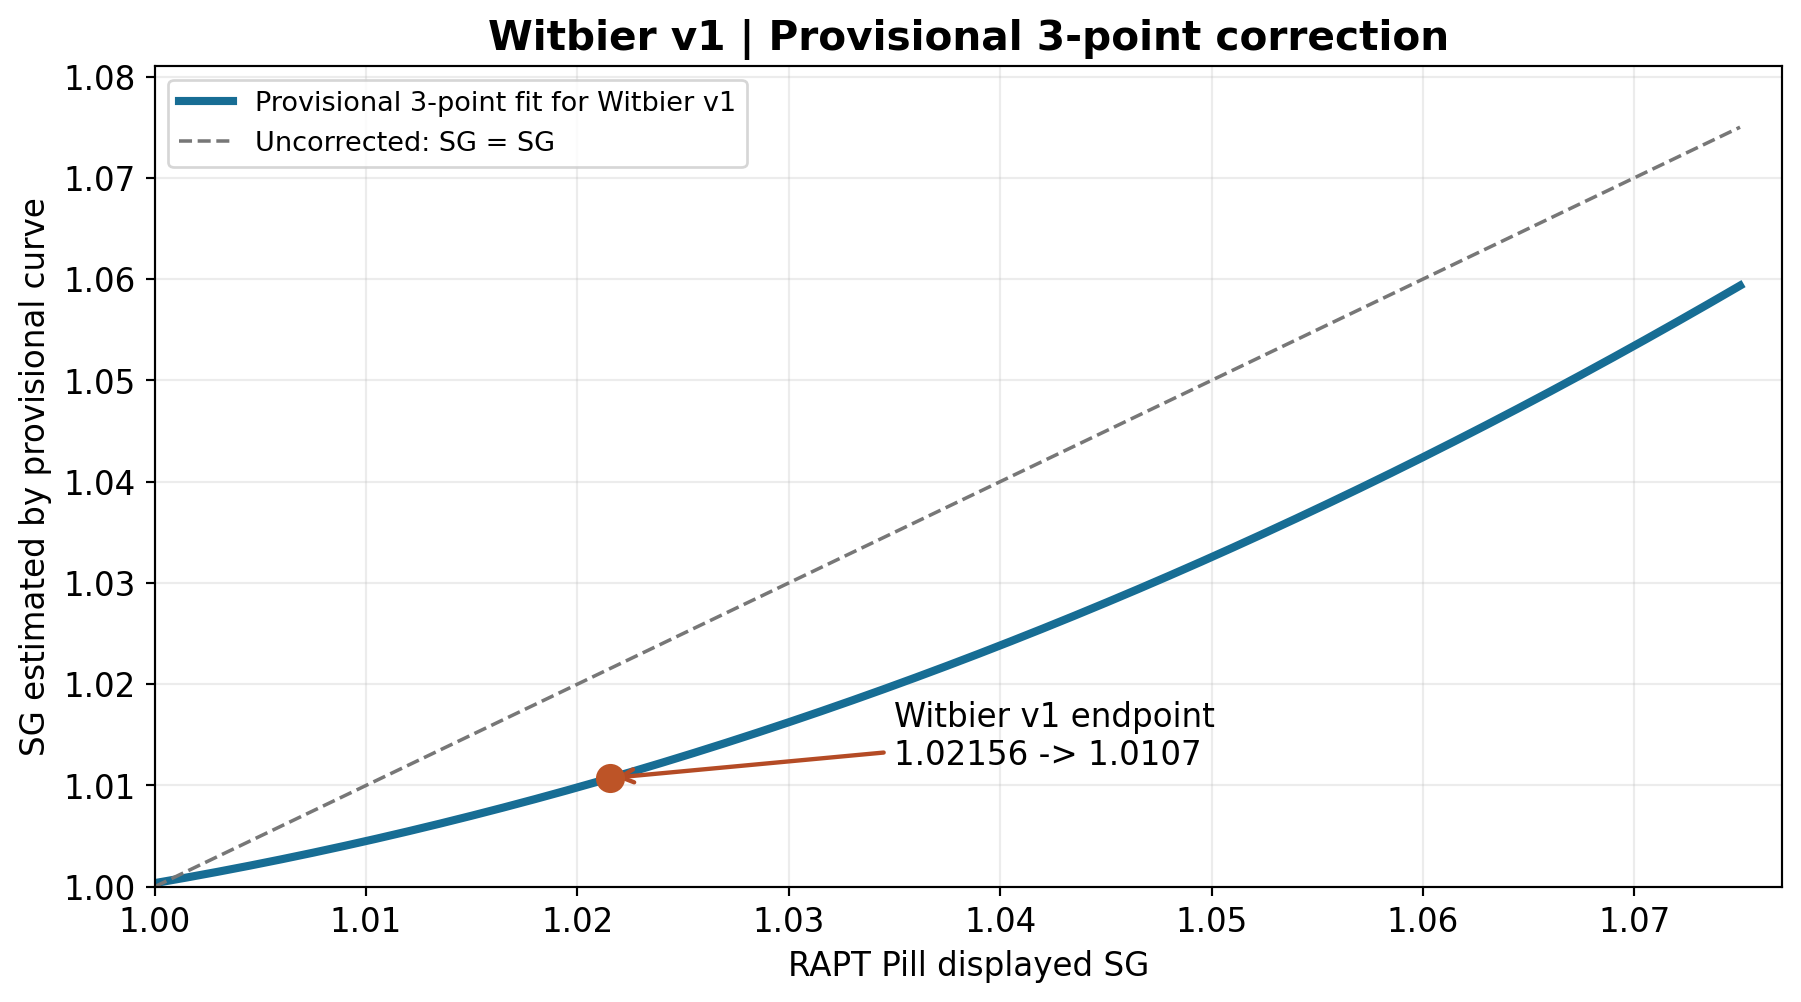
Provisional curve fitted to three points in this batch
For this Witbier v1 batch, I built a provisional three-point fit from measurements taken for this batch to translate Pill SG to the conventional-hydrometer scale. Let t = 1000 × (Pill SG − 0.999), then corrected SG = 1 + (0.34689t + 0.00571185t²) / 1000. The final displayed 1.02156 maps to about 1.0107. Because the curve was fitted to this batch, agreement with this batch's FG is expected; it is not an independent validation. The interesting test is whether this provisional fit helps with a future brew before recalibration. I also plan to run Advanced Calibration on the device itself.
9. Kegging and the first, uncarbonated taste
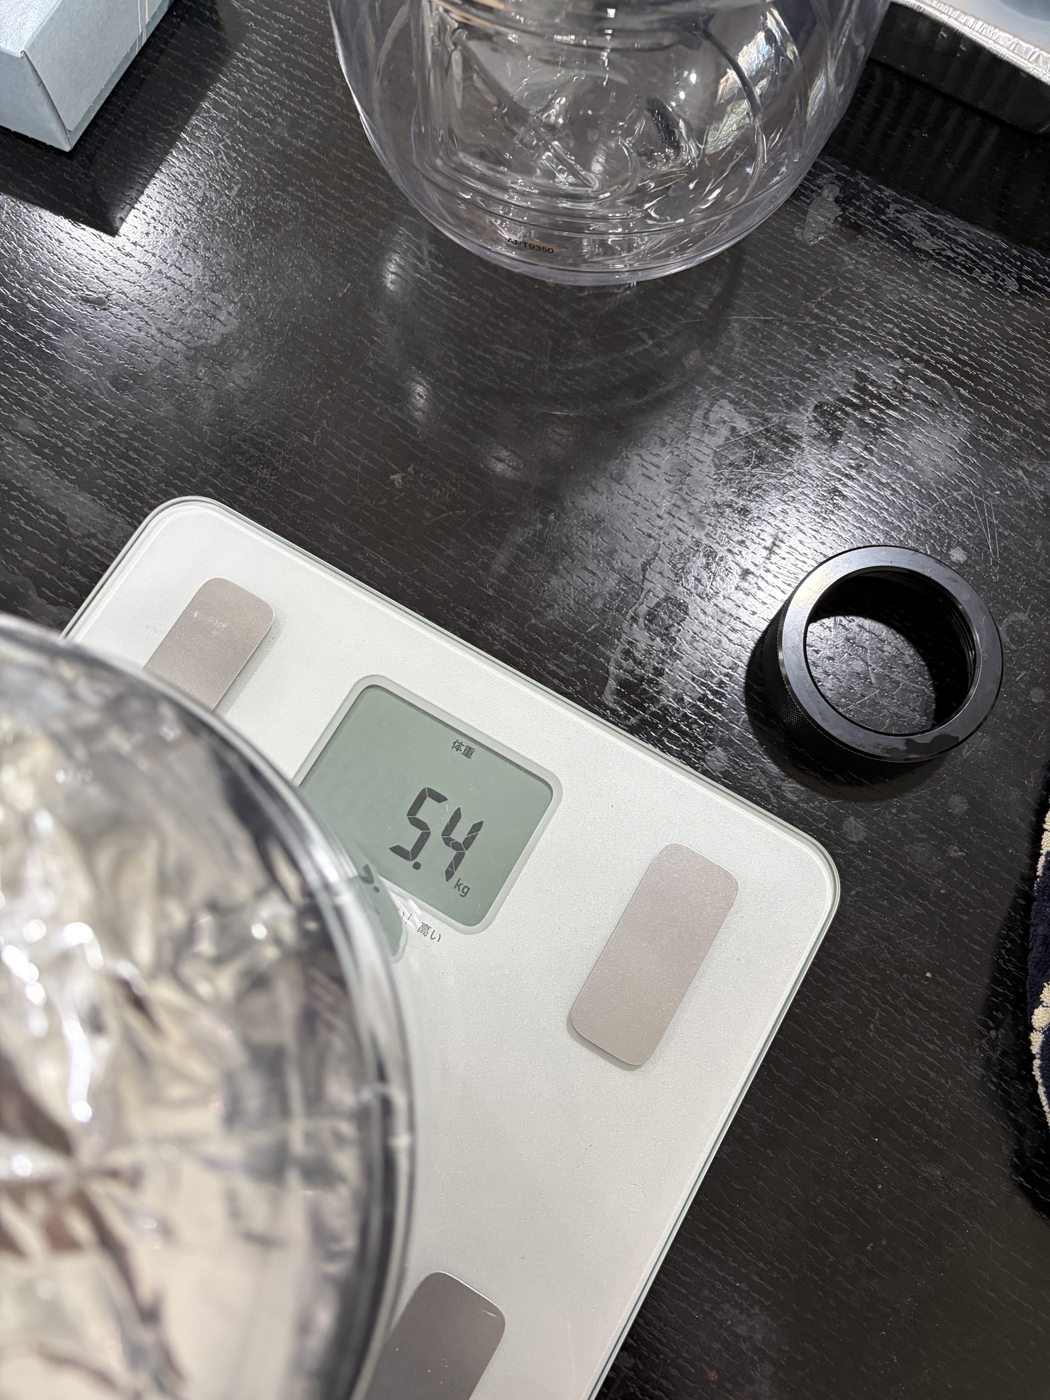
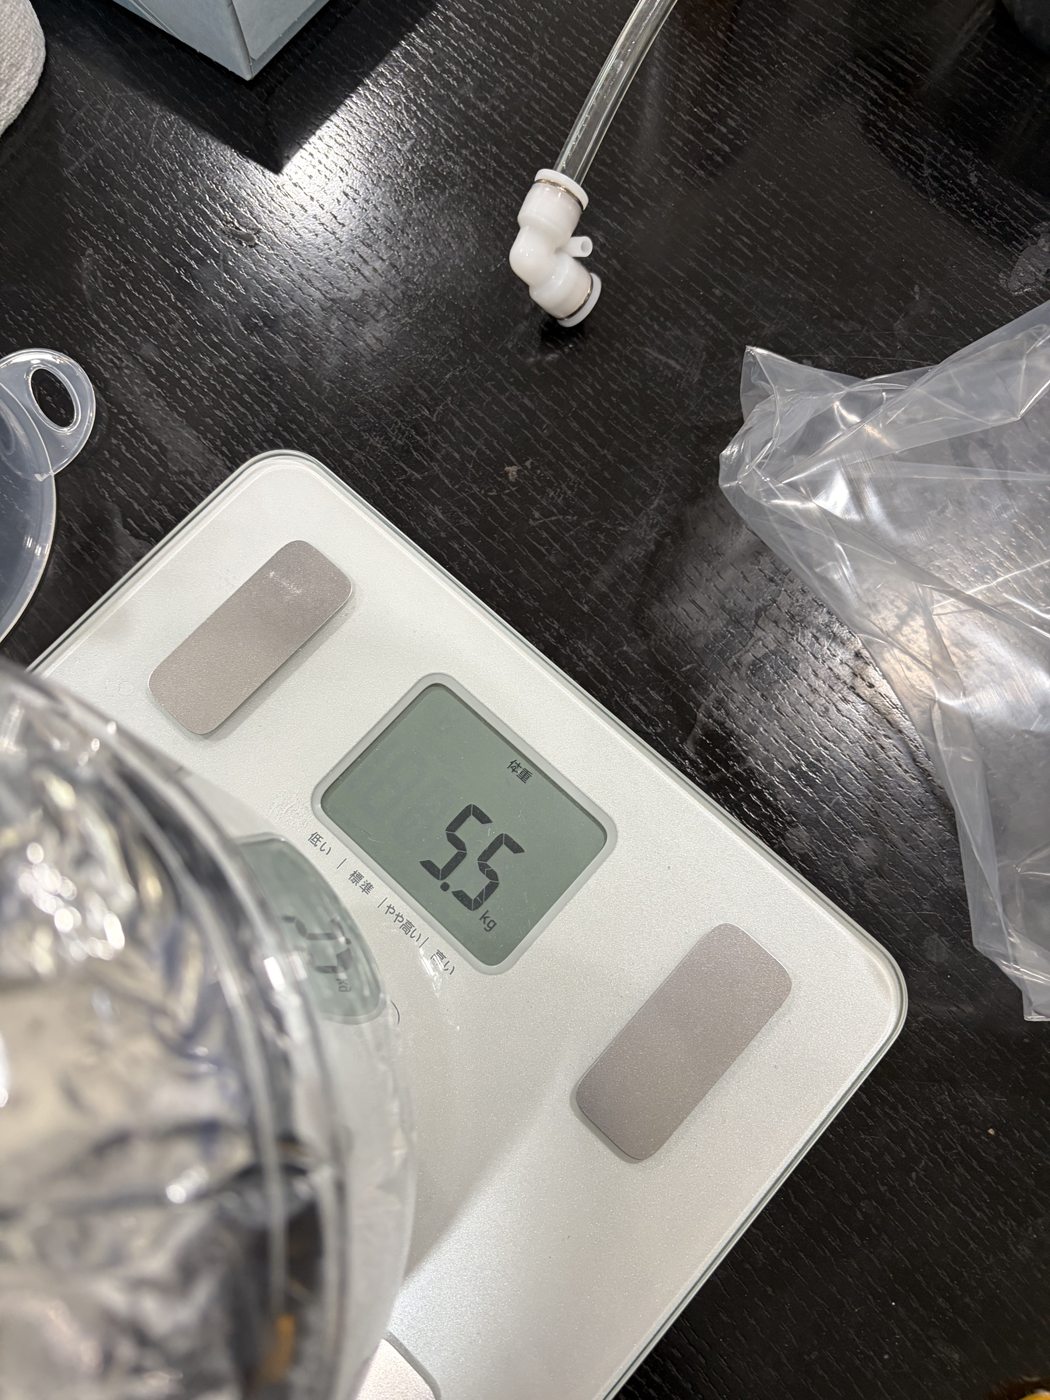
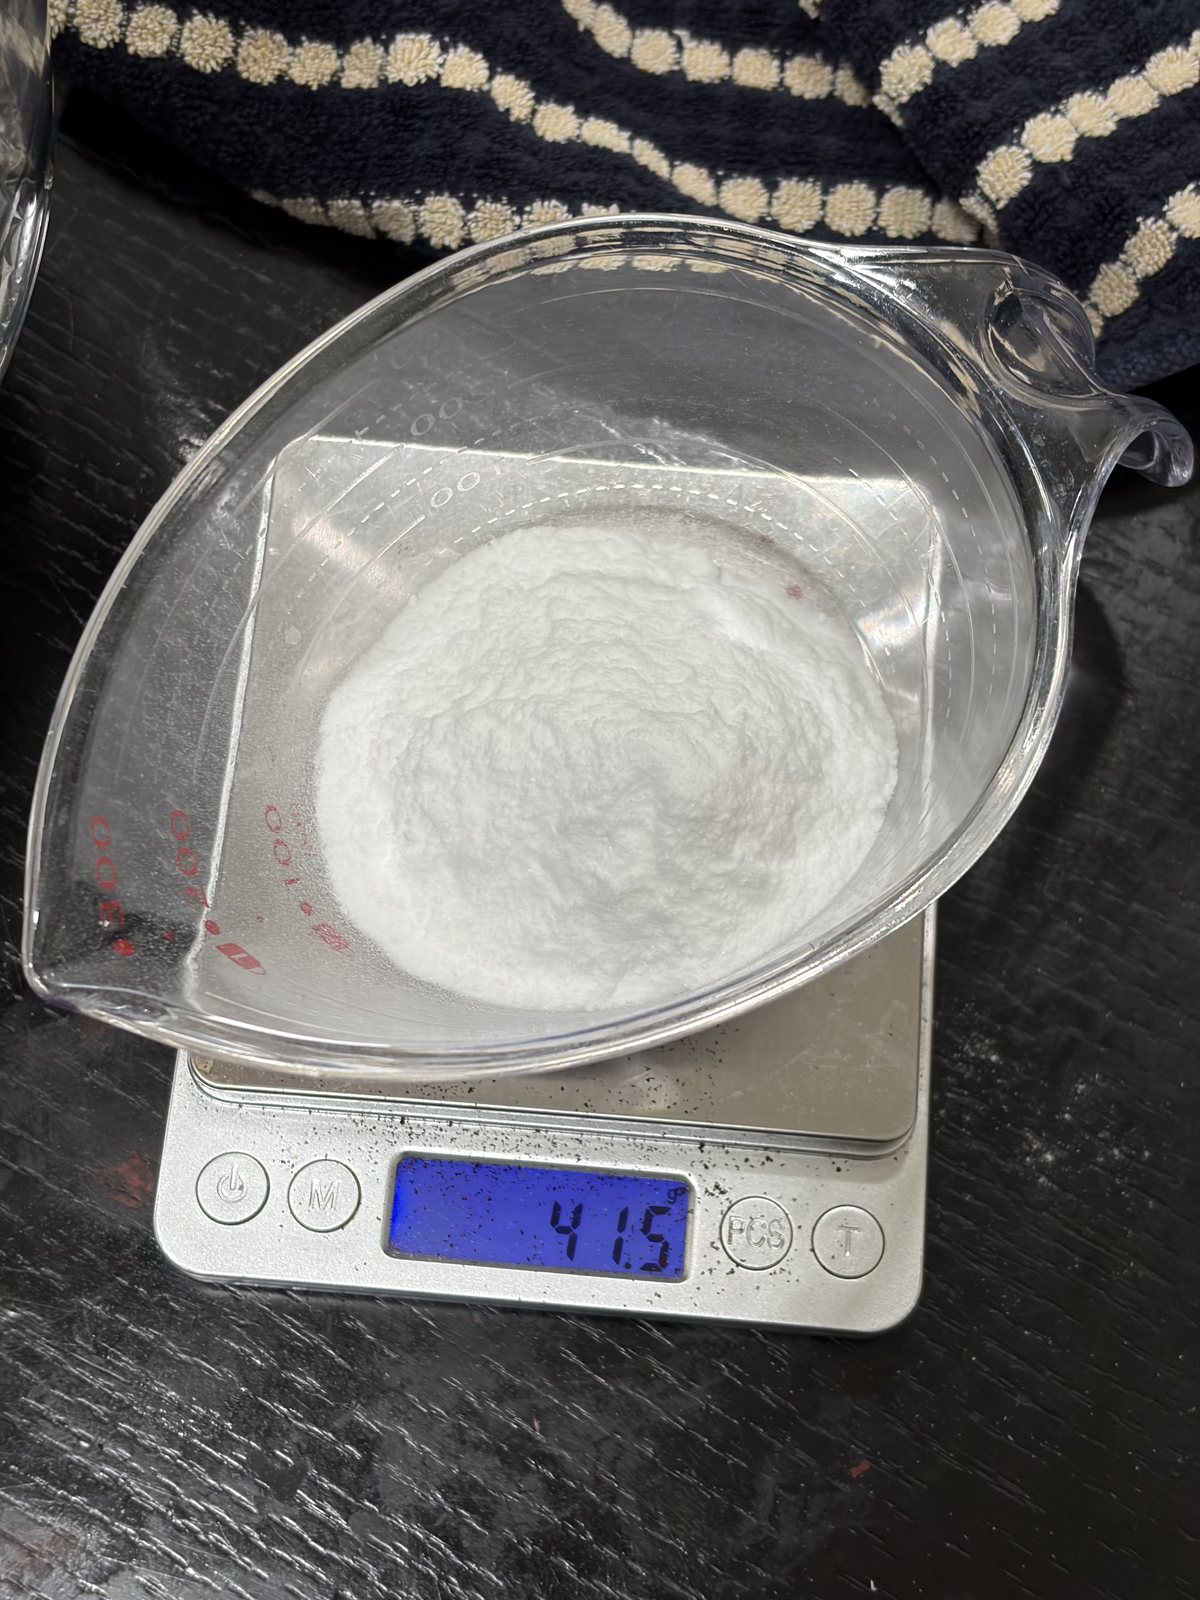
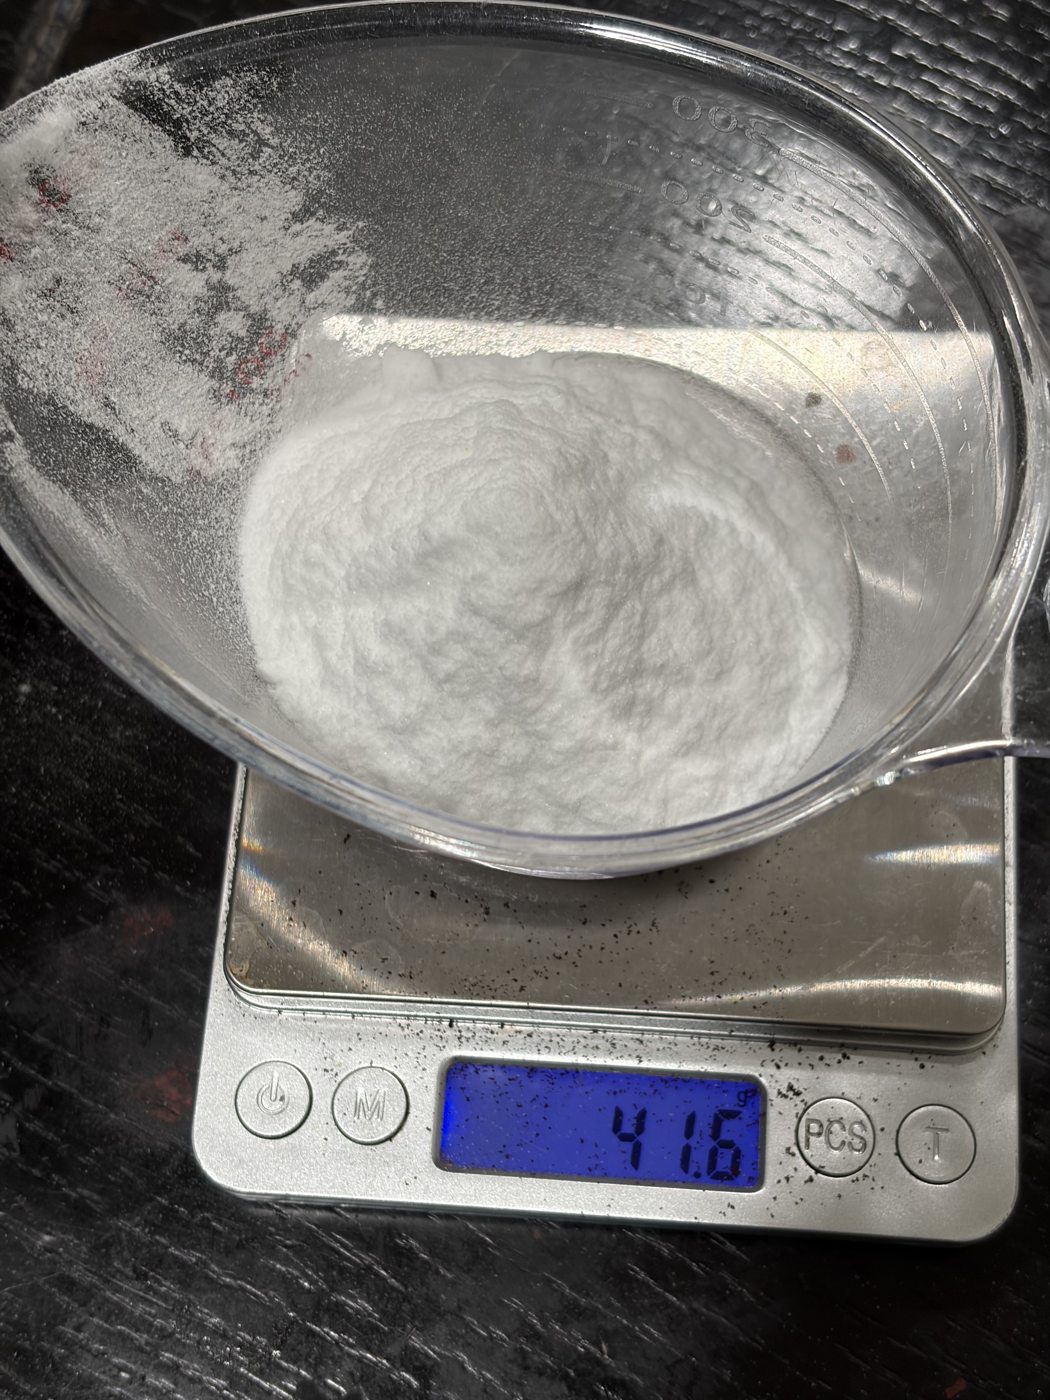
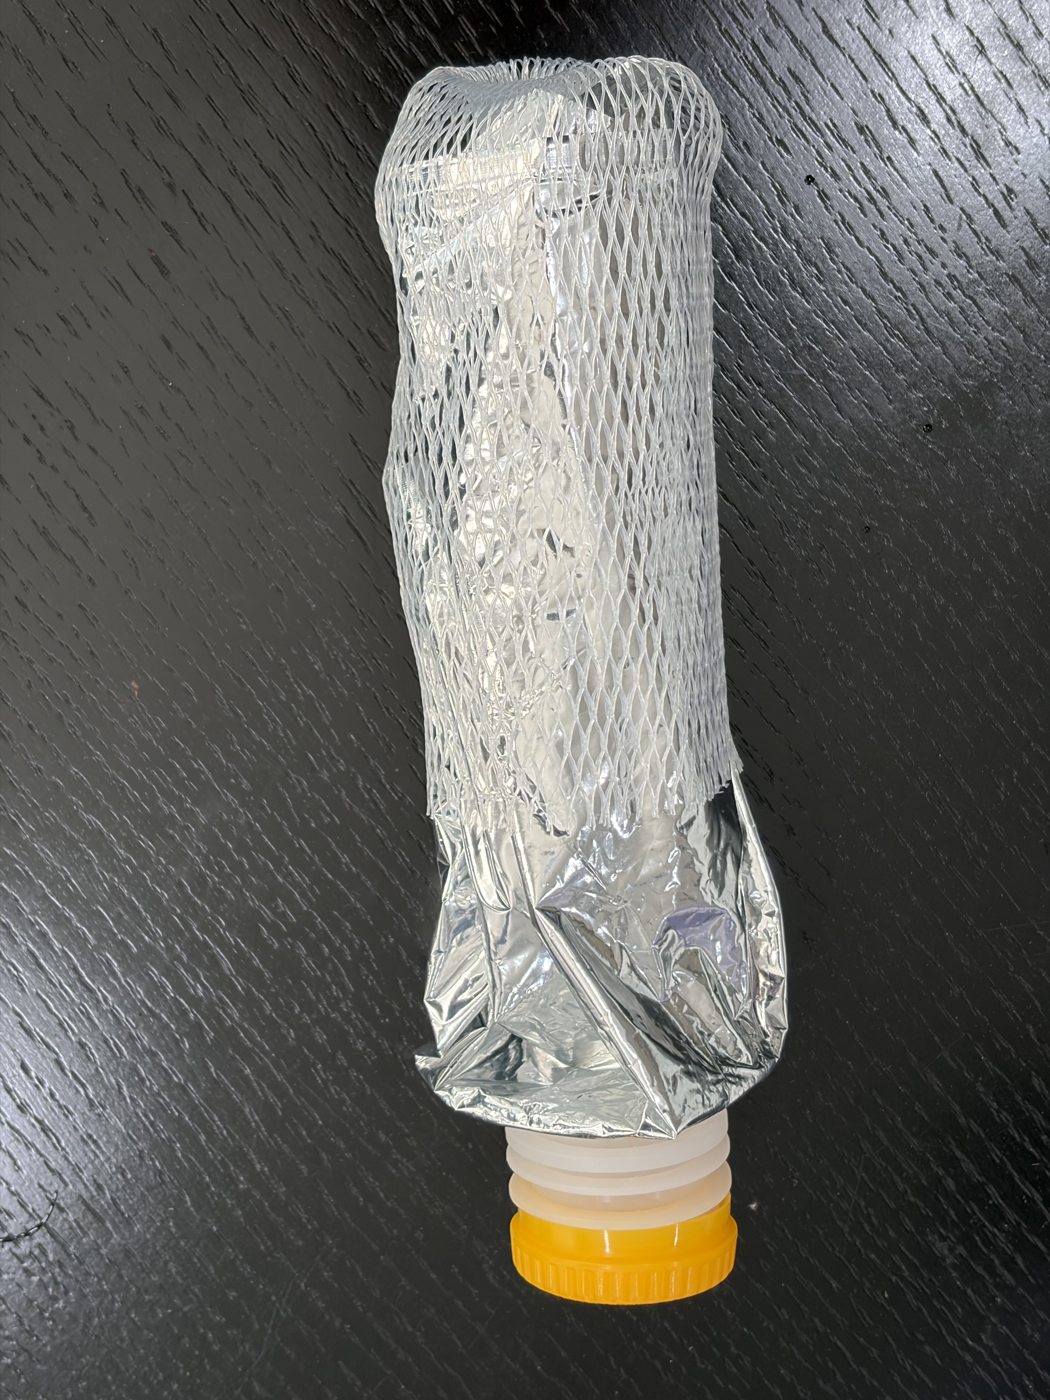
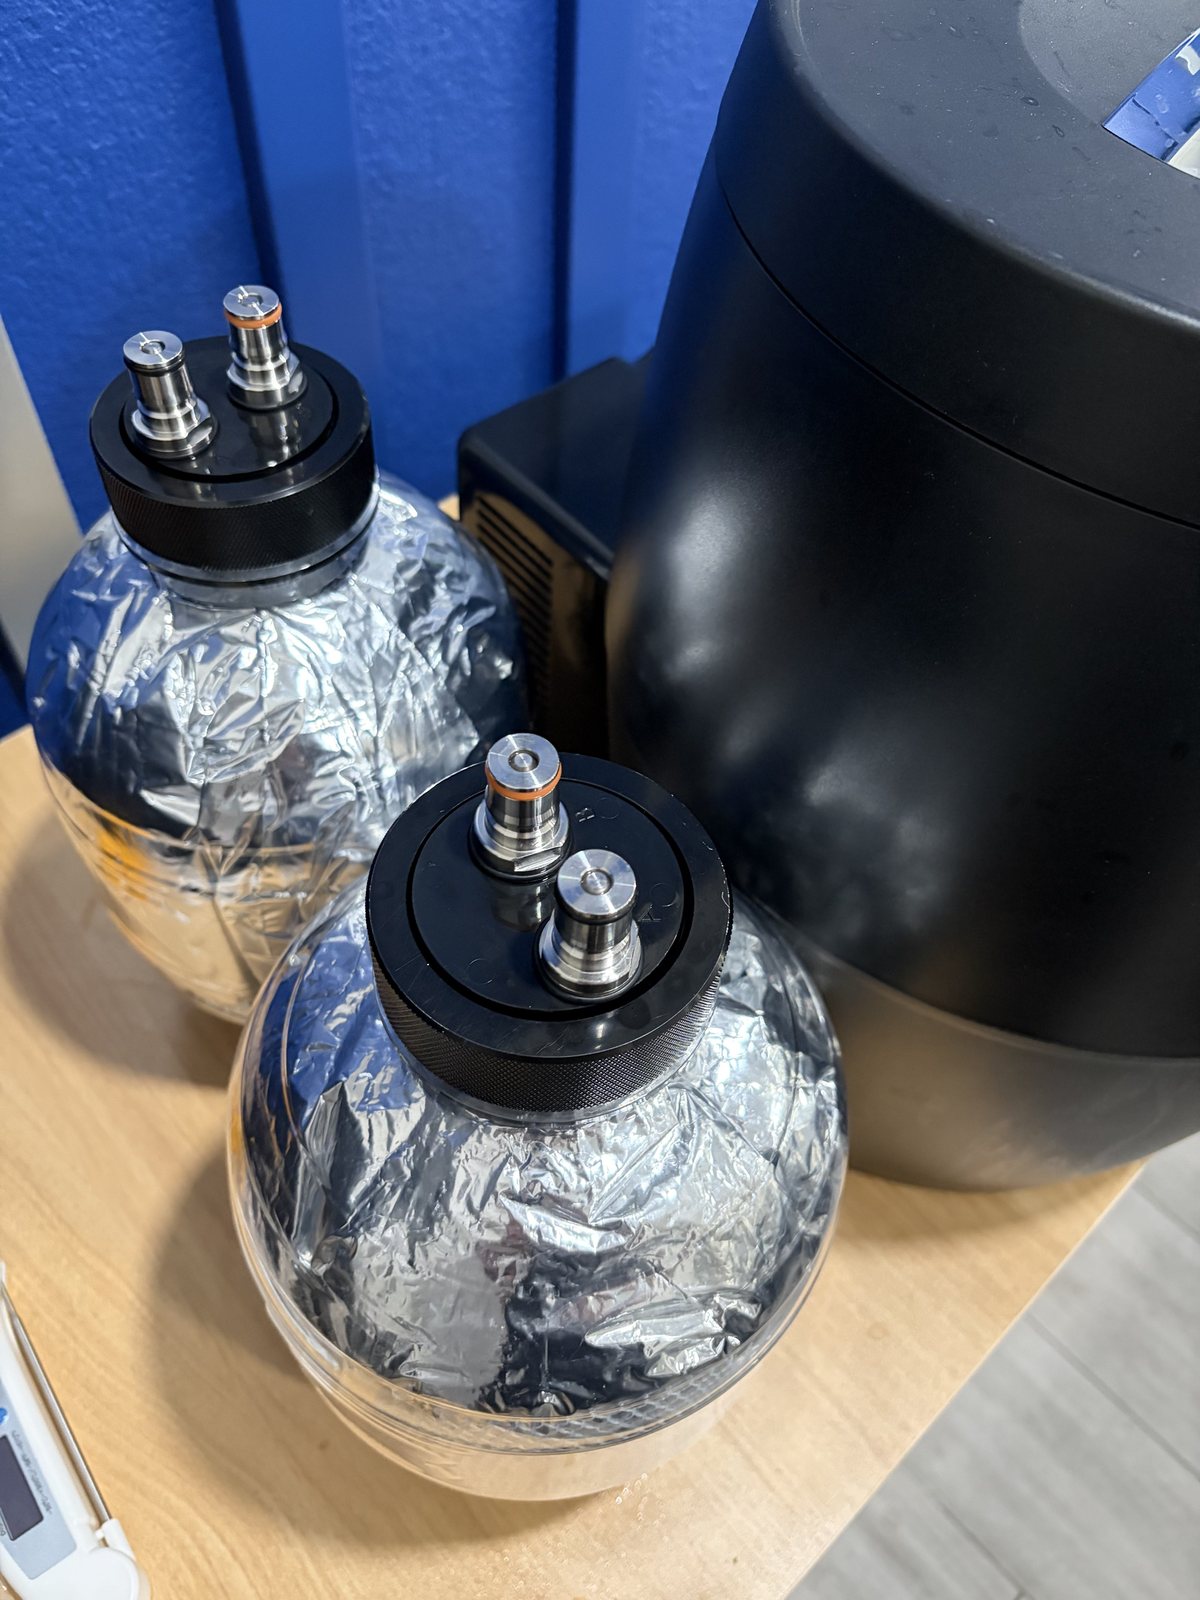
After the RAPT trend flattened, I transferred the beer from BeerDroid into two kegs. I weighed the filled kegs, calculated priming sugar using the carbonation setting, then weighed and added 41.5 g and 41.6 g respectively. Allowing for the keg and liner weight, each keg contains approximately 5 L of beer. At the time, I had not noticed that the dose was inconsistent with the original 2.4-vol carbonation target.
Transferring this Witbier batch from the BeerDroid into a keg.
Weighing the beer before calculating priming sugar
The filled-keg weights were 5.4 kg and 5.5 kg. After subtracting the keg and liner weights, I estimated roughly 5 L of beer per keg, calculated priming sugar, and weighed out each dose. Looking back, 41.5–41.6 g per keg is consistent with about 2.8 volumes of CO₂, not the planned 2.4. It seems I may have set the calculation target to 2.8 vol by mistake—another mix-up after the yeast!
The original Brewfather recipe called for 2.4 vol CO₂. This time I actually dosed 41.5 g and 41.6 g of dextrose for approximately 5 L per keg. Assuming dextrose monohydrate, 17°C (63°F) beer, and 5 L per keg, a reverse calculation allowing for residual CO₂ suggests roughly 2.8 vol [7].
For comparison, the earlier BrewArt Hoegaarden Clone used 32 g per roughly 5 L—about 2.4 vol under the same assumptions. These are calculated estimates from priming doses, not measured carbonation in the finished beers. I had already emailed BrewArt support about pressure safety, and they confirmed that 2.6–3.0 volumes of CO₂ at around 25°C are within the pressure rating of their kegs and fittings. Their practical concern was foaming and dispensing adjustments, rather than the keg bursting. I genuinely appreciate how directly BrewArt answers technical questions—excellent after-sales support. This confirmation does not endorse or guarantee reusing disposable keg liners.
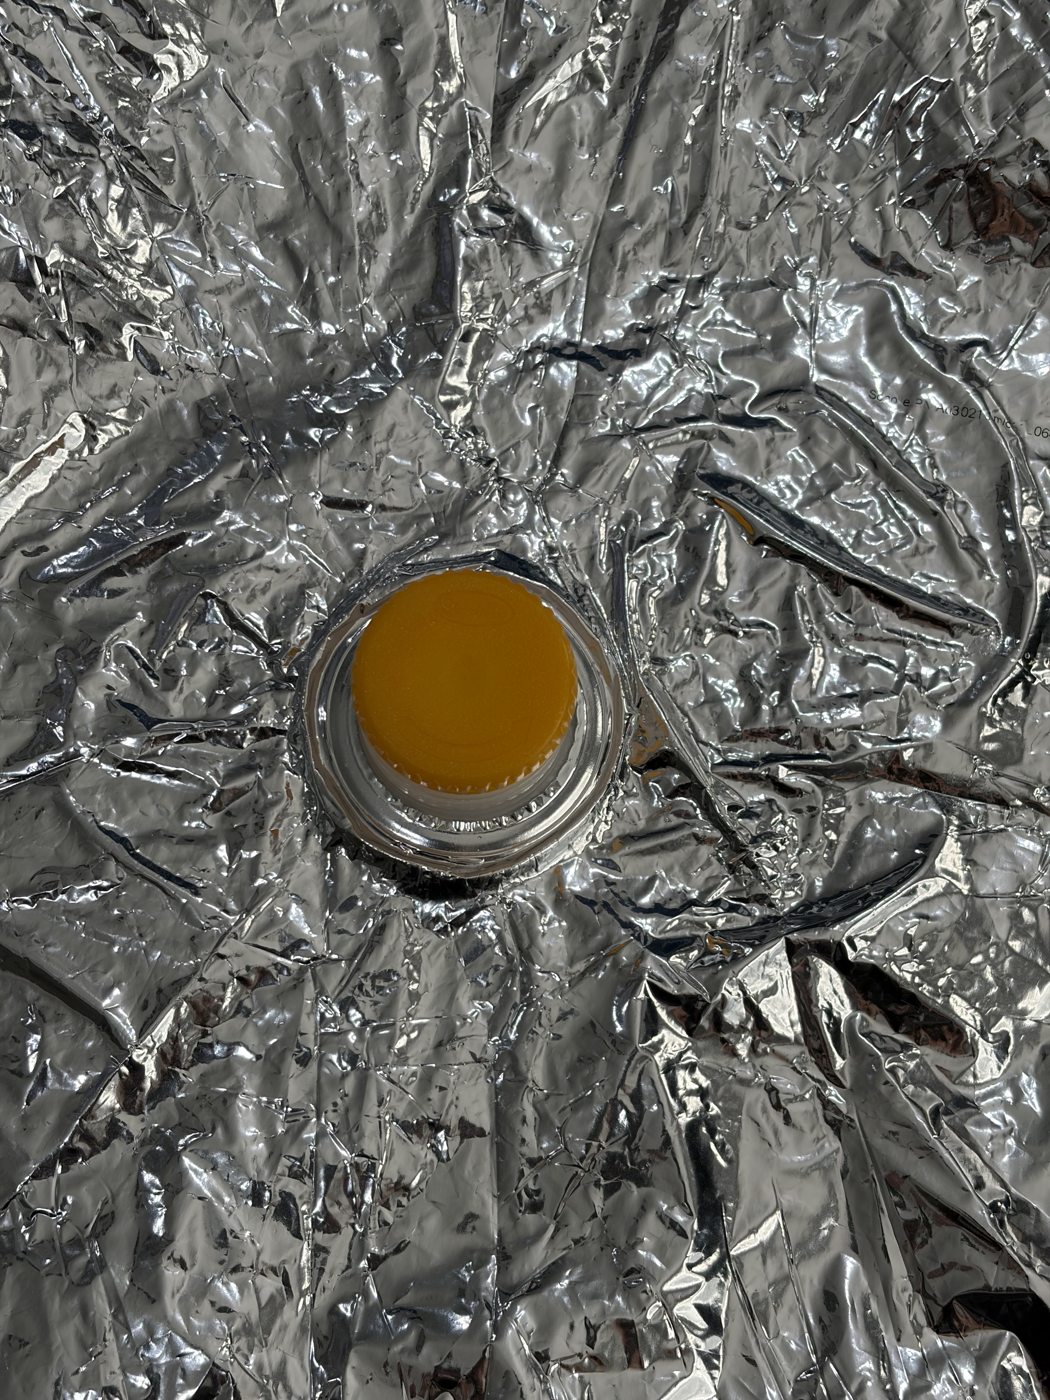
I also tried reusing a keg liner
I reused the cleaned and sanitized liner in only one of the two kegs; the other keg had a new liner. Both contain about 5 L of the same Witbier v1 batch, with nearly identical priming doses (41.5 g and 41.6 g). After carbonation and conditioning, I can compare them under the same serving conditions for differences in aroma, tartness, flavor, head retention, perceived carbonation, and any leaks. That makes this a useful small, same-batch A/B comparison of liner reuse. Each condition has just one keg, however, so similar taste would not prove that reuse is sanitary or safe over time. BrewArt’s standard practice is to replace disposable liners; this experiment is not a manufacturer-approved reuse procedure.
First taste before carbonation
The pre-carbonation sample was gently sweet, citrus-scented, low in bitterness, and somewhat yogurt-like in tartness. One hypothesis: accidentally using New England yeast, which I had intended for a hazy beer, introduced a tropical-fruit impression that overlapped with citrus from bitter orange peel (and possibly coriander), creating a yogurt-like sensory impression. This does not prove that the peel measurably increased acidity. I will revisit the impression after carbonation and conditioning.
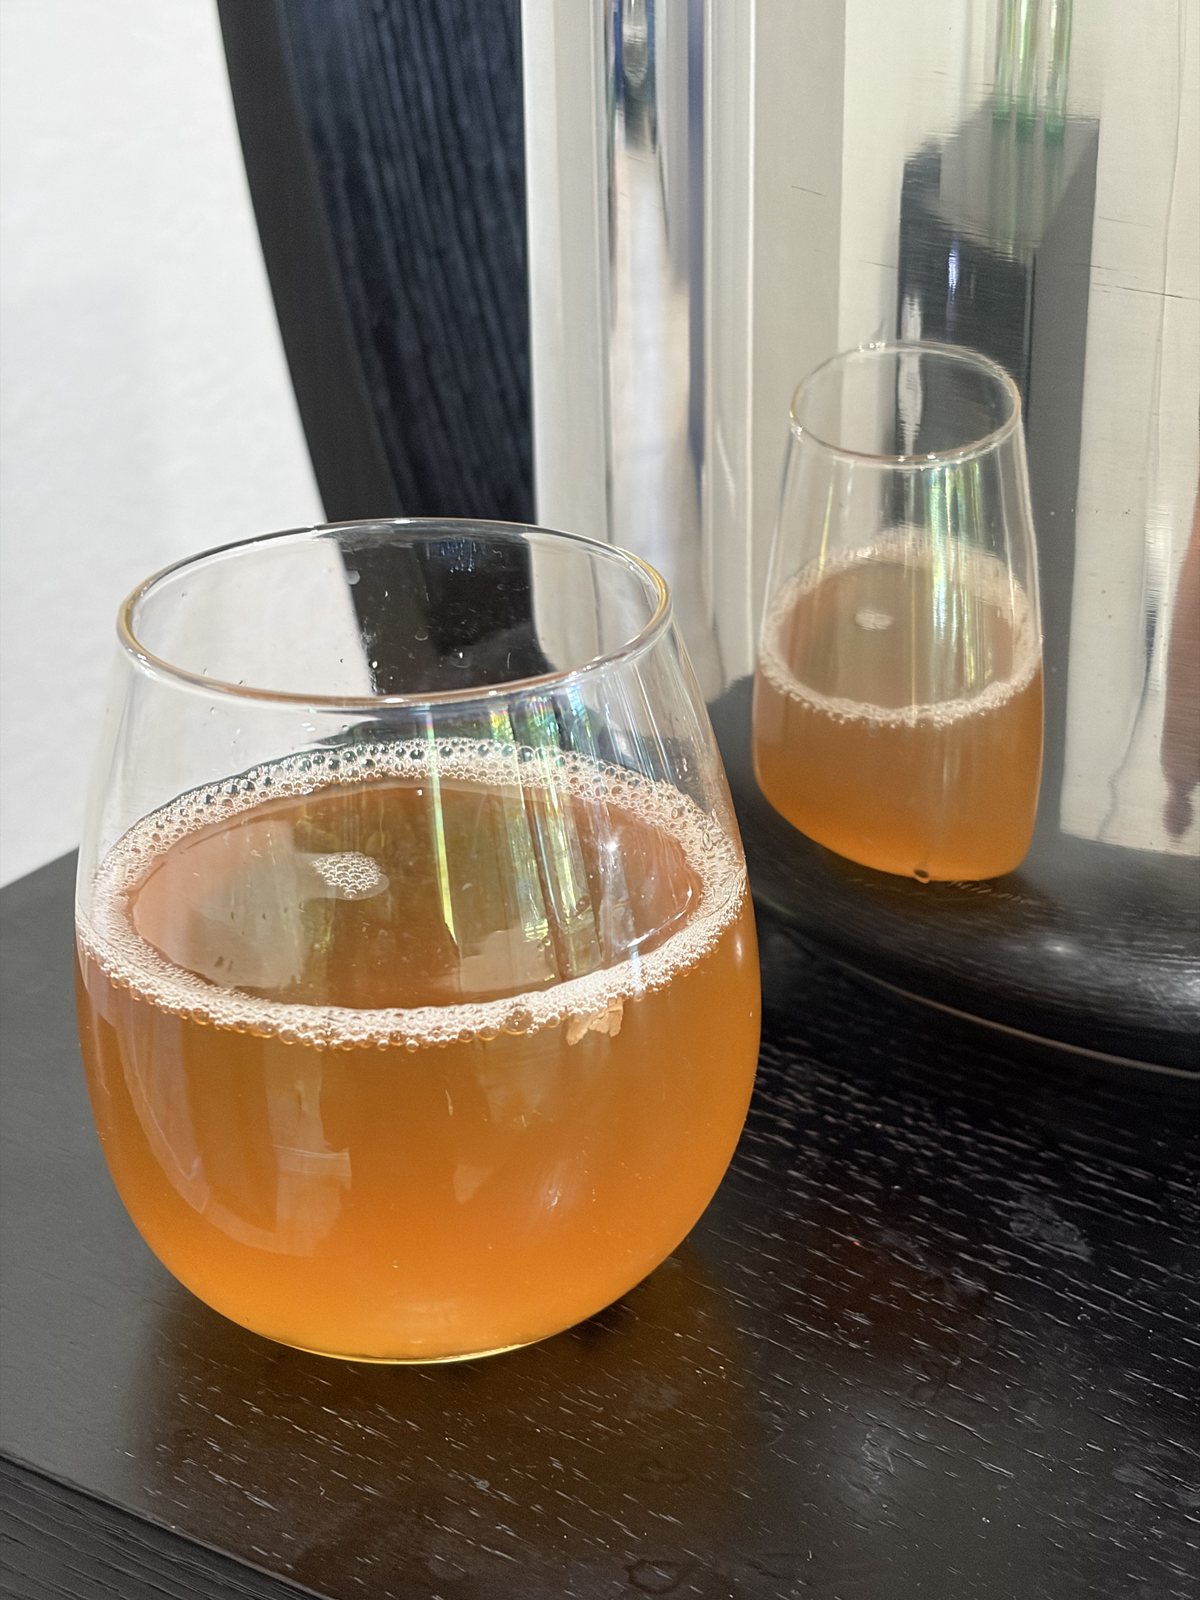
“Yogurt-like tartness” describes a sensory impression. It is not evidence that a specific lactic acid bacterium was present or that an infection was verified. I will compare the aroma and acidity after conditioning.
10. What went wrong—and what I will brew differently next time
The process gave me useful records: weighed ingredients, OG/FG hydrometer readings, BeerDroid temperature control, RAPT gravity trends, and my own EOF call. But this was not a controlled recreation of the intended Hoegaarden-style recipe. I accidentally used New England instead of Wit yeast, the Saaz package had 2.5% AA rather than the assumed 4.5%, and I added a priming dose consistent with approximately 2.8 vol rather than my 2.4-vol design target. RAPT Advanced Calibration and a side-by-side tasting of the new-liner and reused-liner kegs remain follow-up checks.
I will taste this batch after carbonation and conditioning, comparing the new-liner and reused-liner kegs under matched serving conditions, and document how the unplanned combination turns out. Then I want to brew it again with the intended Wit yeast, the actual Saaz AA% entered into the recipe, and the 2.4-vol carbonation target double-checked. This v1 was not the intended clone—but the mistakes are useful data for a more controlled retry.
Ingredients and equipment used
Here are the ingredients and consumables, followed separately by the equipment used. For the economics, see my BeerDroid Witbier brewing-cost comparison.
References and related experiments
- [1] Cony DIY Houston: designing this Witbier v1 recipe (calculated targets).
- [2] Briess: Malt Extracts (extract product information).
- [3] Lallemand: LalBrew New England (manufacturer yeast information).
- [4] KegLand: RAPT Pill Manual (operation and calibration).
- [5] Cony DIY Houston: the separate Hoegaarden clone batch.
- [6] KegLand: RAPT Pill manual and Advanced Calibration (for calibrating the device separately from the provisional batch fit).
- [7] Brewer’s Friend: Beer Priming Sugar Calculator (temperature-dependent residual CO₂ in priming estimates).
I share the experiments, measurements, and unexpected results between full articles.
Questions or comments about this brew?
Have a question about this brewing experiment or its measurements? Send it here.