
Growing Seeds Saved from a Store-Bought Tomato Hydroponically: Day 0–30
I restarted indoor hydroponic tomatoes using seeds saved from a store-bought tomato. This Day 0–30 log follows germination, an initially leggy start, true leaves, the split into two hydroponic systems, and the next week of growth with side-by-side photos and timelapses made only from the actual photos.
What changed in the first 30 days?
I had already taken the same idea all the way to harvest
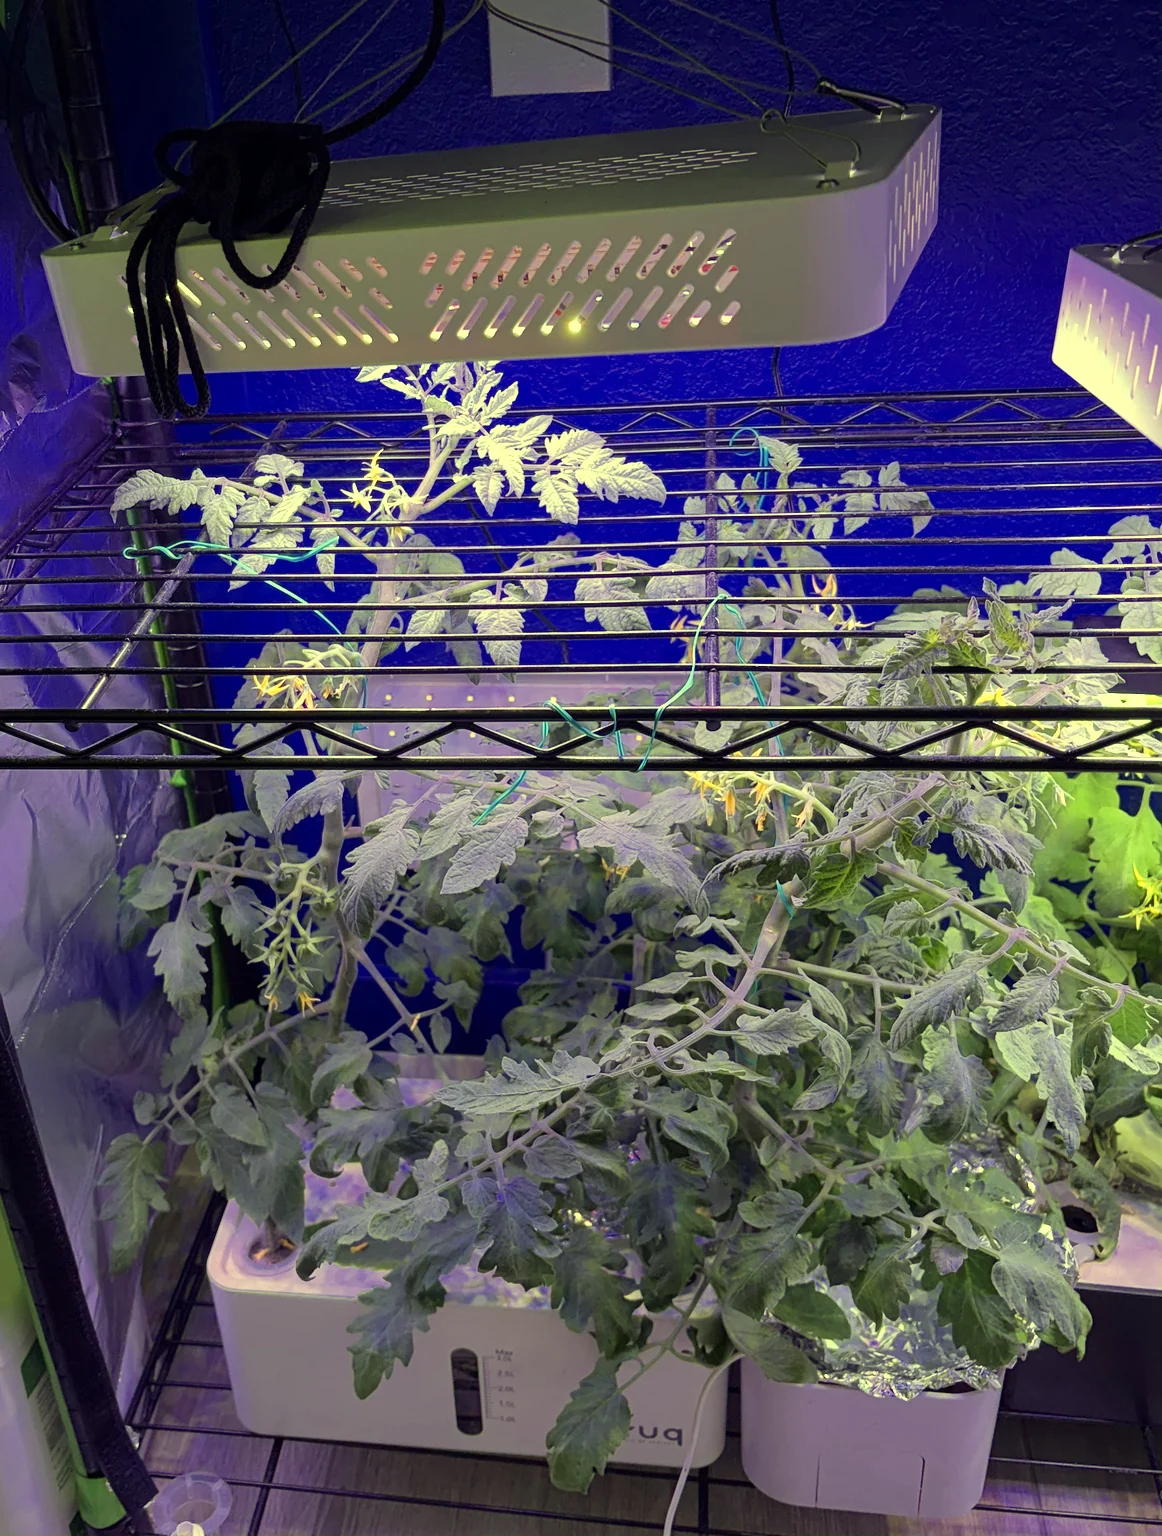
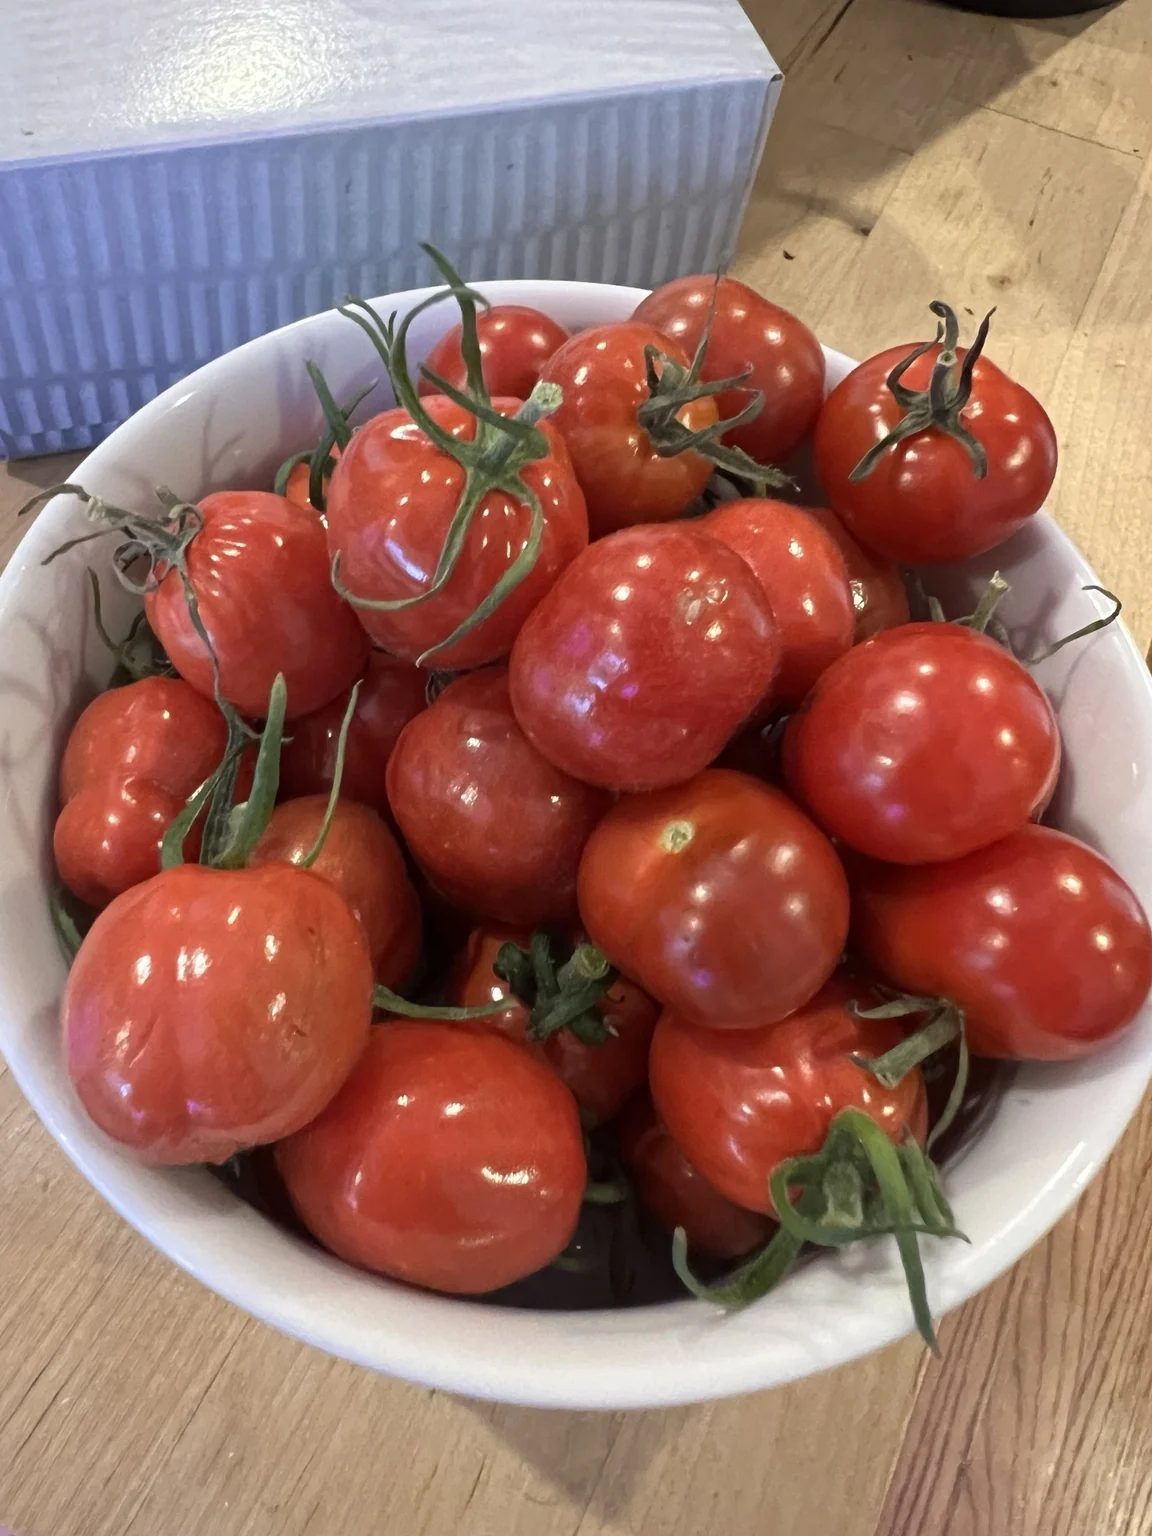
This was not my first attempt at growing tomato plants from seeds saved from a grocery-store tomato. In a previous run, the plants became much bushier than the photo below and ultimately produced tomatoes that I harvested.
I stopped that grow around a temporary trip back to Japan. This time I restarted from Day 0 and documented the first month more carefully.
Equipment and growing setup
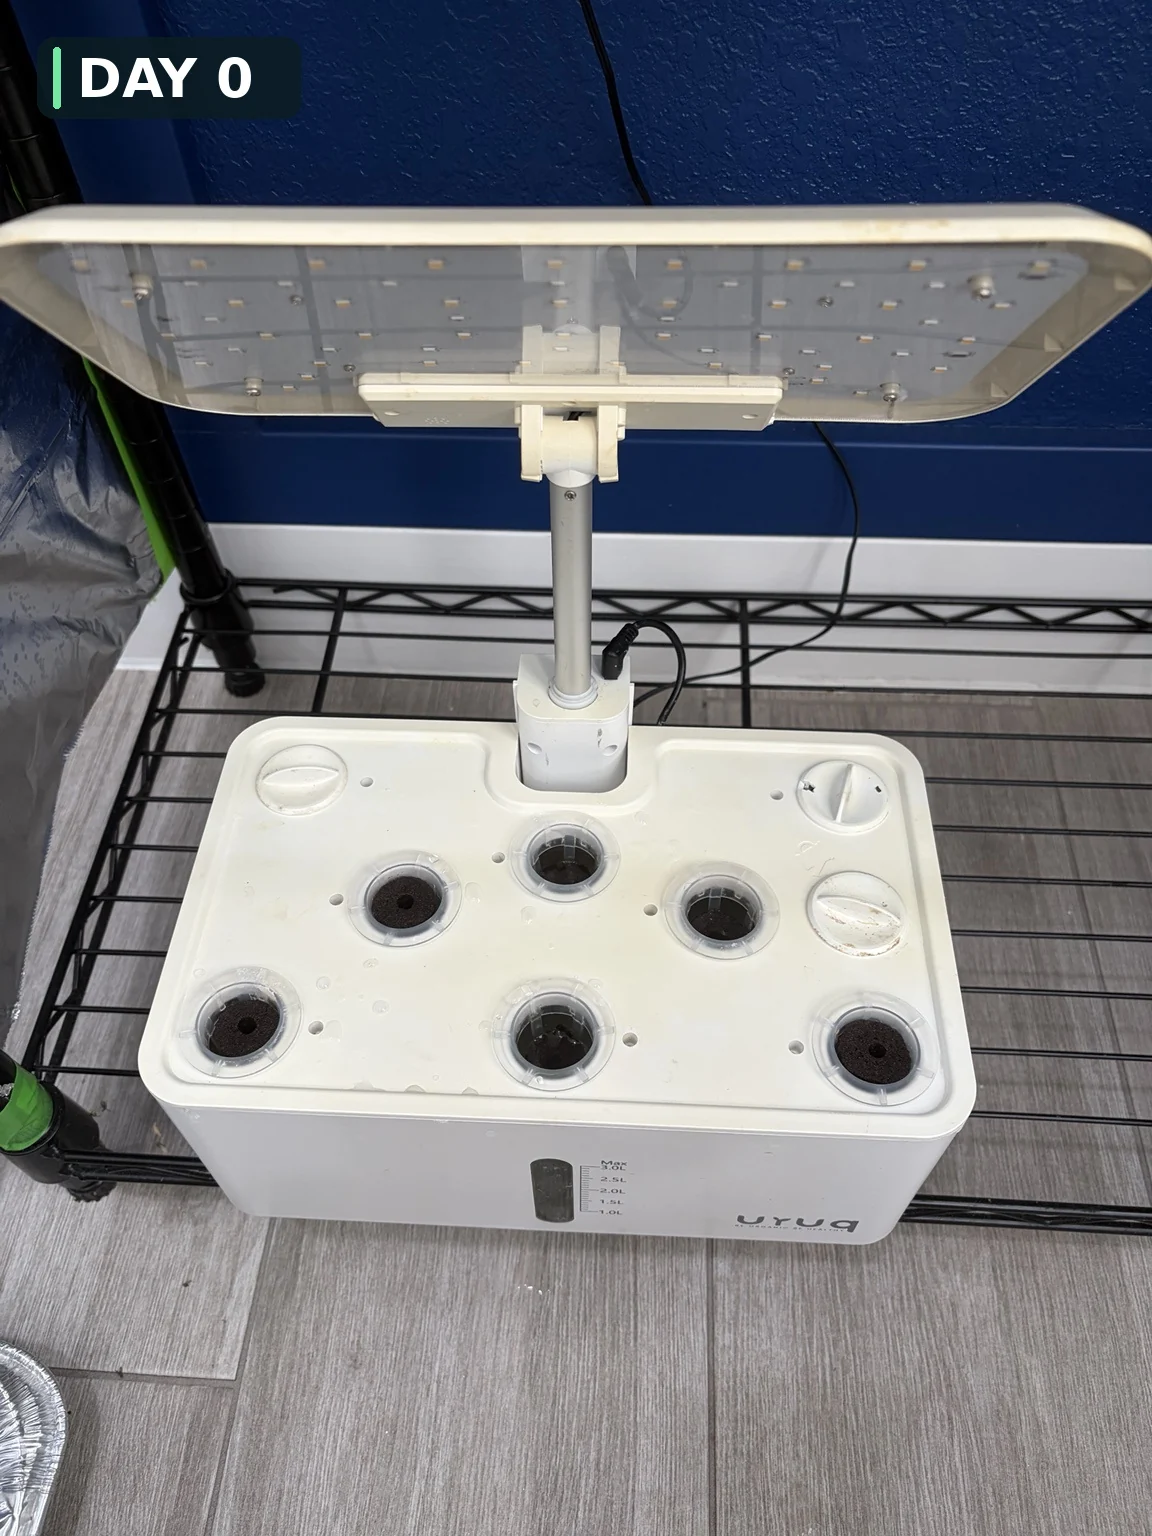
I did not use every piece of equipment from the beginning. The seeds started in grow sponges, and the seedlings first grew in an 8-pod hydroponic unit. A separate 6200LC system had been unusable because its circulation pump had failed; after repairing its PCB, I brought it back into service when the plants needed to be split around Day 23.
- LED lighting: 16 hours per day.
- Nutrients: The A/B hydroponic nutrients linked below, with an EC reading around 1,000 as the target.
- Top-ups: When the water level gets low, I manually add water mixed with the nutrients, diluted toward the same EC target.
- Frequency: Roughly once a week as the plants grew larger, depending on the water level rather than a fixed schedule.
This is manual replenishment, not an automatic water-filling system. The equipment and nutrient links are collected near the end of the article.
The 6200LC circulation pump had stopped, so I traced the PCB connections and restored circulation with a jumper-wire bypass. The repair, power measurements, and safety checks are documented separately.
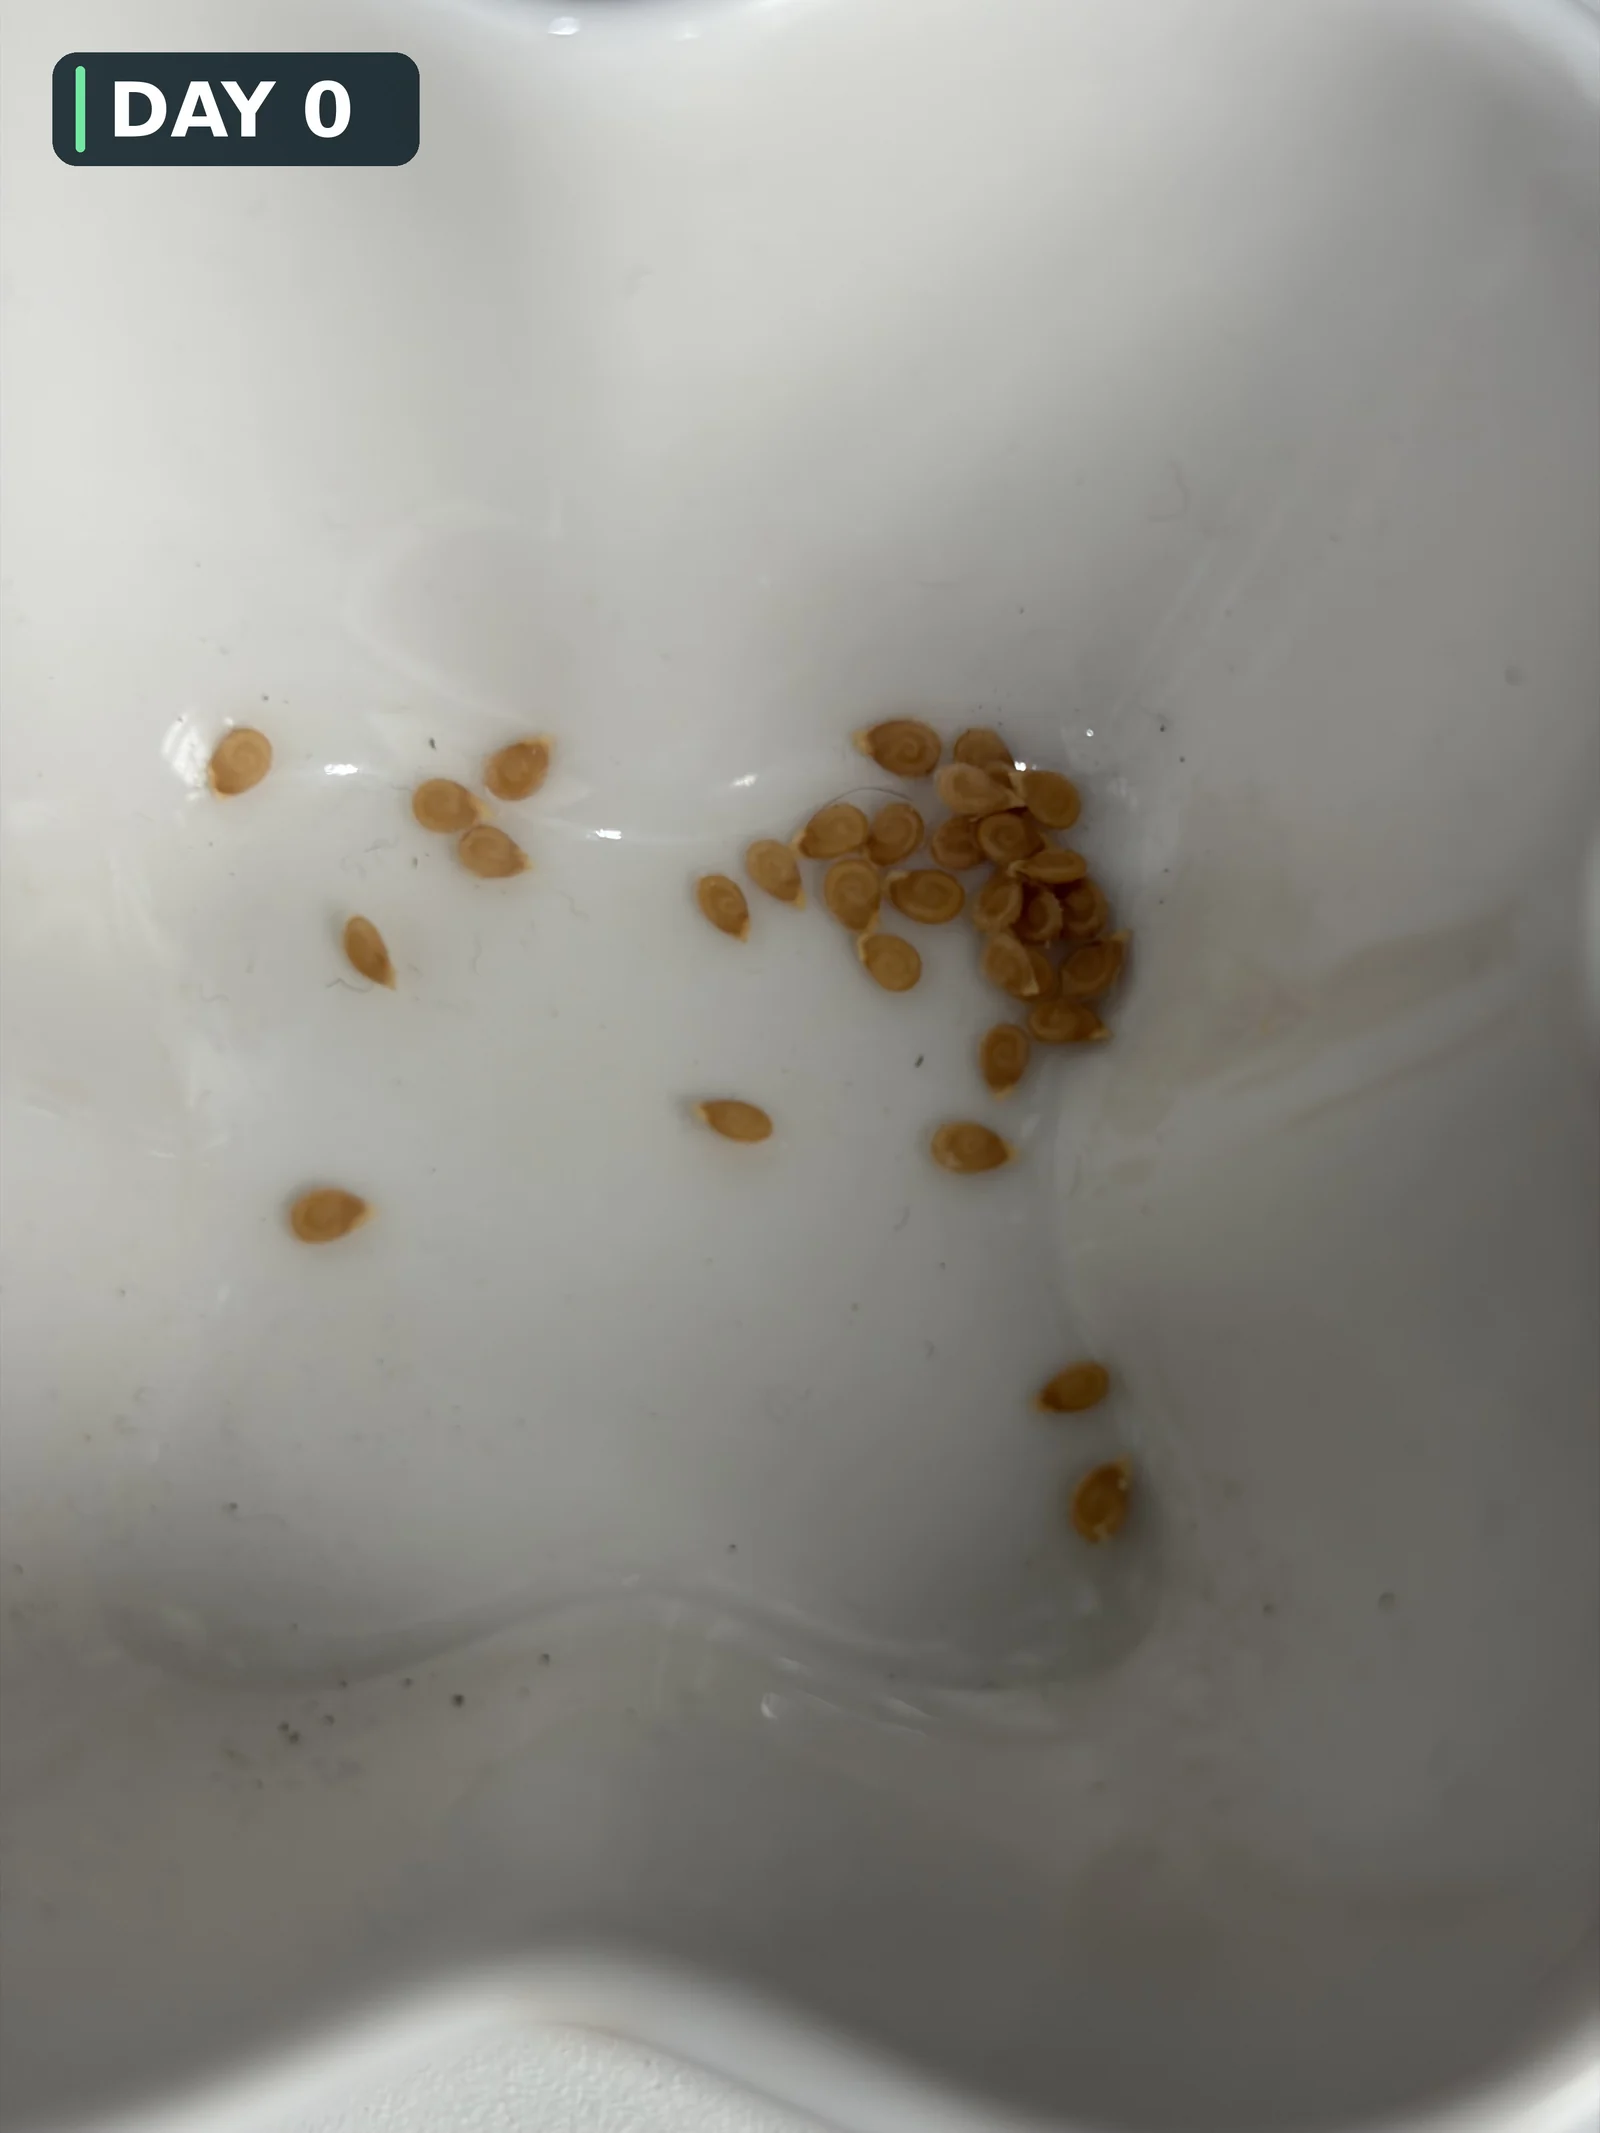
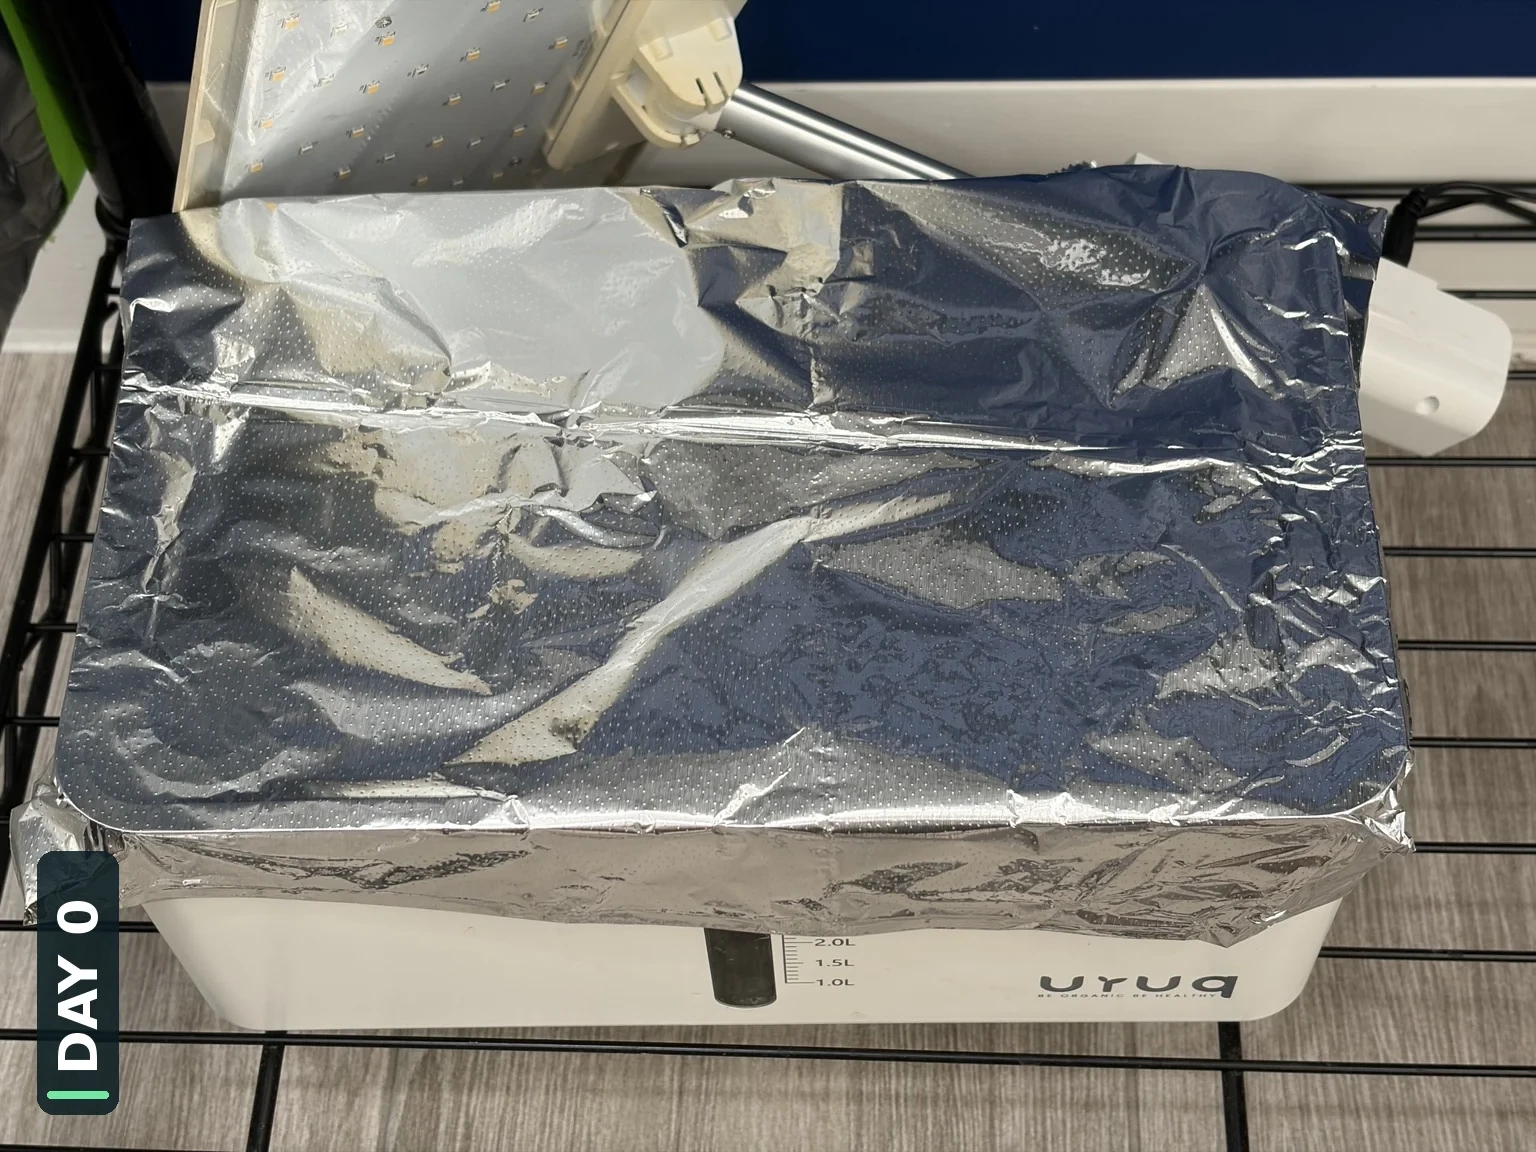
DAY 0 | Saving seeds and starting again
The starting point was not a packet of tomato seed. I saved seeds from a tomato we bought to eat, placed them in grow sponges, and started them in an 8-pod indoor hydroponic system.
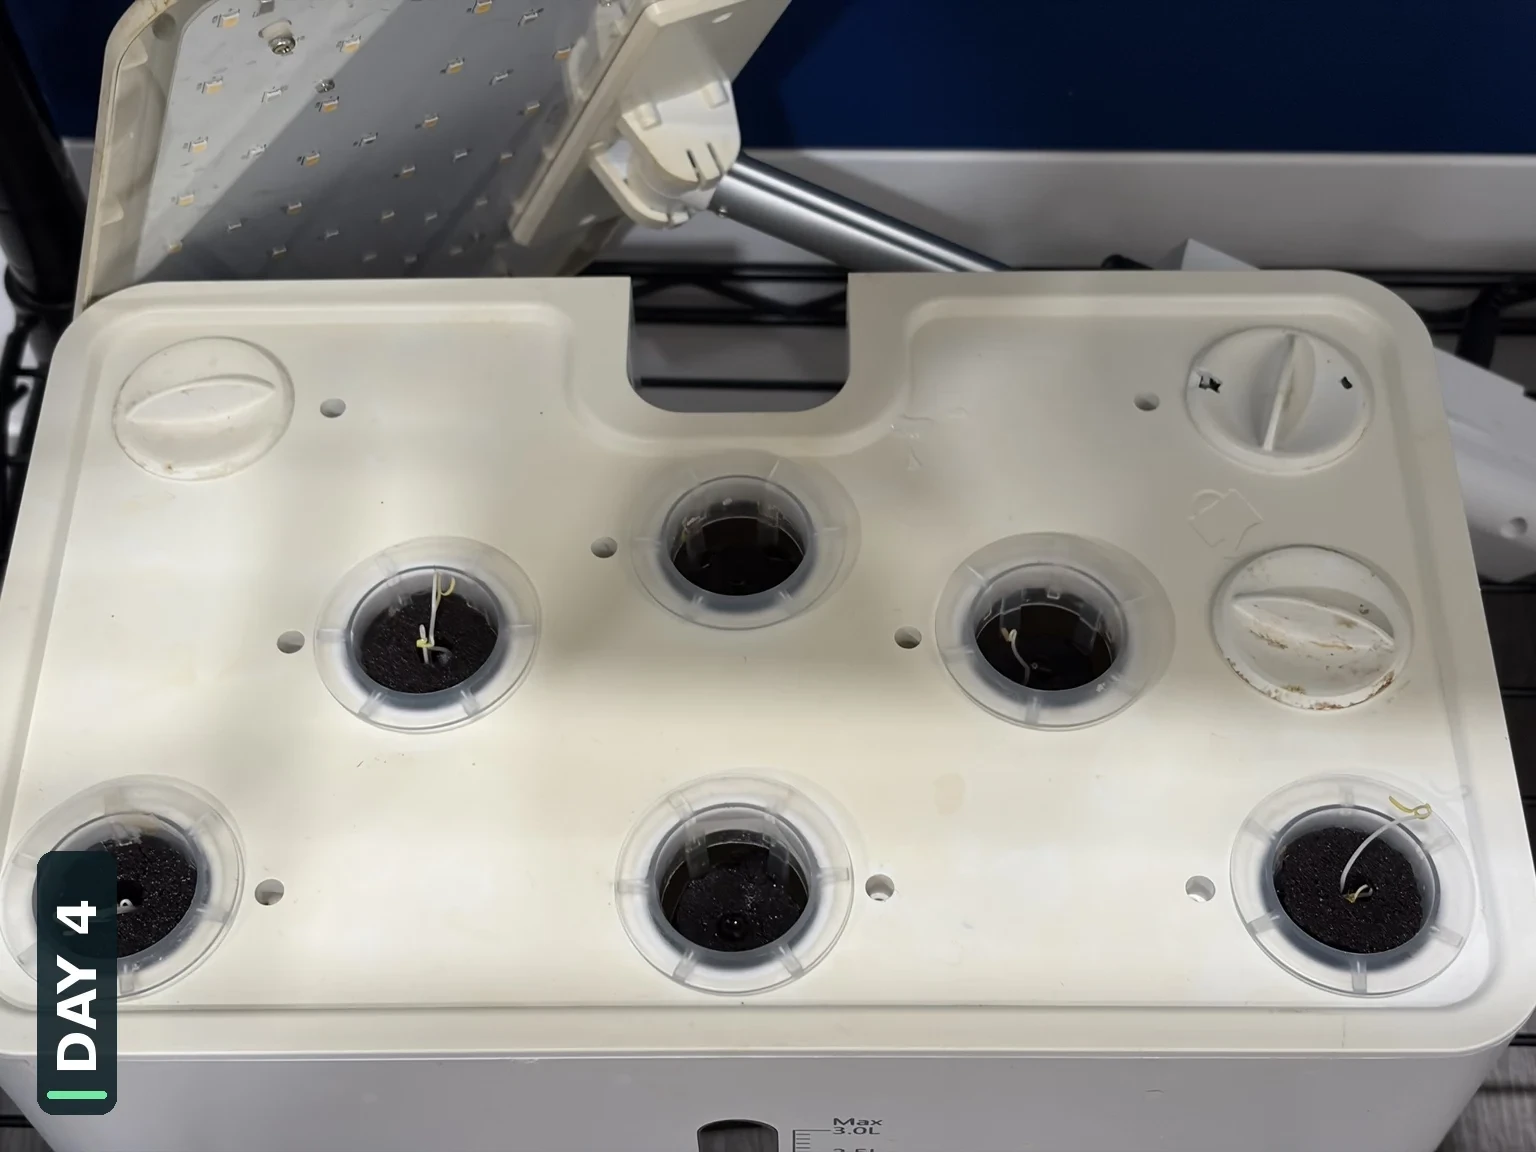
DAY 4 | Germination—and already a little leggy
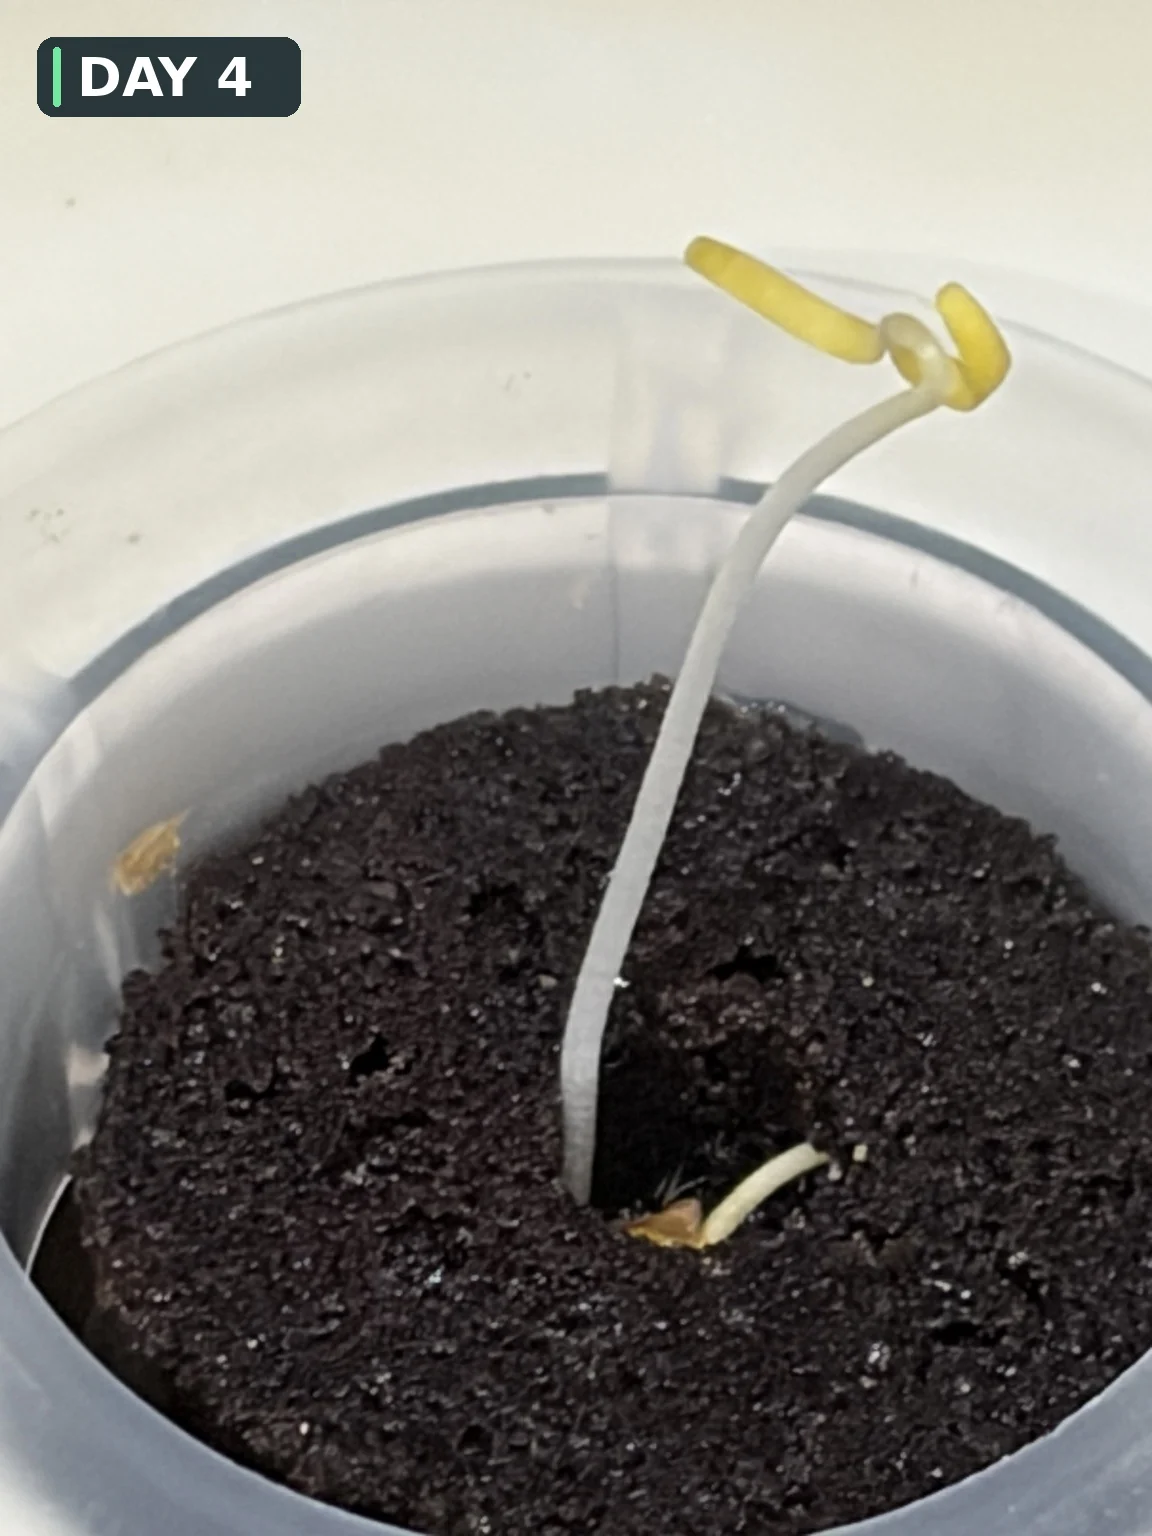
By Day 4, several seeds had clearly germinated. They had probably emerged earlier than I noticed: some stems were already long, thin, and pale. It was not a perfect start, but I kept the seedlings as-is and documented whether they could recover.
DAY 4→10 | The first true leaves appear
Over the next several days, the seedlings greened up and the center growth changed. By Day 10, the first true leaves were visible. Side by side, this is where the plant begins to look less like a newly germinated sprout and more like a tomato seedling.
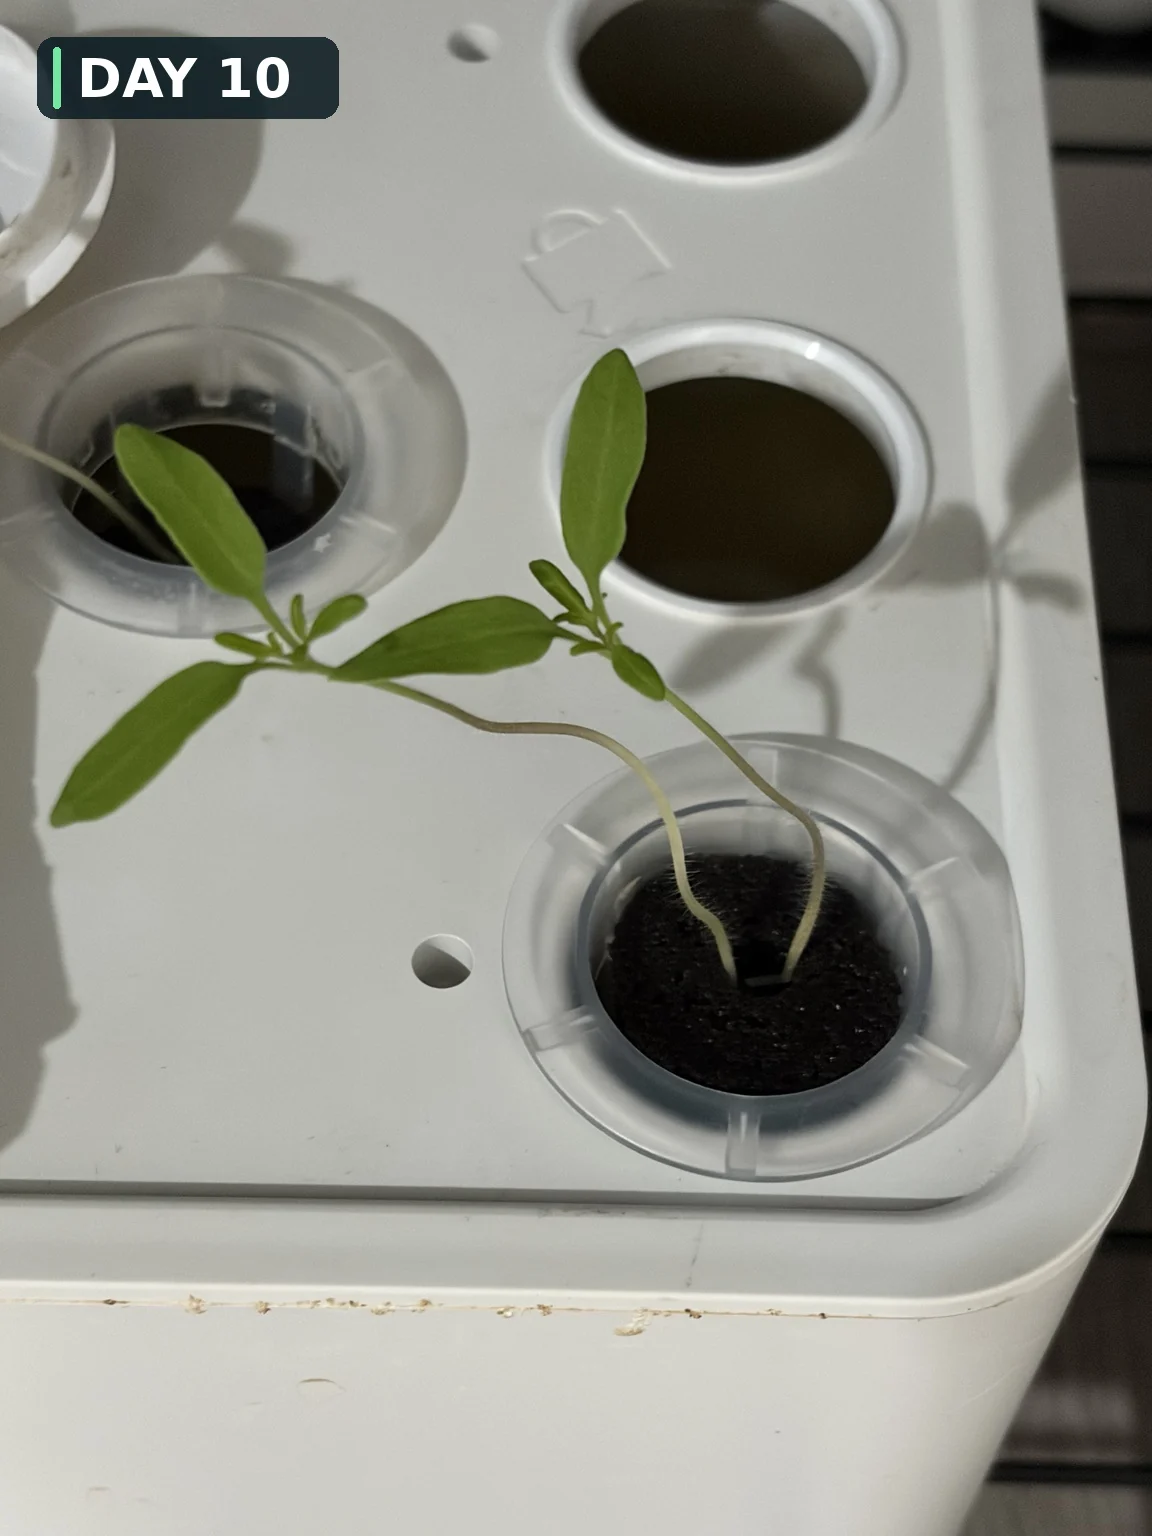
Day 4→10. The stretched young stems become greener, and the first true leaves begin to appear at the center. Watch the transition from a leggy sprout toward a tomato seedling.
DAY 10→16 | Much more recognizable tomato growth
Day 10 to Day 16 was one of the most visually obvious changes. The true leaves expanded rapidly, the serrated tomato-leaf shape became clearer, and the plant started to look established even though the early stretched stems were still visible.
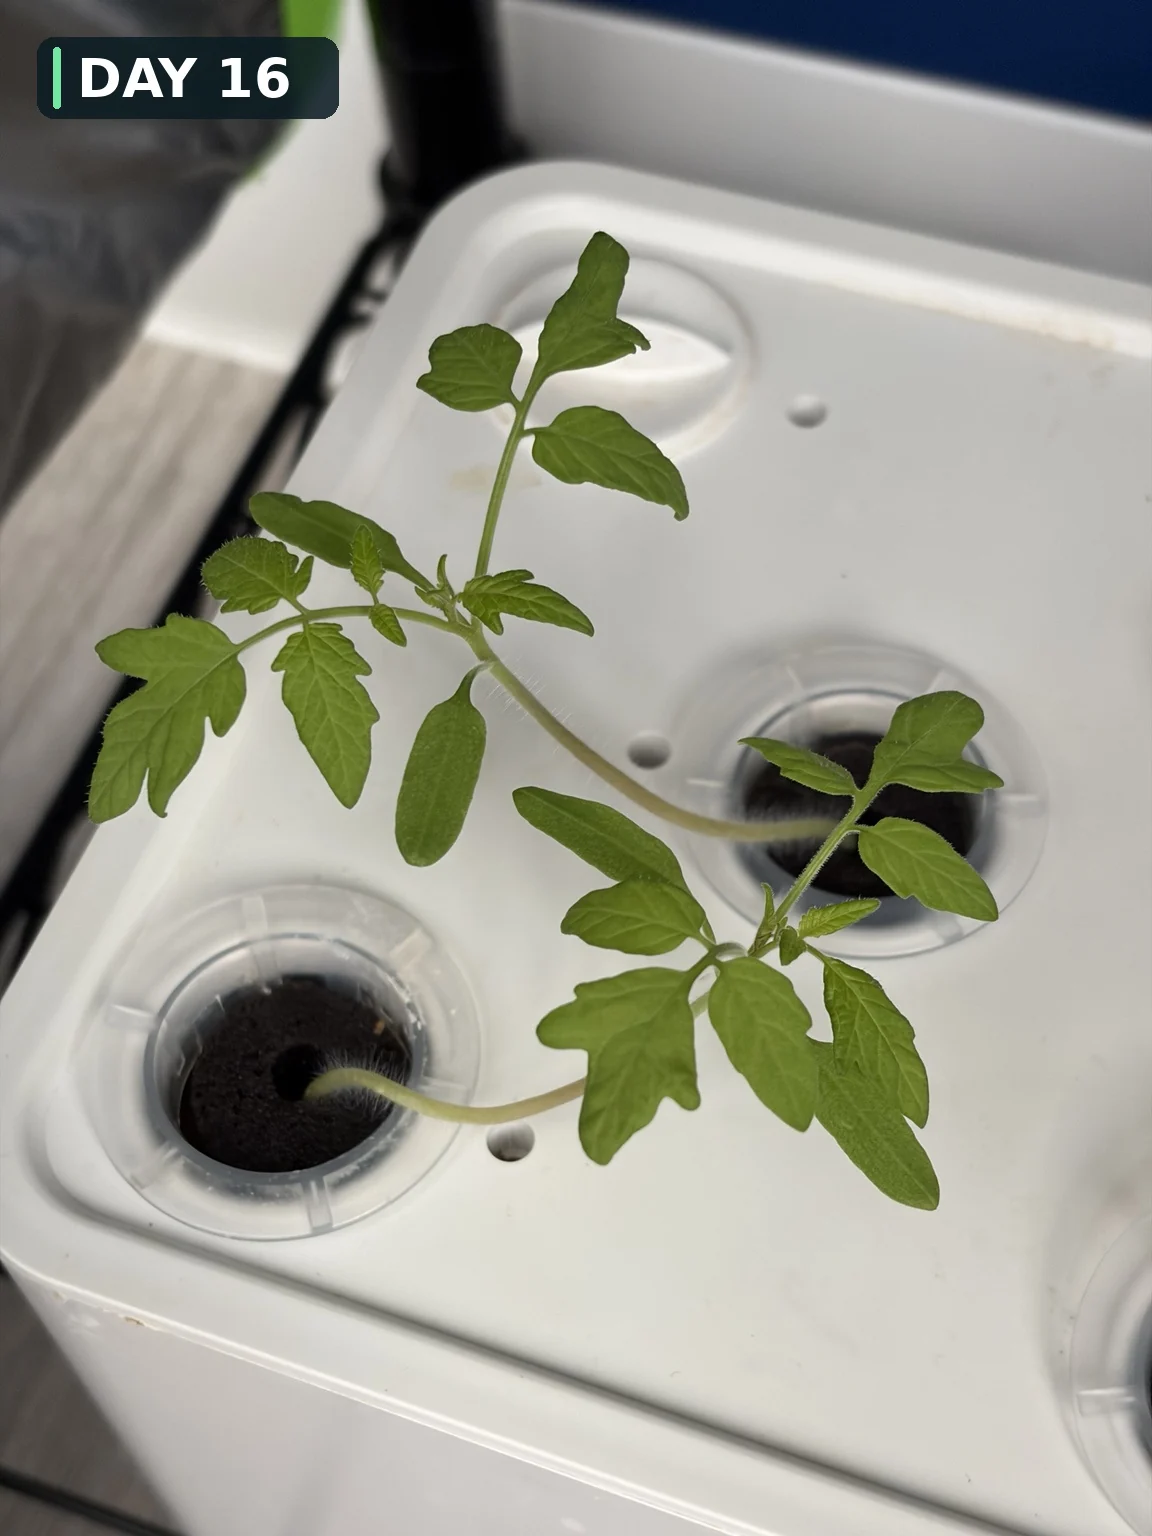
Day 10→16. True leaves spread, their serrated shape becomes more pronounced, and the seedlings start looking distinctly like young tomato plants.
DAY 16→23 | More leaf mass, then a split into two systems
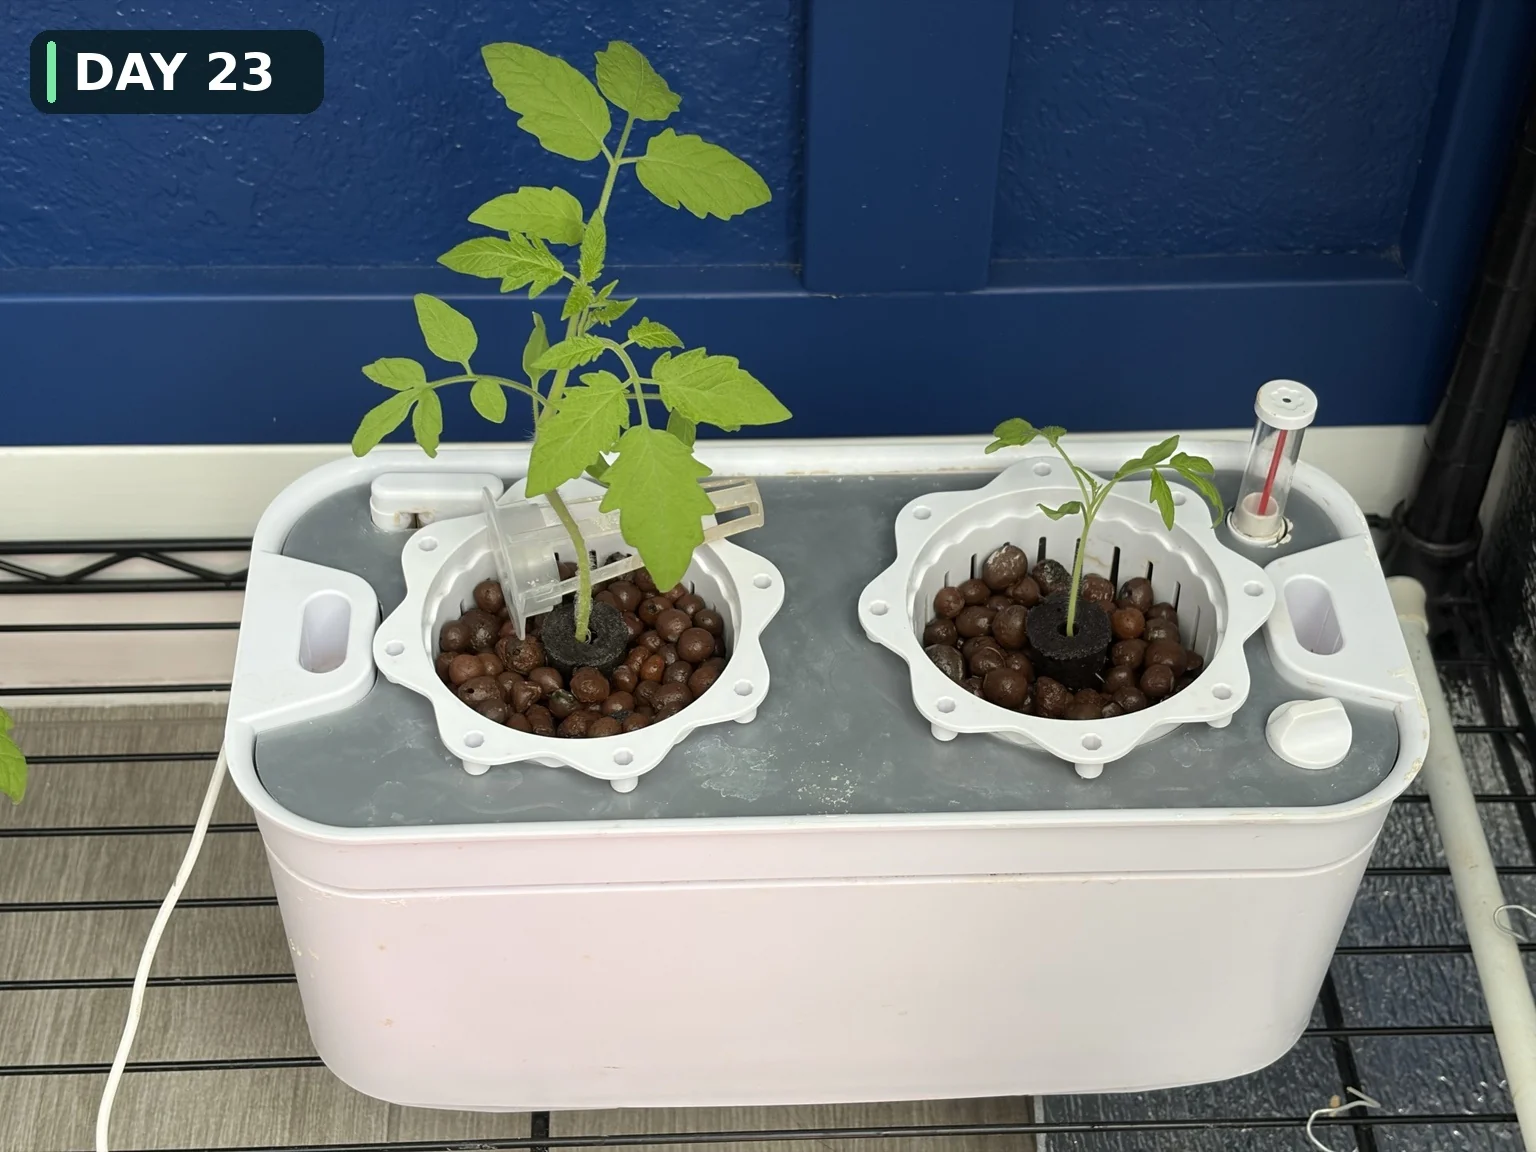
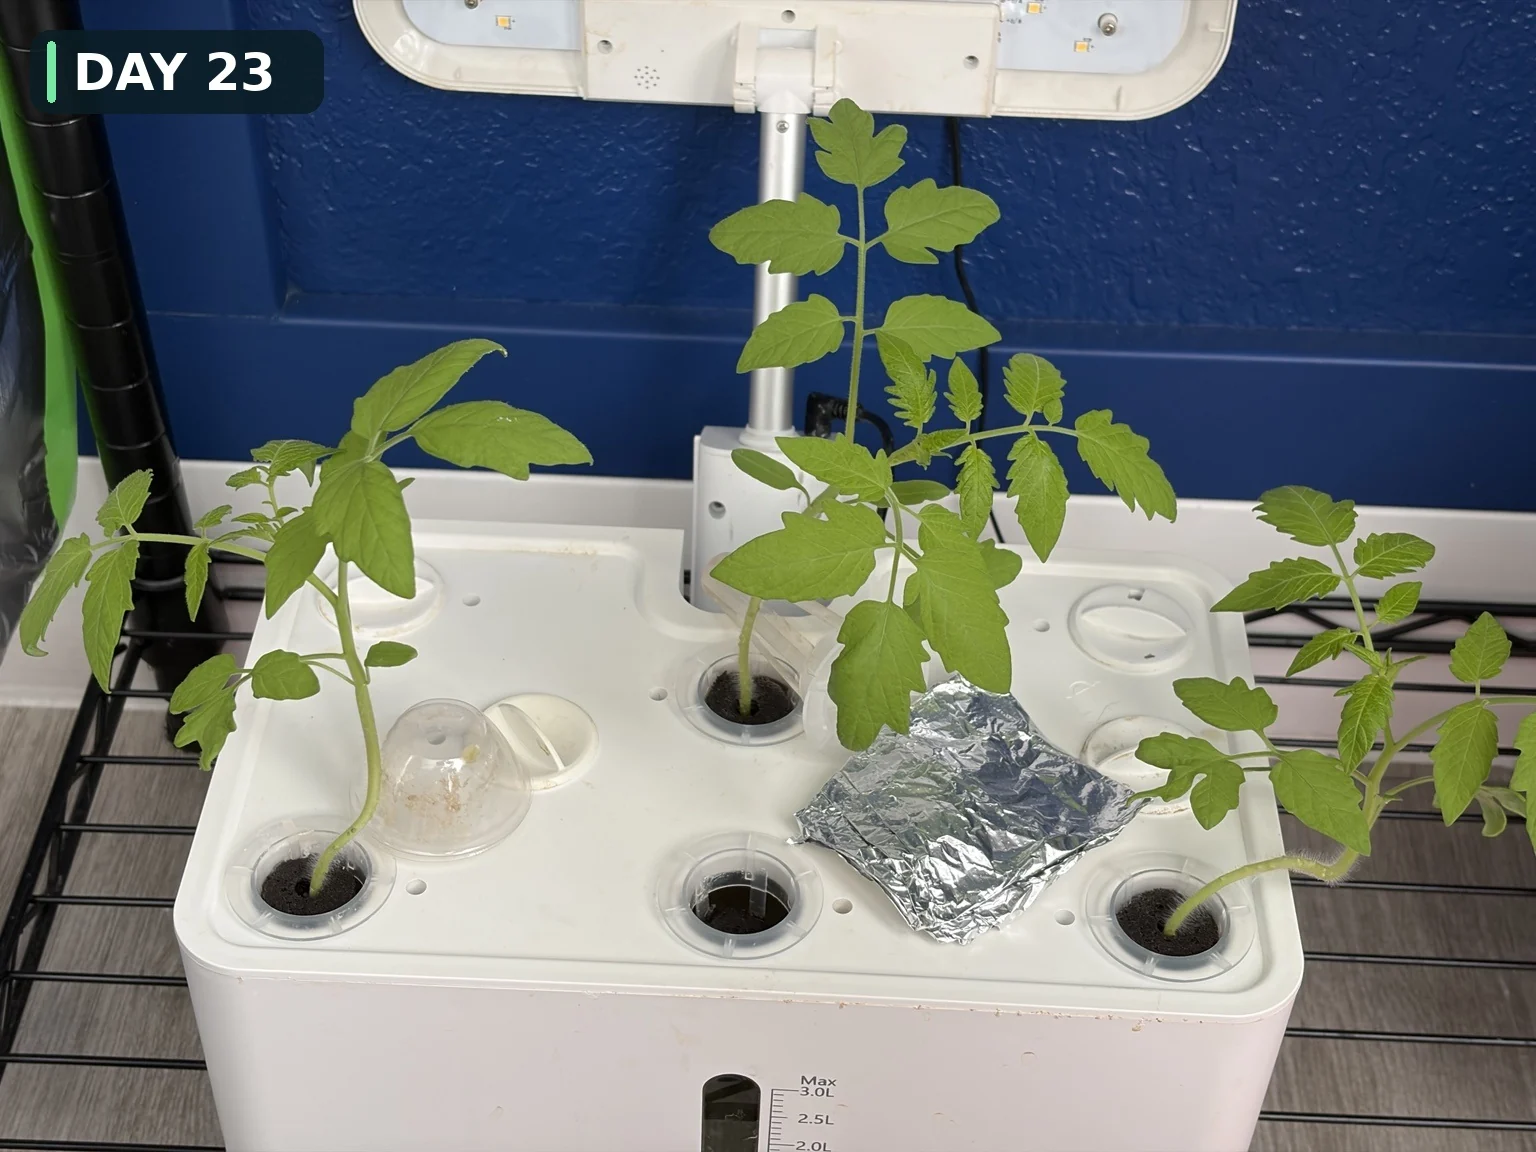
After Day 16, the plants kept filling the available space. Around Day 23 I brought a previously broken 6200LC system back into service after repairing its PCB and split the plants across two hydroponic units.
This was not a transplant into soil. The goal was simply to create more room while keeping the grow fully hydroponic.
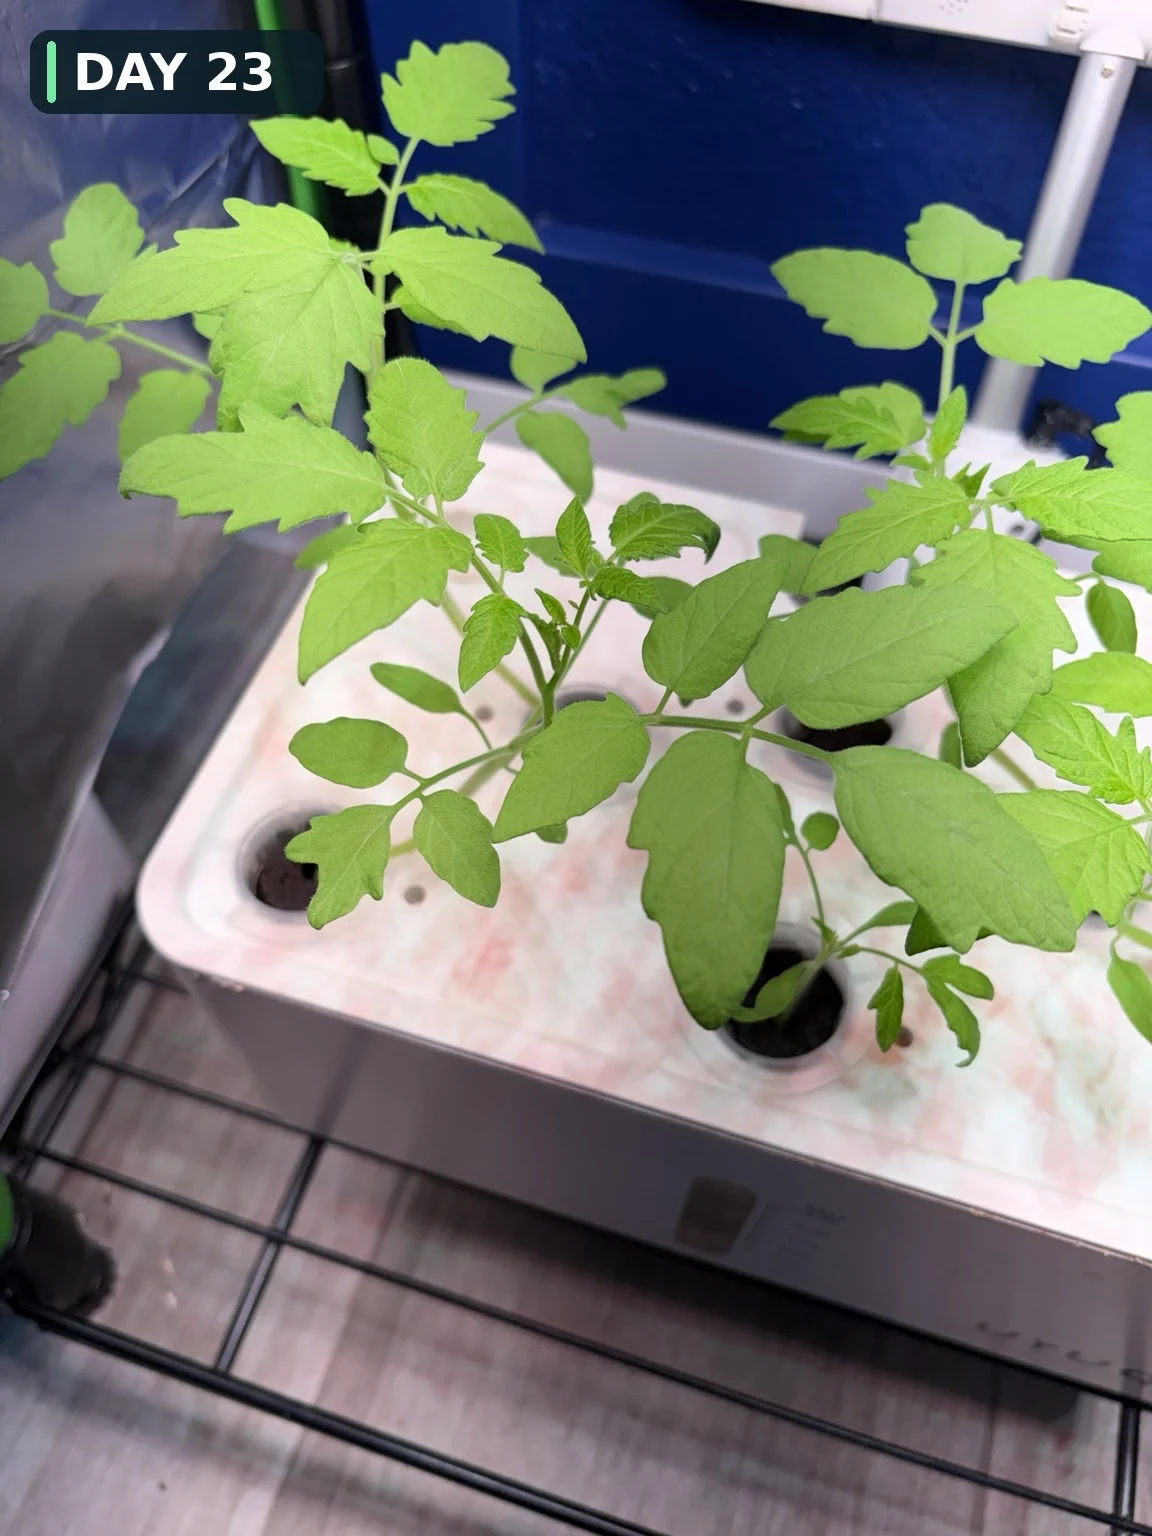
Day 16→23. The leaves expand and the plants begin to crowd each other. By Day 23, I had enough growth to divide them between two hydroponic systems.
DAY 23: two hydroponic systems
DAY 24→30 | Another week of growth after the split
From Day 24 through Day 30, the plants continued to add leaves and the stems became more substantial. The grow had started with noticeably leggy seedlings, but by the end of the first month the overall structure looked much more stable.
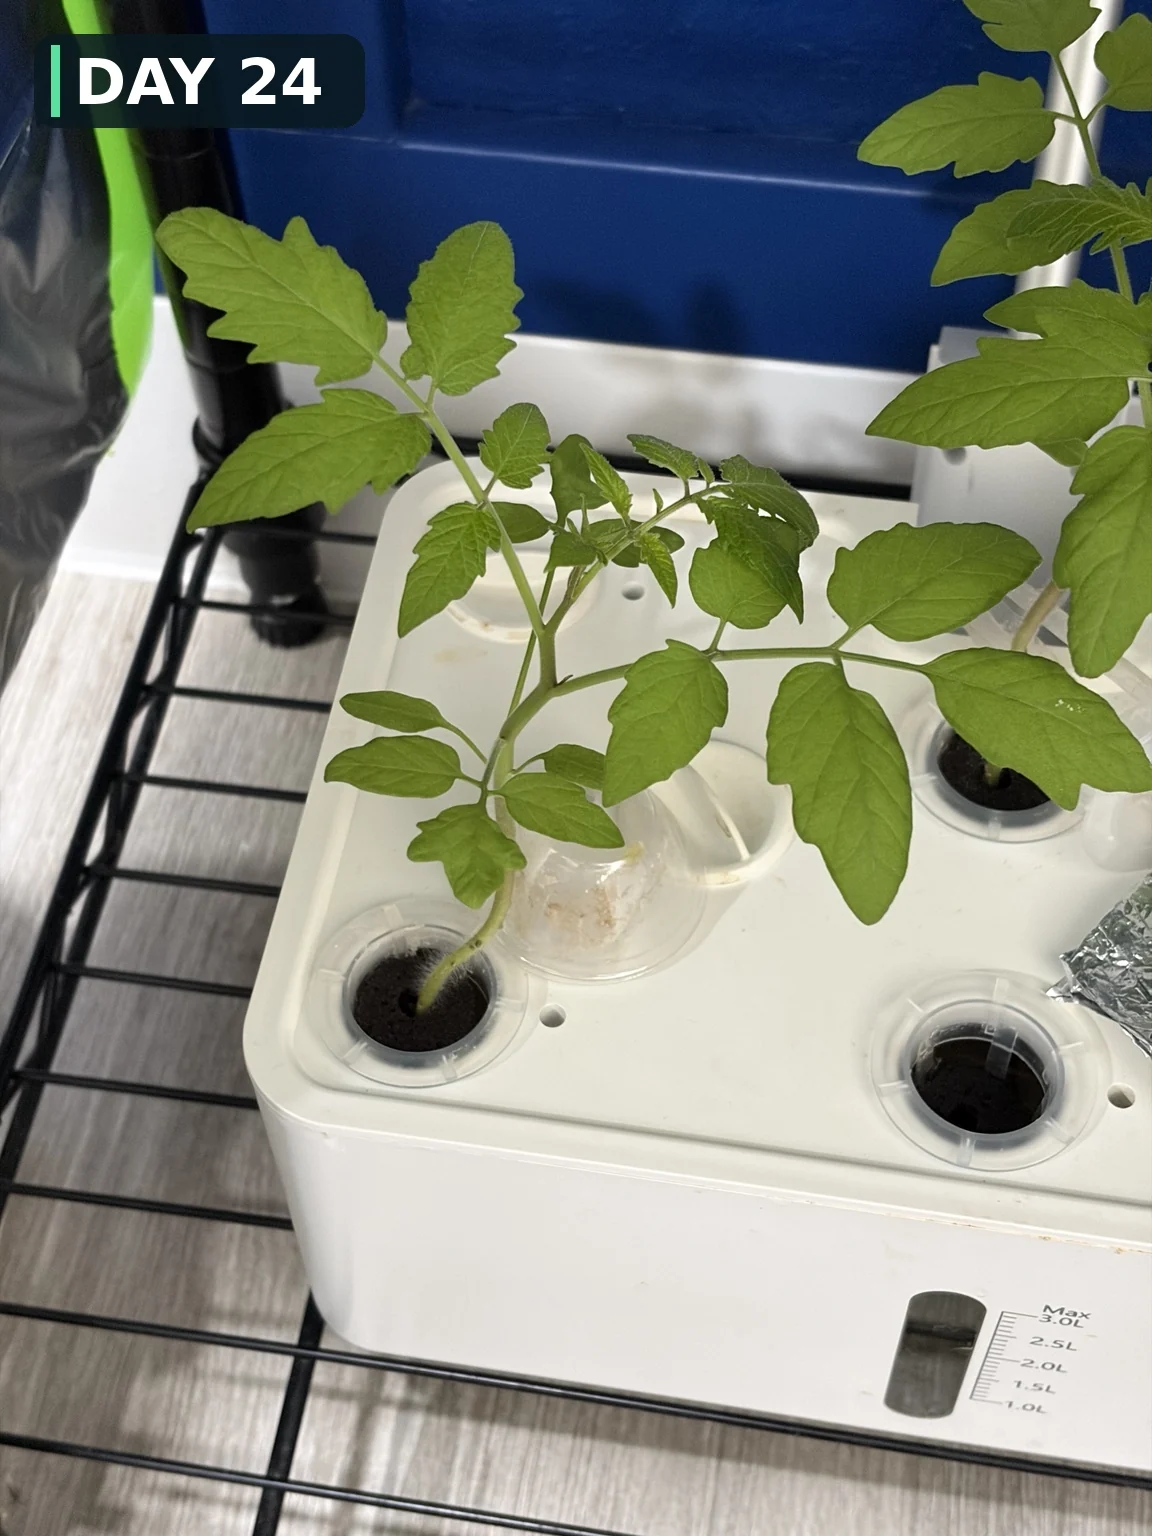
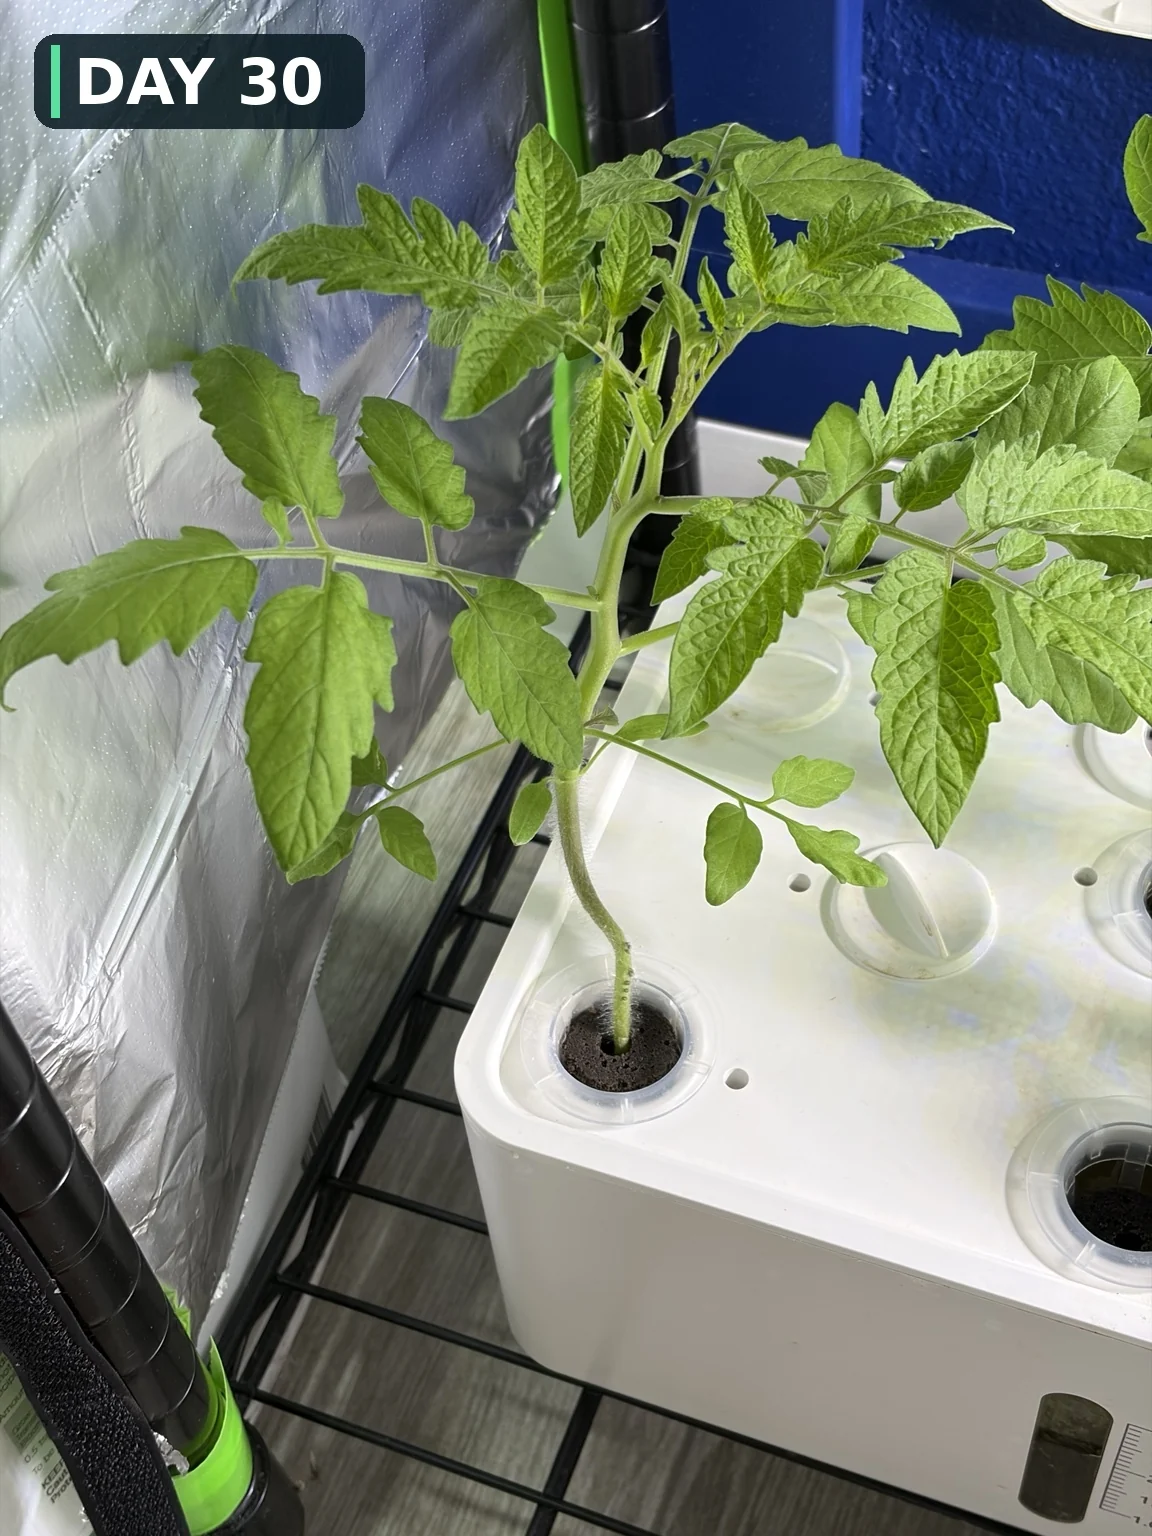
Day 24→30. After the split, new leaves keep appearing and the foliage grows fuller. Compared with the thin seedlings on Day 4, the change over the first month is striking.
First-month takeaway
Day 4 started with thin, slightly leggy seedlings. Once true leaves developed, leaf area increased quickly. By Day 23 I needed to spread the plants across two systems, and that growth continued through Day 30.
This is not a first-ever test of whether this method can reach harvest; I had already done that in the previous run. This article is the more carefully documented restart. The next chapter follows flower buds, flowering, and fruit set.
Equipment and nutrient links
These are the hydroponic systems, grow sponges, nutrients and LED equipment used during the first 30 days. See the growing conditions above for the actual lighting and top-up routine.
I post the day-to-day growth, mistakes, flower buds, blooms, and fruit development on X before turning the results into longer Web articles.
Questions or comments?
Send a question about the hydroponic setup, germination, leggy seedlings, or the grow log.