
Brewing Ruby Porter in a BeerDroid
After kegging a German Weissbier, I cleaned the BeerDroid and started the next batch: BrewArt Ruby Porter. About 34 hours later, fermentation foam overflowed through the vent at the top. I followed the temperature control, Yeast Cleanup, EOF at about eight days, transfer into two kegs, and the finished tasting after at least 14 days of conditioning.
Batch at a glance
| Batch | Ruby Porter |
|---|---|
| Brewer | BrewArt BeerDroid |
| Batch size | 10 L (2.6 gal) |
| Base program | Propagate 19°C (66°F) / Ferment 16°C (61°F) / Keg 18°C (64°F) / Store 4°C (39°F) |
| Main event | Overflow through the top vent at about 34 hours |
| Yeast Cleanup | Target increased from 16°C to 17°C (61°F to 63°F) at about 5 days 1 hour |
| Fermentation complete | EOF at about eight days, followed by the 18°C kegging stage |
| Kegging order | H9 in each keg → transfer beer → add primer after transfer |
| Conditioning | At least 14 days of secondary fermentation in the kegs |
| Tasting | Coffee- and cacao-like bitterness with rich, chocolate-like body and sweetness |
Planning the brewing order first
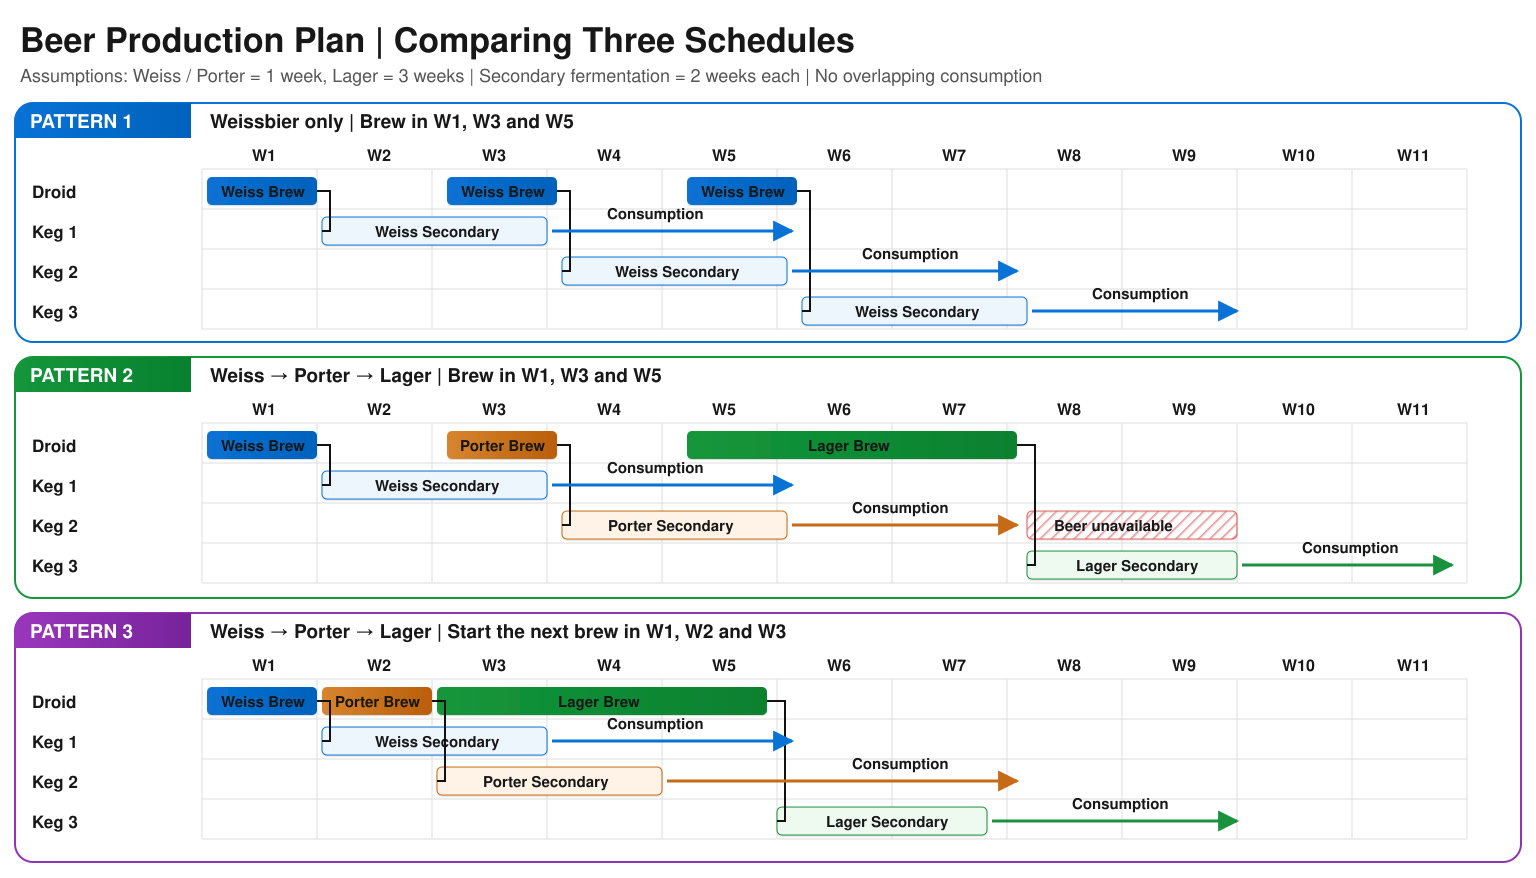
I have one BeerDroid but several 5 L kegs. Before starting, I compared three schedules that overlap active fermentation in the Droid with secondary fermentation in the kegs.
For this batch, I chose a sequence that moved from Weissbier to Ruby Porter instead of repeating the same beer. The chart below is the plan I made before brewing. This article covers the Ruby Porter portion of that plan.
Gear and supplies used in this article
BrewArt BeerDroid
A 10 L automated brewer that controls fermentation temperature and stages, with status monitoring through the BrewArt app.
View the BrewArt BeerDroid on the official site →
Ruby Porter BrewPrint
The BeerDroid ingredient pack used here. BrewArt lists a 5–8 day brewing time and at least 14 days of secondary fermentation after kegging.[1]
View the Ruby Porter BrewPrint on the official site →
BrewArt 5 L Kegs
The 10 L batch was split between two lined 5 L (1.3 gal) PET kegs for secondary fermentation.
View BrewArt 5 L Kegs on the official site →
Five Star Star San Sanitizer
I used it on beer-contact kegging parts such as the 5 L kegs, caps, spears, and transfer tube. The BeerDroid itself was sanitized with the Droid Cleanse included in the BrewPrint.
What came in the Ruby Porter BrewPrint
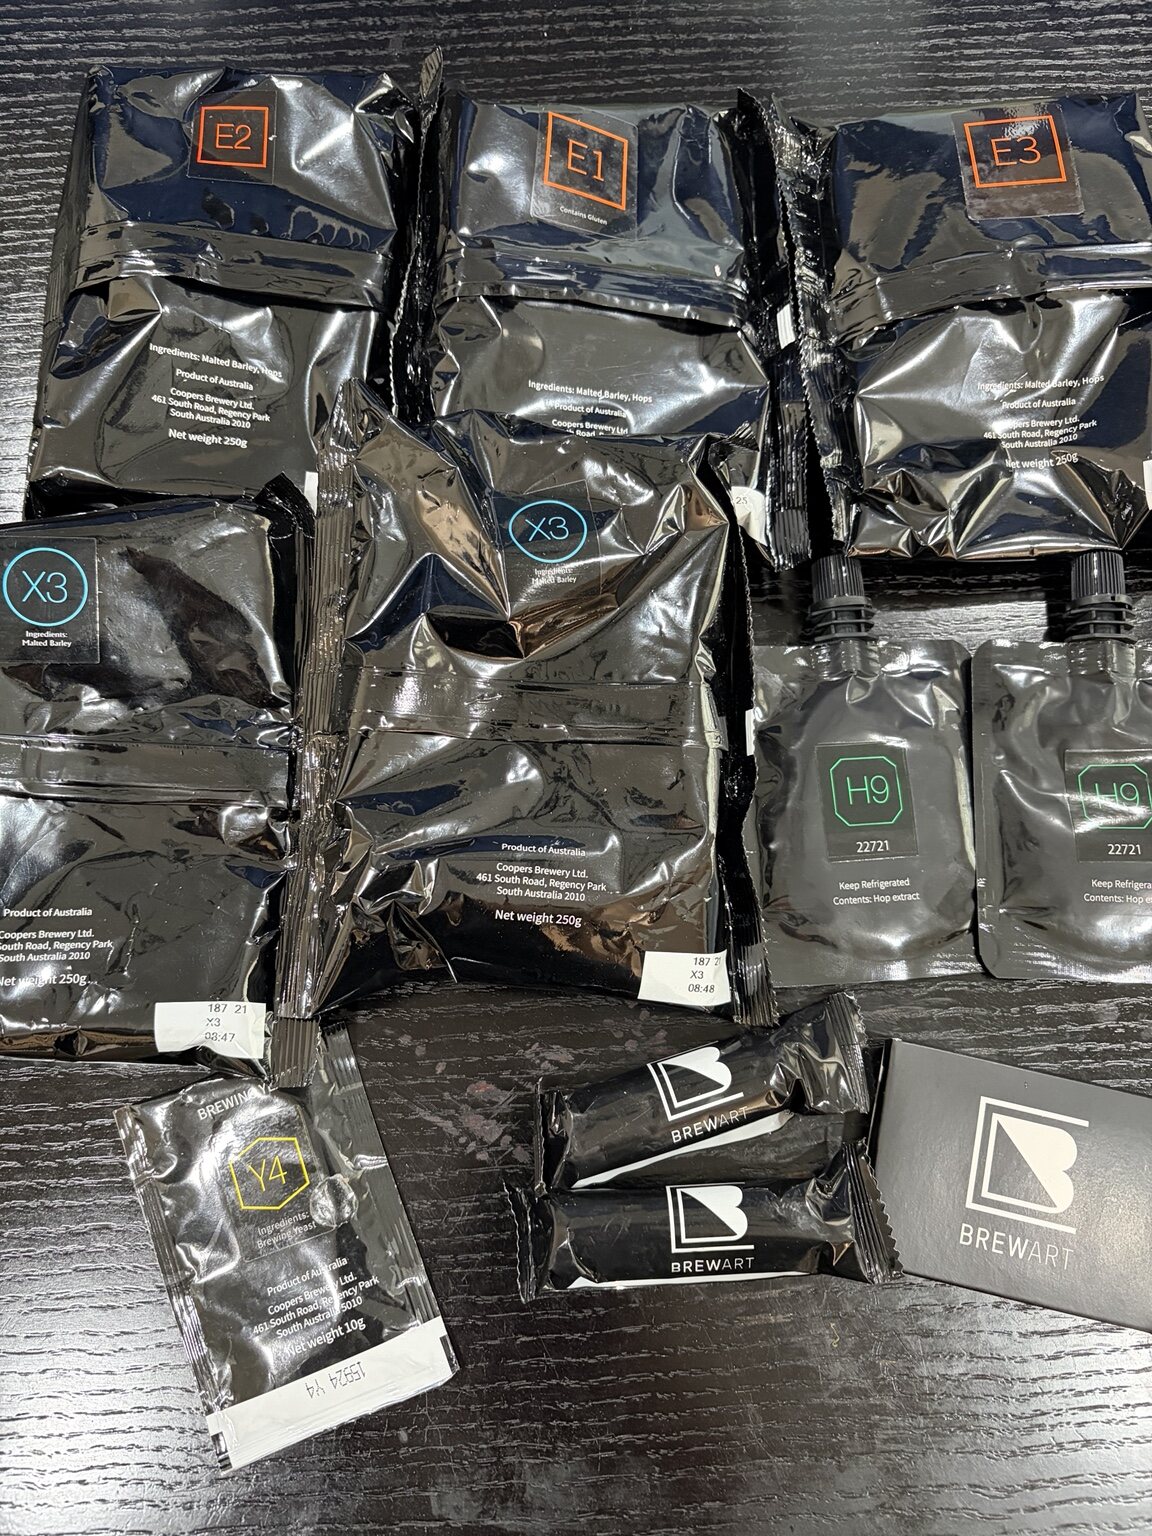
The pack included E1, E2, and E3 DME; X3 enhancer; Y4 yeast; H9 for both kegs; two primers; and Droid Cleanse. BrewArt describes the result as a British-style porter with an estimated 5.5% ABV, bitterness of 27, color of 55, and notes of toffee and faint chocolate.[1]
Cleaning and sanitizing after the Weissbier
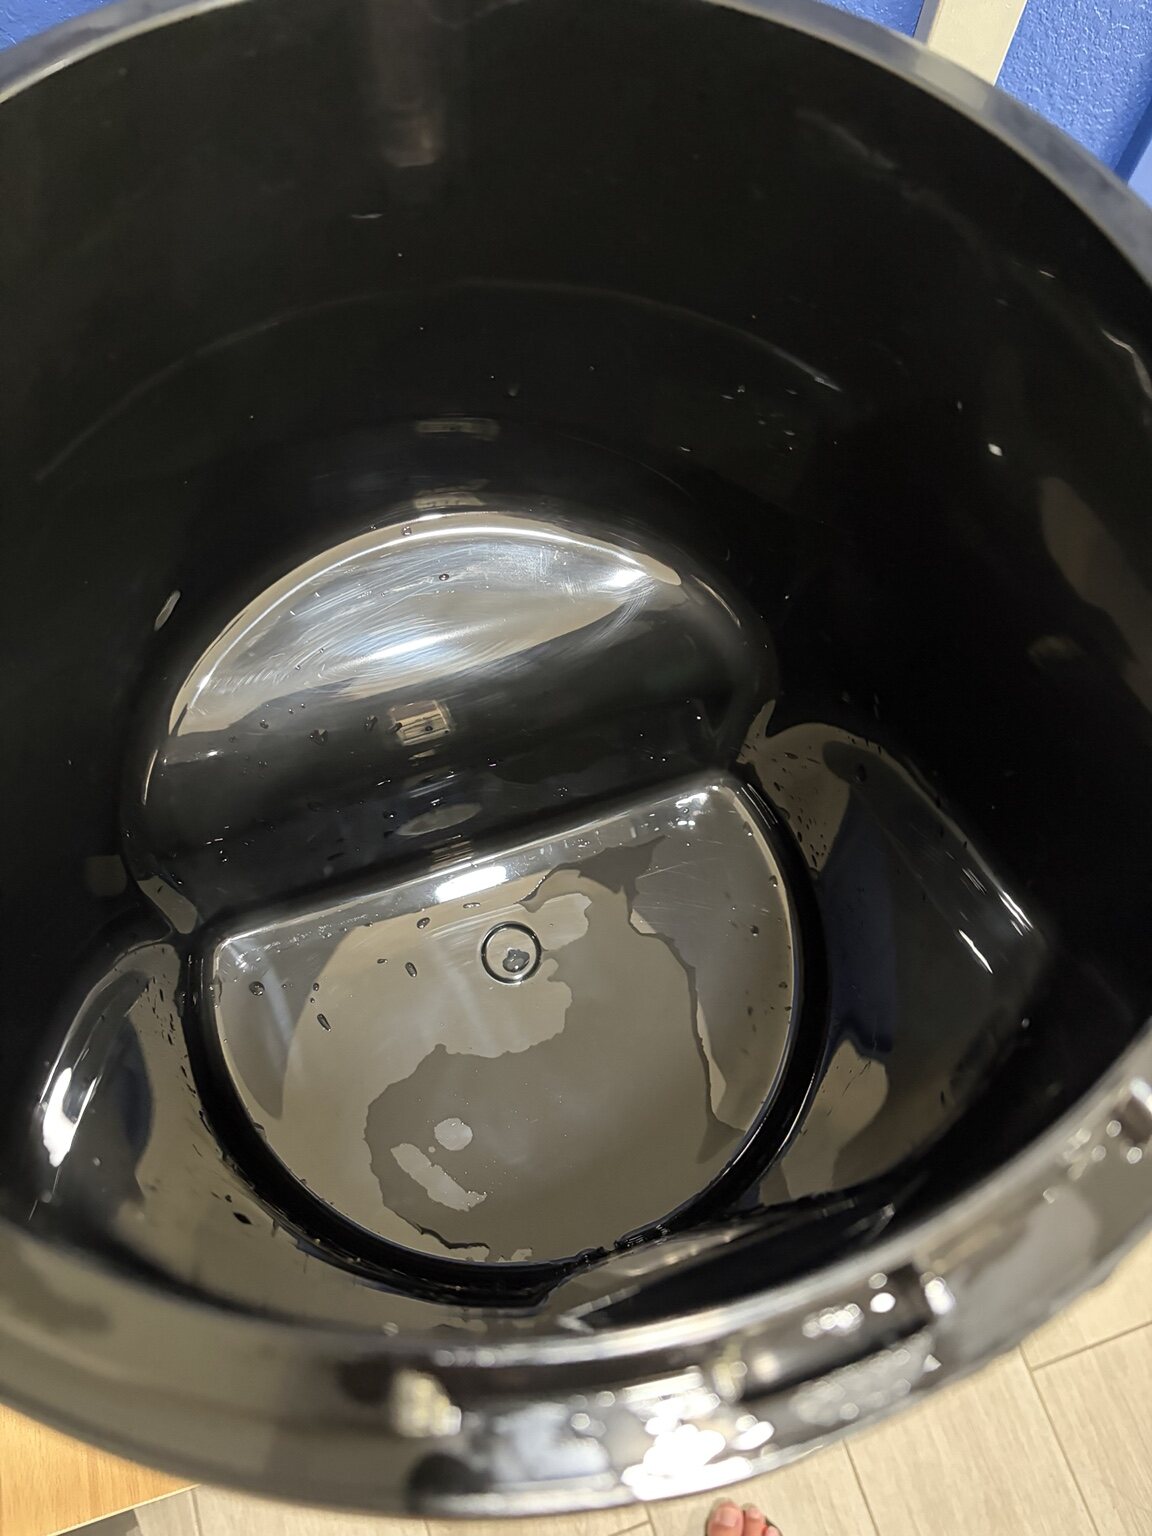
I started by cleaning the BeerDroid after transferring the previous batch. Fermentation residue was still inside, so I cleaned the vessel and removable parts, then sanitized with the included Droid Cleanse. I left the Cleanse solution in the Droid for about one hour, ran a small amount through the tap, and waited another hour so the tap path was sanitized too.
Fill to 10 L, then yeast → DME → enhancer
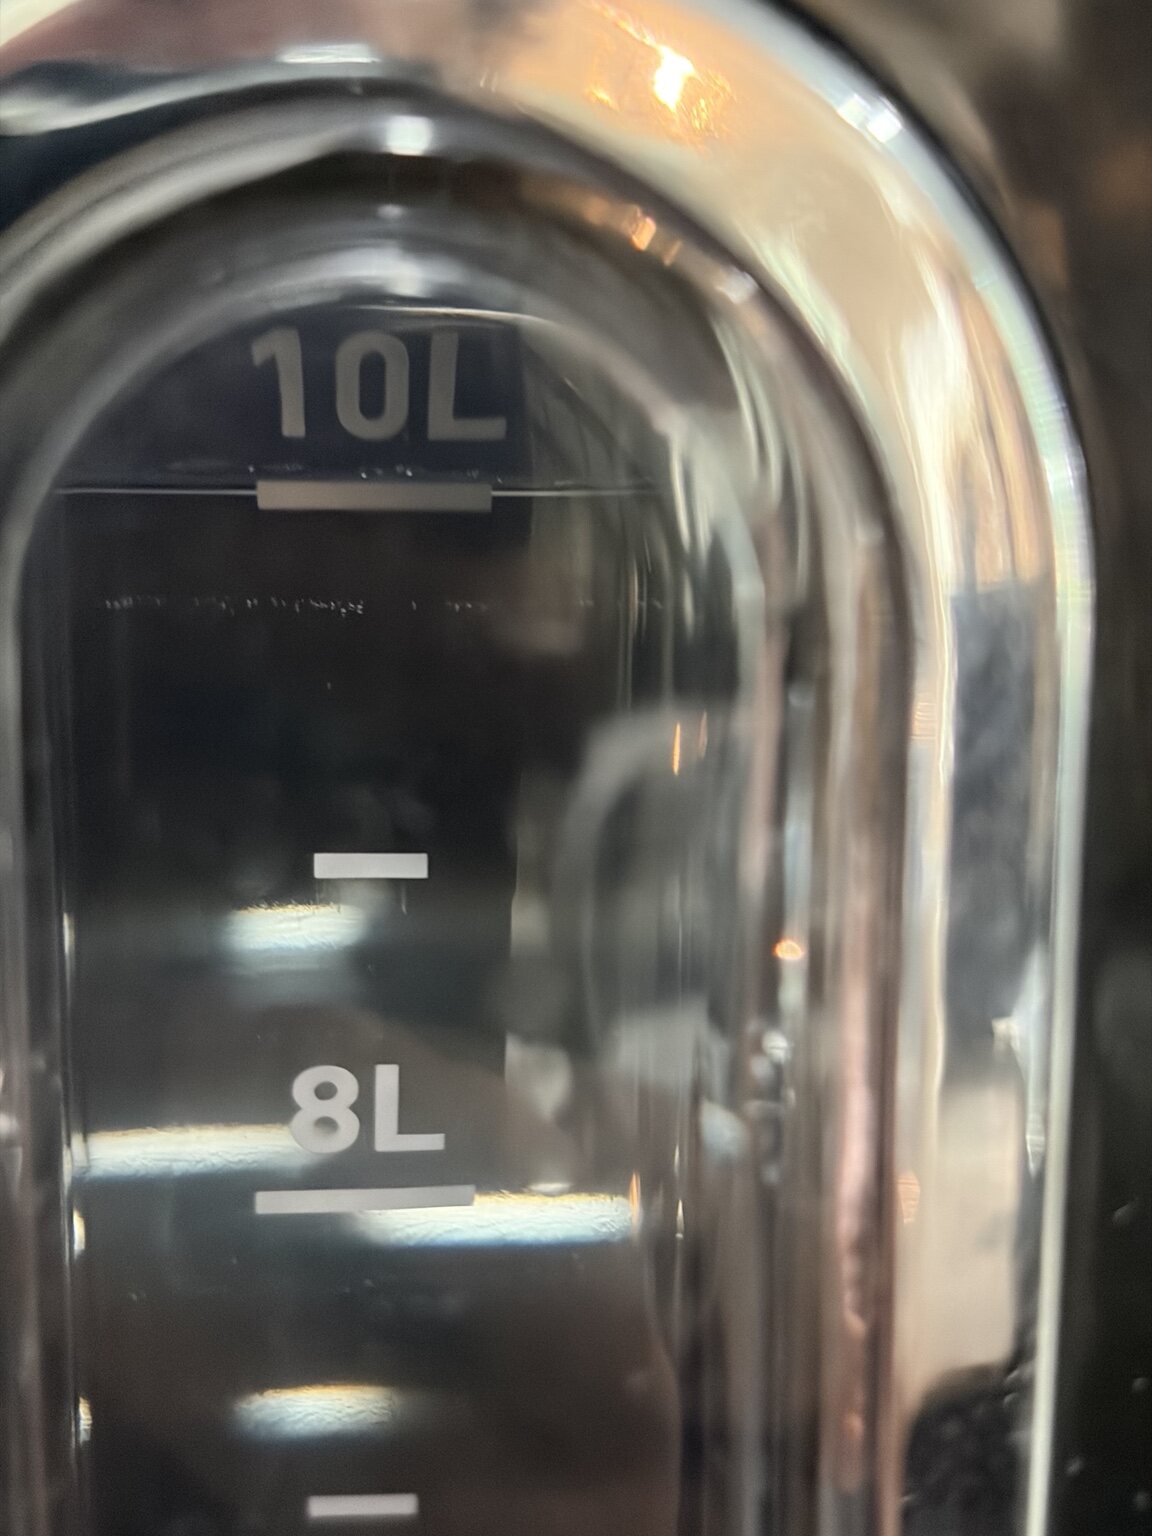
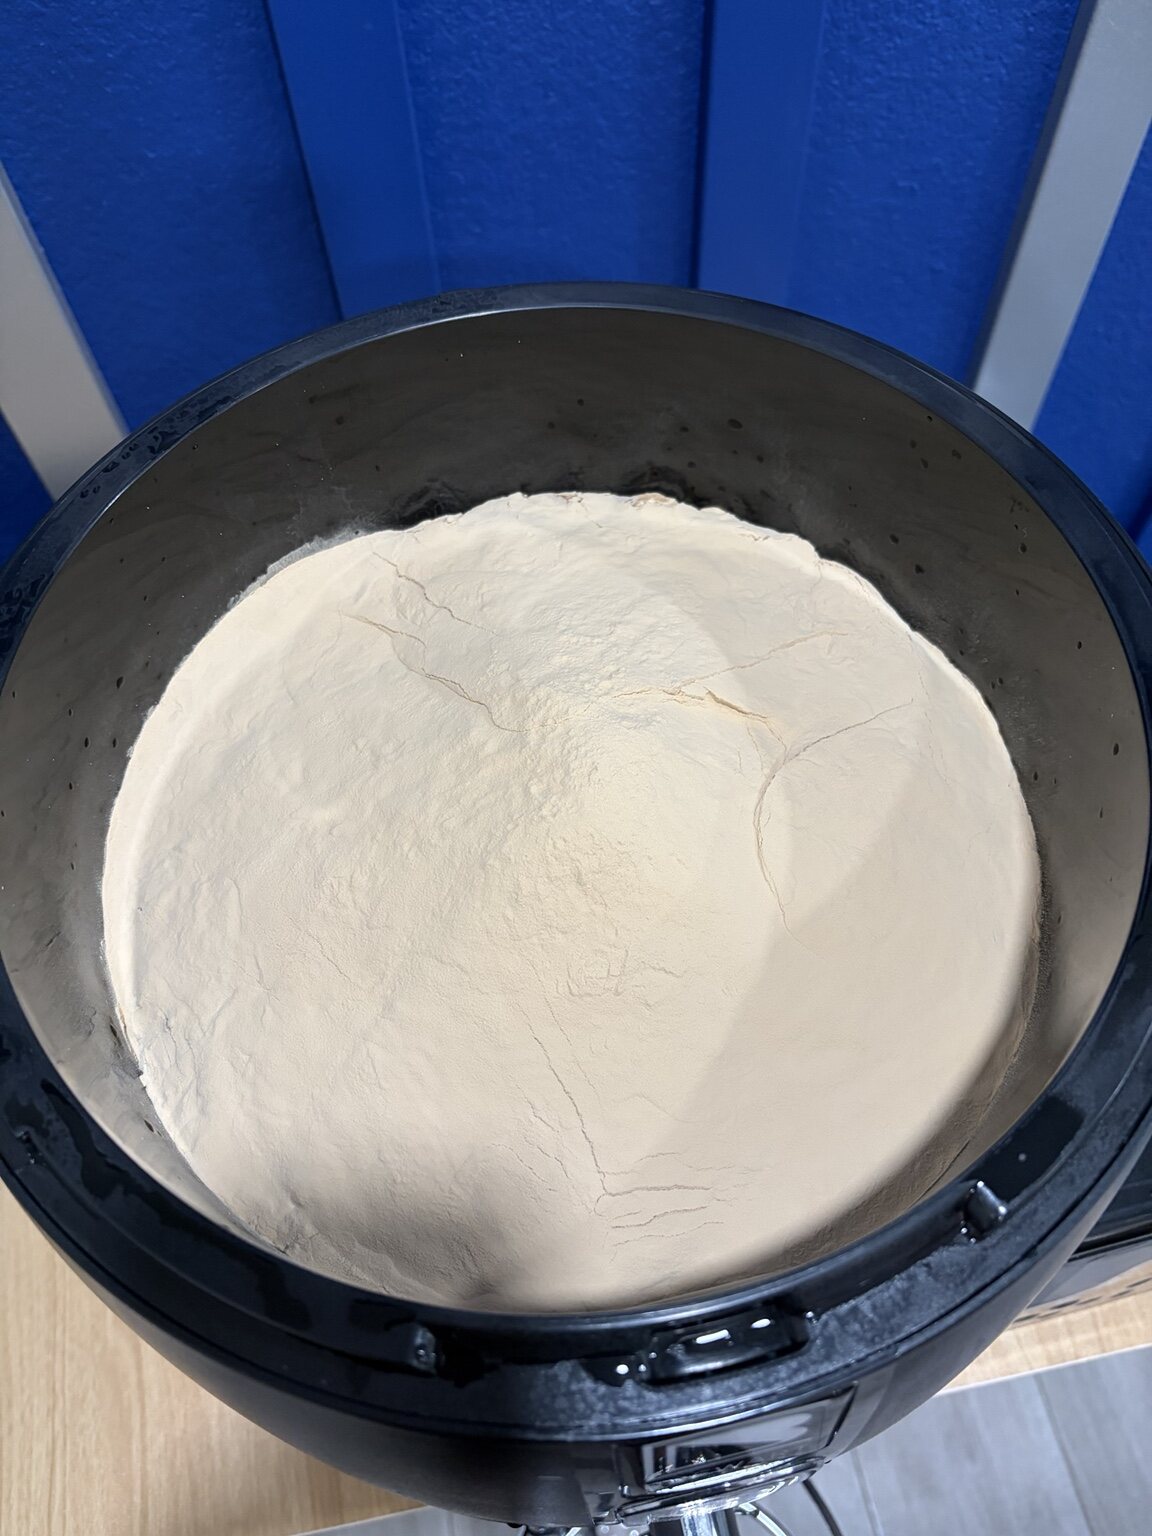
After sanitizing, I filled the BeerDroid to the 10 L mark. My ingredient order was Y4 yeast first, then E1/E2/E3 DME, followed by X3 enhancer. The ingredients looked much darker than the Weissbier ingredients, and visibility through the wort disappeared quickly after adding the DME.
From Propagate to Ferment
The Ruby Porter program begins with Propagate at 19°C (66°F), then moves to Ferment at 16°C (61°F). I checked the app shortly after starting and again around ten hours later, but those screenshots only show when I looked. They do not mean the cooling process took ten hours.
Once Ferment began, the displayed temperature generally stayed within about ±1°C (±2°F) of the 16°C target. The individual readings matter less than the fact that the BeerDroid held the batch close to its target in a Houston home. BeerDroid automatically controls the programmed stages and uses its EOF technology to determine the end of fermentation.[2]
At about 34 hours, foam overflowed through the vent
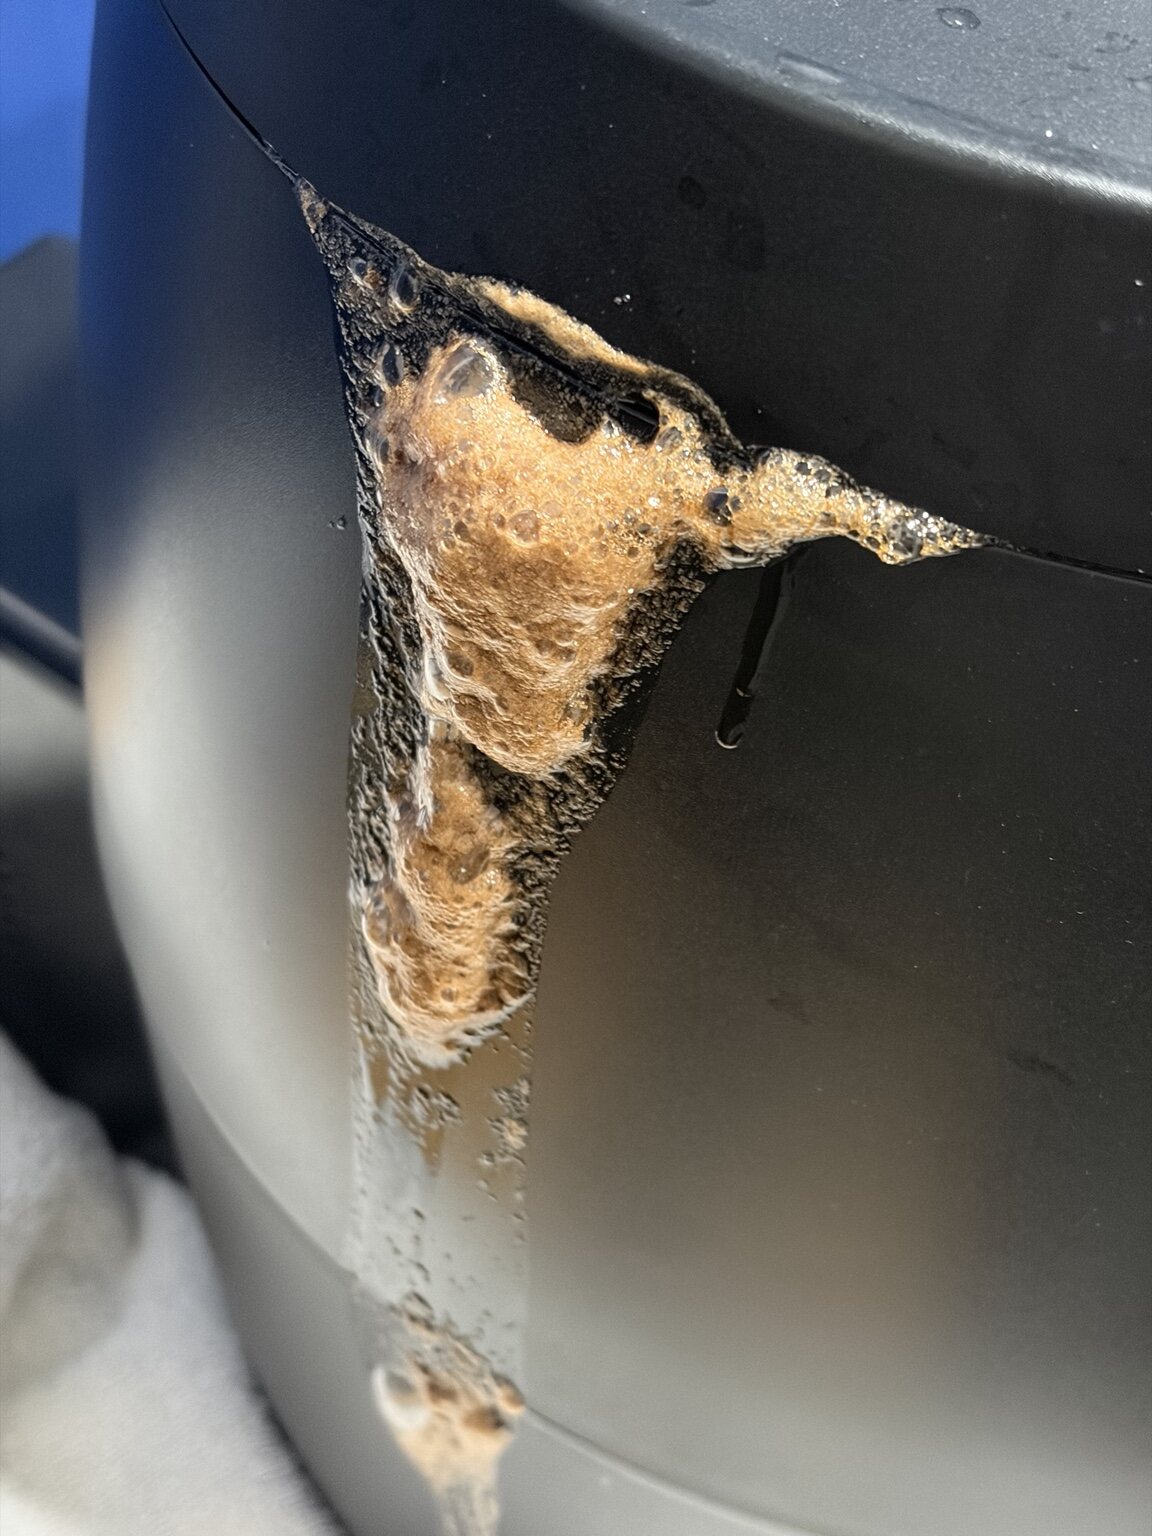
At about 1 day 10 hours—roughly 34 hours after starting—foam pushed out through the vent opening at the top of the BeerDroid and ran down the side. This was not a leak from a seam. It was active fermentation escaping through the opening designed to relieve pressure.
The app still showed a temperature close to the 16°C target, so I do not attribute the overflow to excessive temperature. BrewArt specifically warns that vigorous fermentation may overflow from the vent port during the first 48 hours.[1] My overflow occurred inside that window.
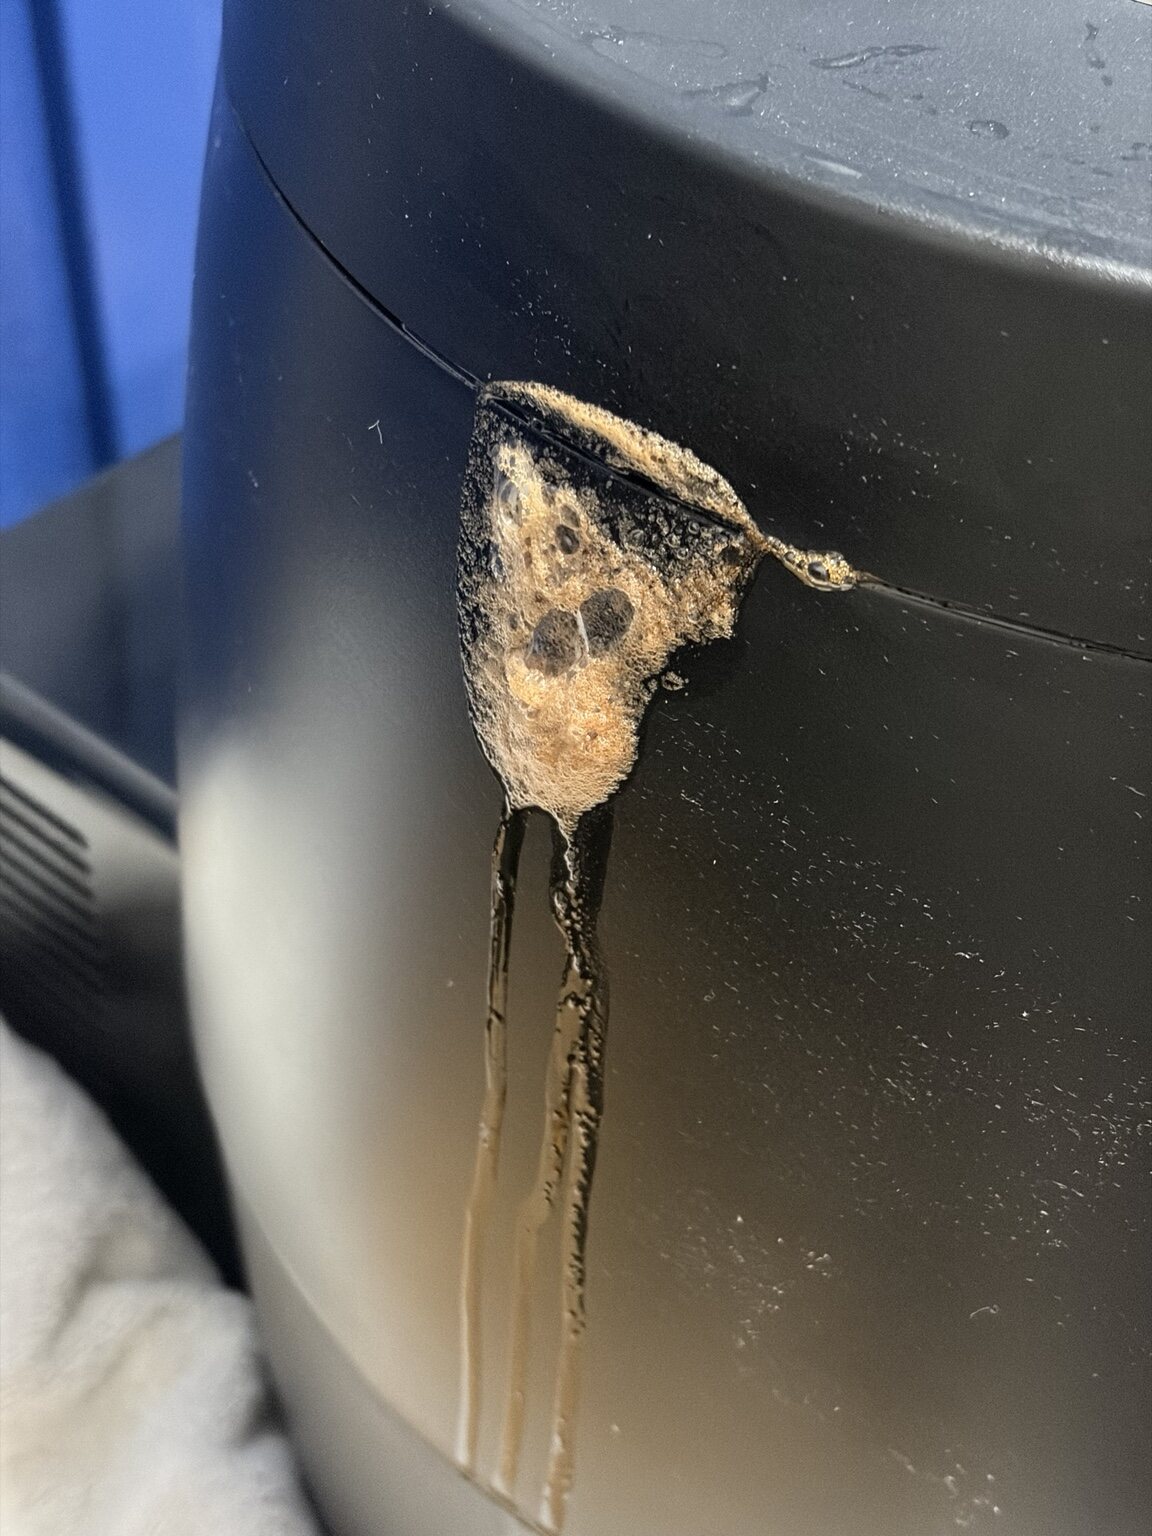
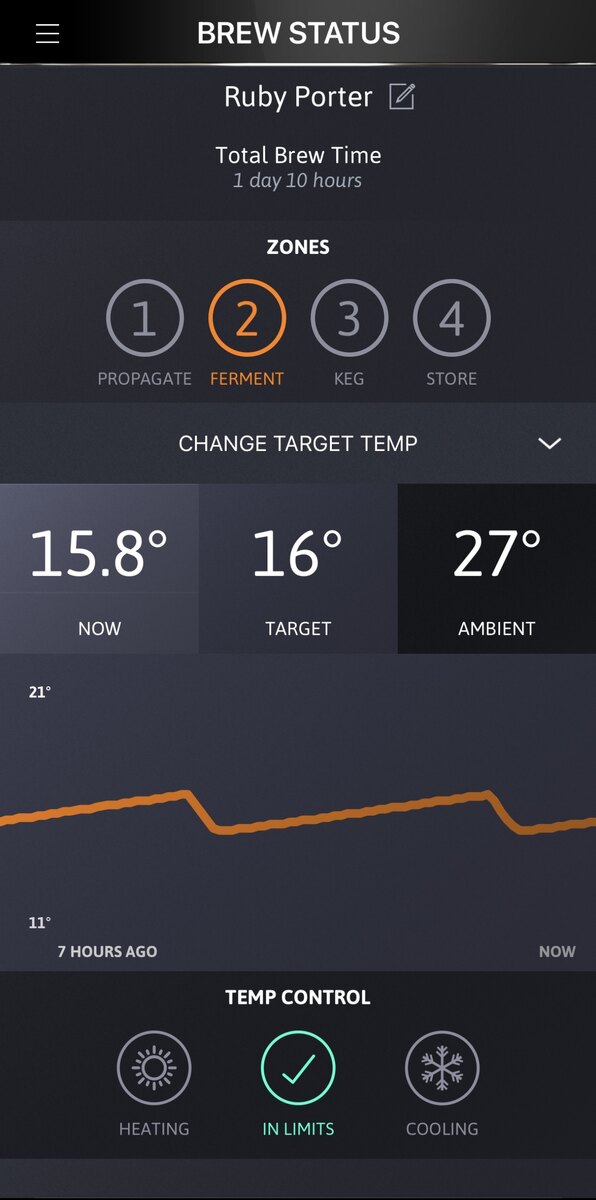
I wiped the area, put a towel under the BeerDroid, and let fermentation continue. Activity gradually settled down while temperature control remained steady.
Following the post-overflow changes with video and temperature graphs
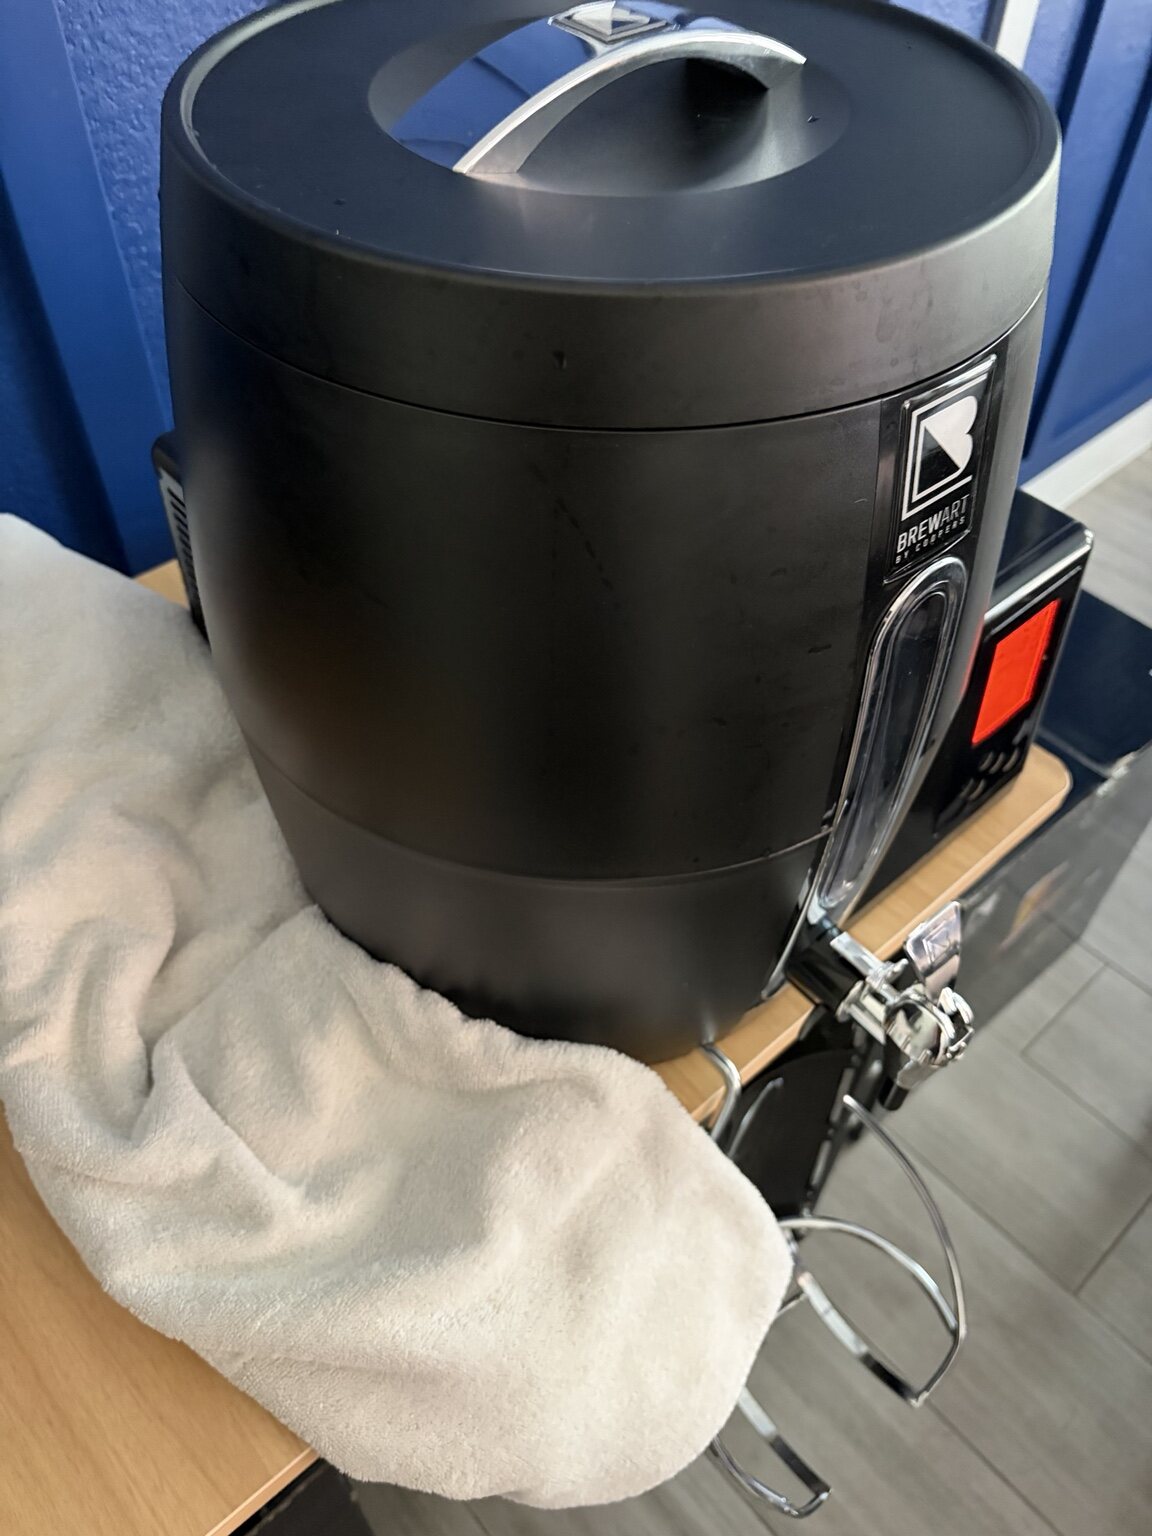
Fermentation did not end as soon as the overflow stopped. I followed the motion visible through the BeerDroid window together with the BrewArt app's eight-hour temperature graph.
I focused less on the instantaneous temperature and more on how quickly the beer warmed again after the BeerDroid cooled it. Fermentation generates heat. With the same batch size and equipment, and room temperature remaining close to 25–26°C (77–79°F), faster reheating may indicate that fermentation was contributing more heat.
The app graph is not a direct measurement of fermentation heat. Heat entering from the room, cooling-control timing, and the graph's time and temperature resolution also affect the line. I therefore use the slope only as a qualitative indicator, interpreted alongside the visible fermentation video rather than as a heat-output calculation.
About 2 days 11 hours: overflow stopped, but activity remained high
Foam was no longer escaping from the vent, but fine bubbles and liquid movement were still visible through the window. On the eight-hour graph, temperature also rose clearly again after a cooling cycle. With room temperature still near 25°C (77°F), this suggests fermentation heat may still have been substantial in addition to heat entering from the room.
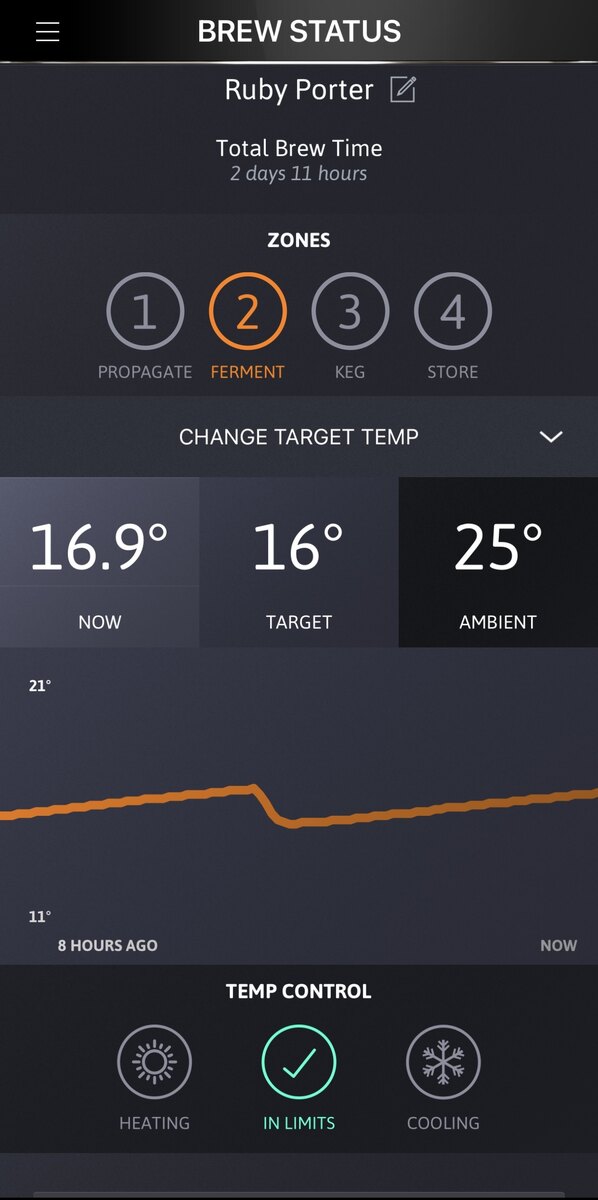
About 3 days 10 hours: still fermenting, but somewhat calmer
Bubble movement was still visible on day three, although the batch looked calmer than during the overflow and on day two. The cooling-and-reheating cycle remained visible in the temperature graph, but the rise appeared somewhat gentler than on day two. Fermentation was continuing, while the most vigorous stage may have started to pass.
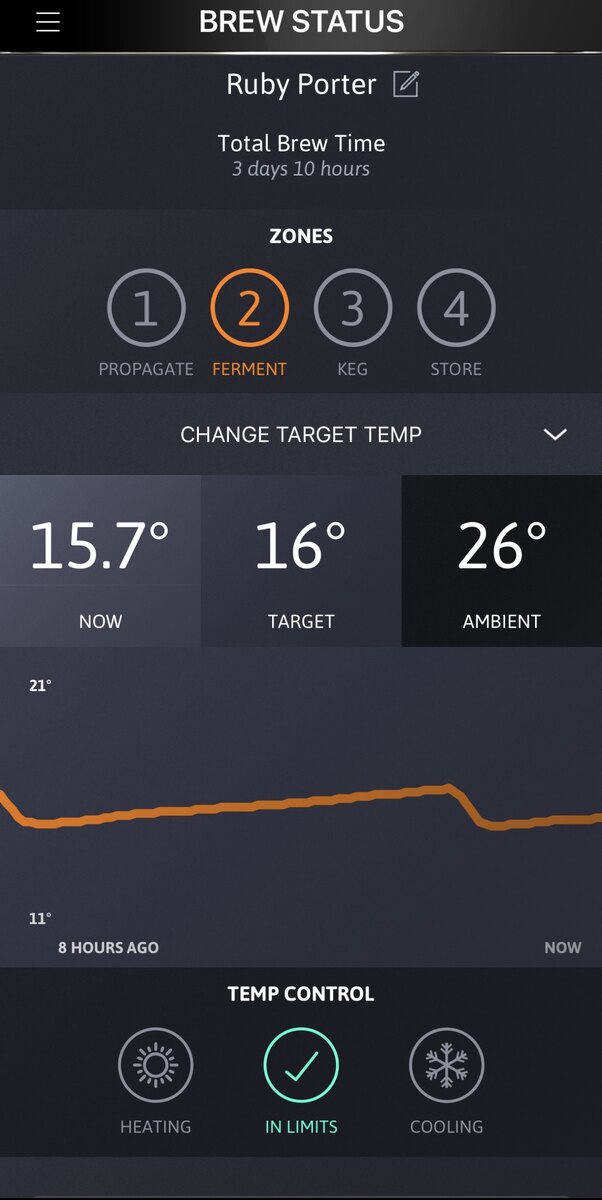
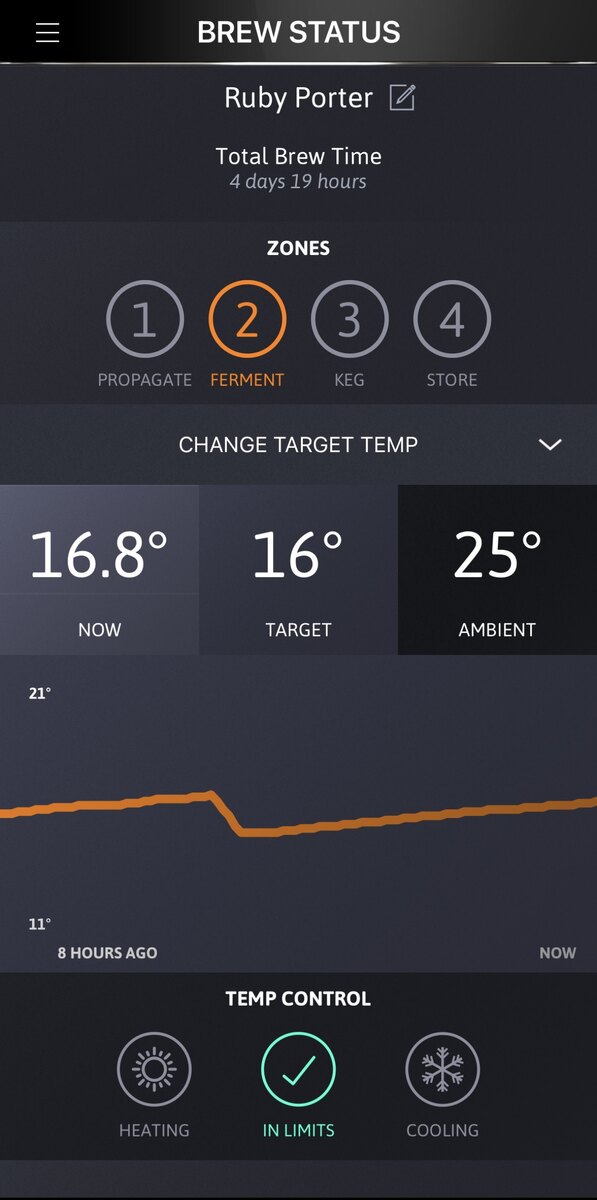
About 4 days 19 hours: visually quiet, but fermentation heat remained
By late day four, visible movement through the window had become smaller. The temperature graph still turned upward again after cooling, however. The quieter appearance did not mean fermentation had completely stopped; yeast activity and fermentation heat were likely still present. About six hours later, the BeerDroid moved into Yeast Cleanup.
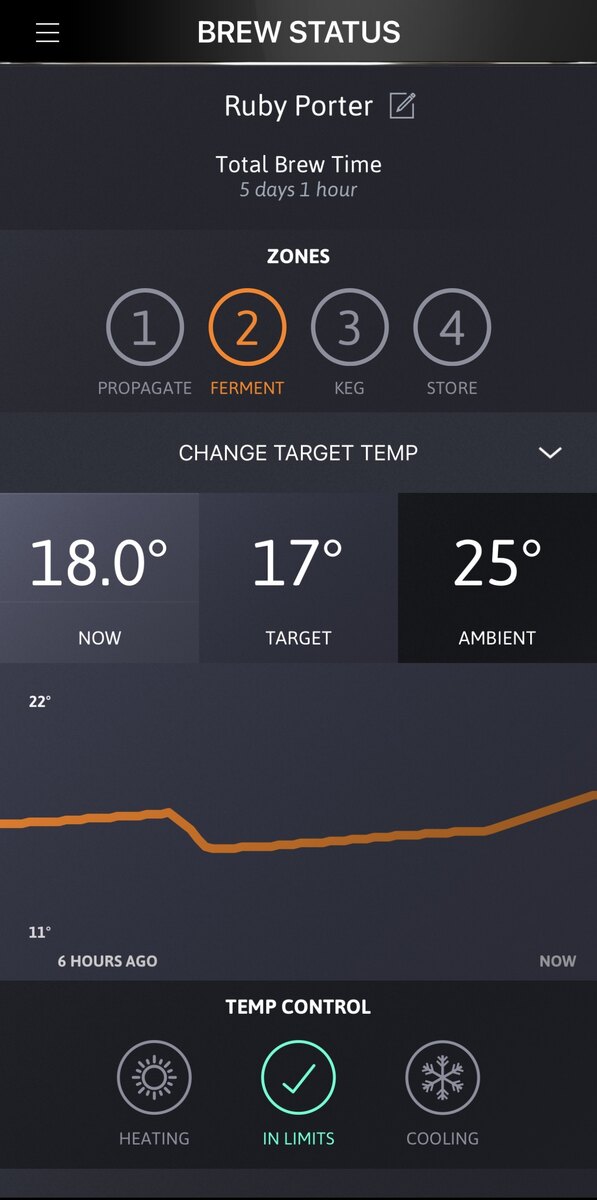
Yeast Cleanup at about 5 days 1 hour: 16°C to 17°C
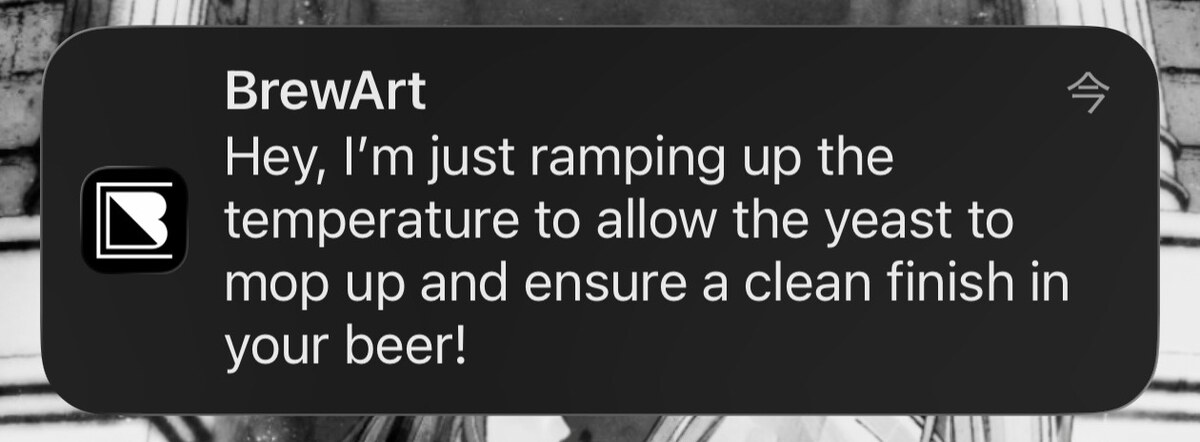
At about 5 days 1 hour, the BrewArt app sent a Yeast Cleanup notification and raised the target from 16°C to 17°C (61°F to 63°F). The app described this as warming the beer so the yeast could finish its remaining work and produce a cleaner result.
Yeast creates flavor-active fermentation byproducts along with alcohol and CO₂. Two familiar examples are diacetyl, often perceived as butter or butterscotch, and acetaldehyde, often associated with green apple or young beer.
During late fermentation, active yeast can take diacetyl back up and reduce it to acetoin and then to the much less flavor-active 2,3-butanediol. Conditioning also helps reduce compounds including diacetyl and acetaldehyde. A modest temperature increase keeps yeast metabolism active after the most vigorous sugar consumption has slowed.[3]
The one-degree change looks small, but it clearly showed the BeerDroid moving the batch into a distinct late-fermentation stage.
EOF at about eight days, then Ready to Keg at 18°C
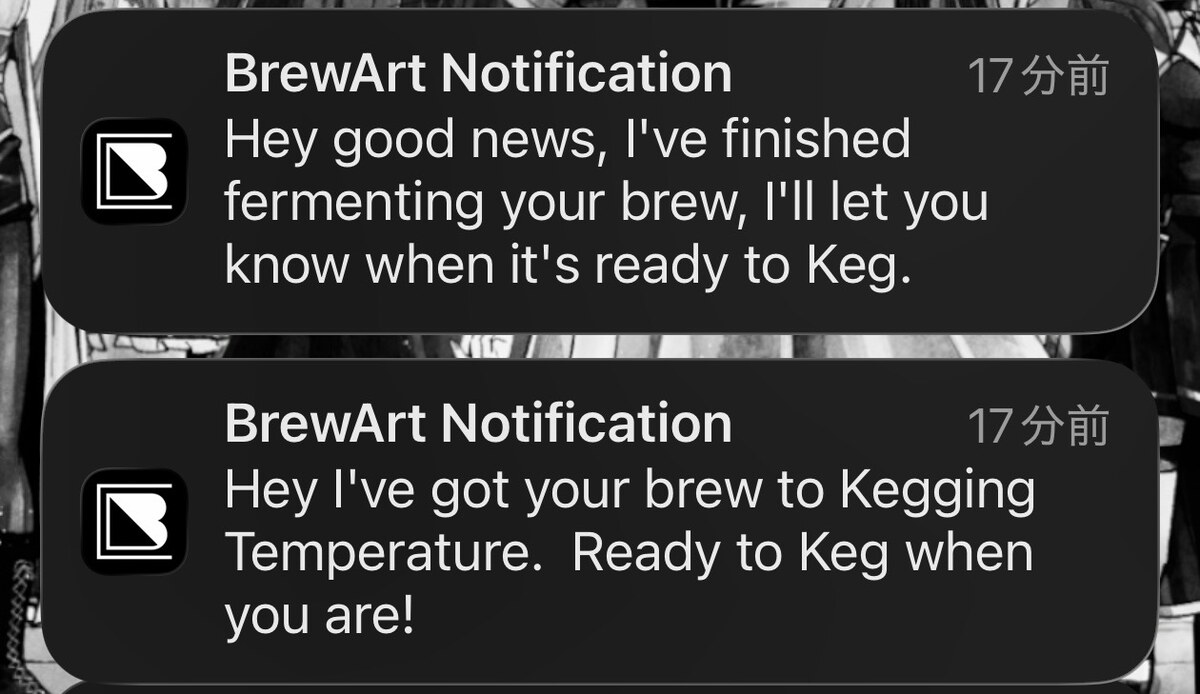
The fermentation-complete notification arrived about eight days after the batch began. BrewArt lists an estimated 5–8 day brewing time, so this batch finished at the upper end of the official range.[1]
After EOF, the BeerDroid moved into the 18°C (64°F) Keg stage. When it reached the kegging temperature, the Ready to Keg notification arrived. I used that notification—not a random app reading—as the point when the batch was ready to transfer.
H9 → beer transfer → primer in two kegs
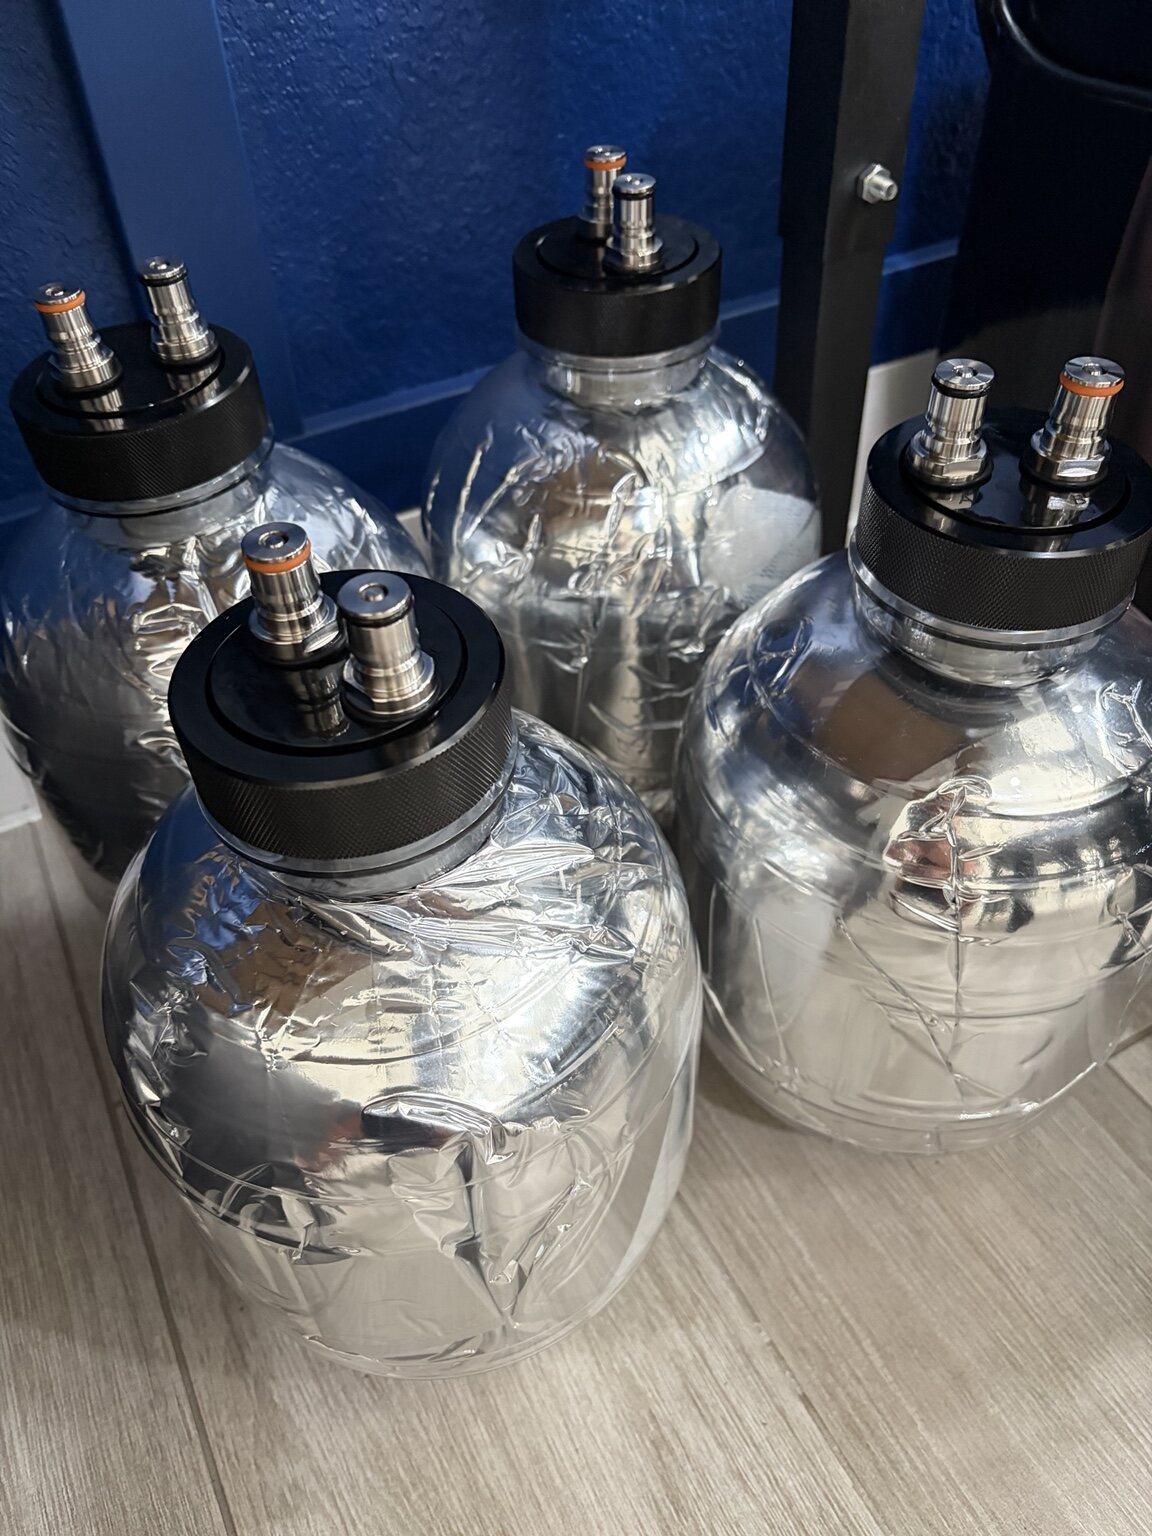
I prepared two 5 L (1.3 gal) kegs, liners, caps, spears, and the transfer tube. First, I added one H9 pouch to each keg. Then I transferred the Ruby Porter from the BeerDroid.
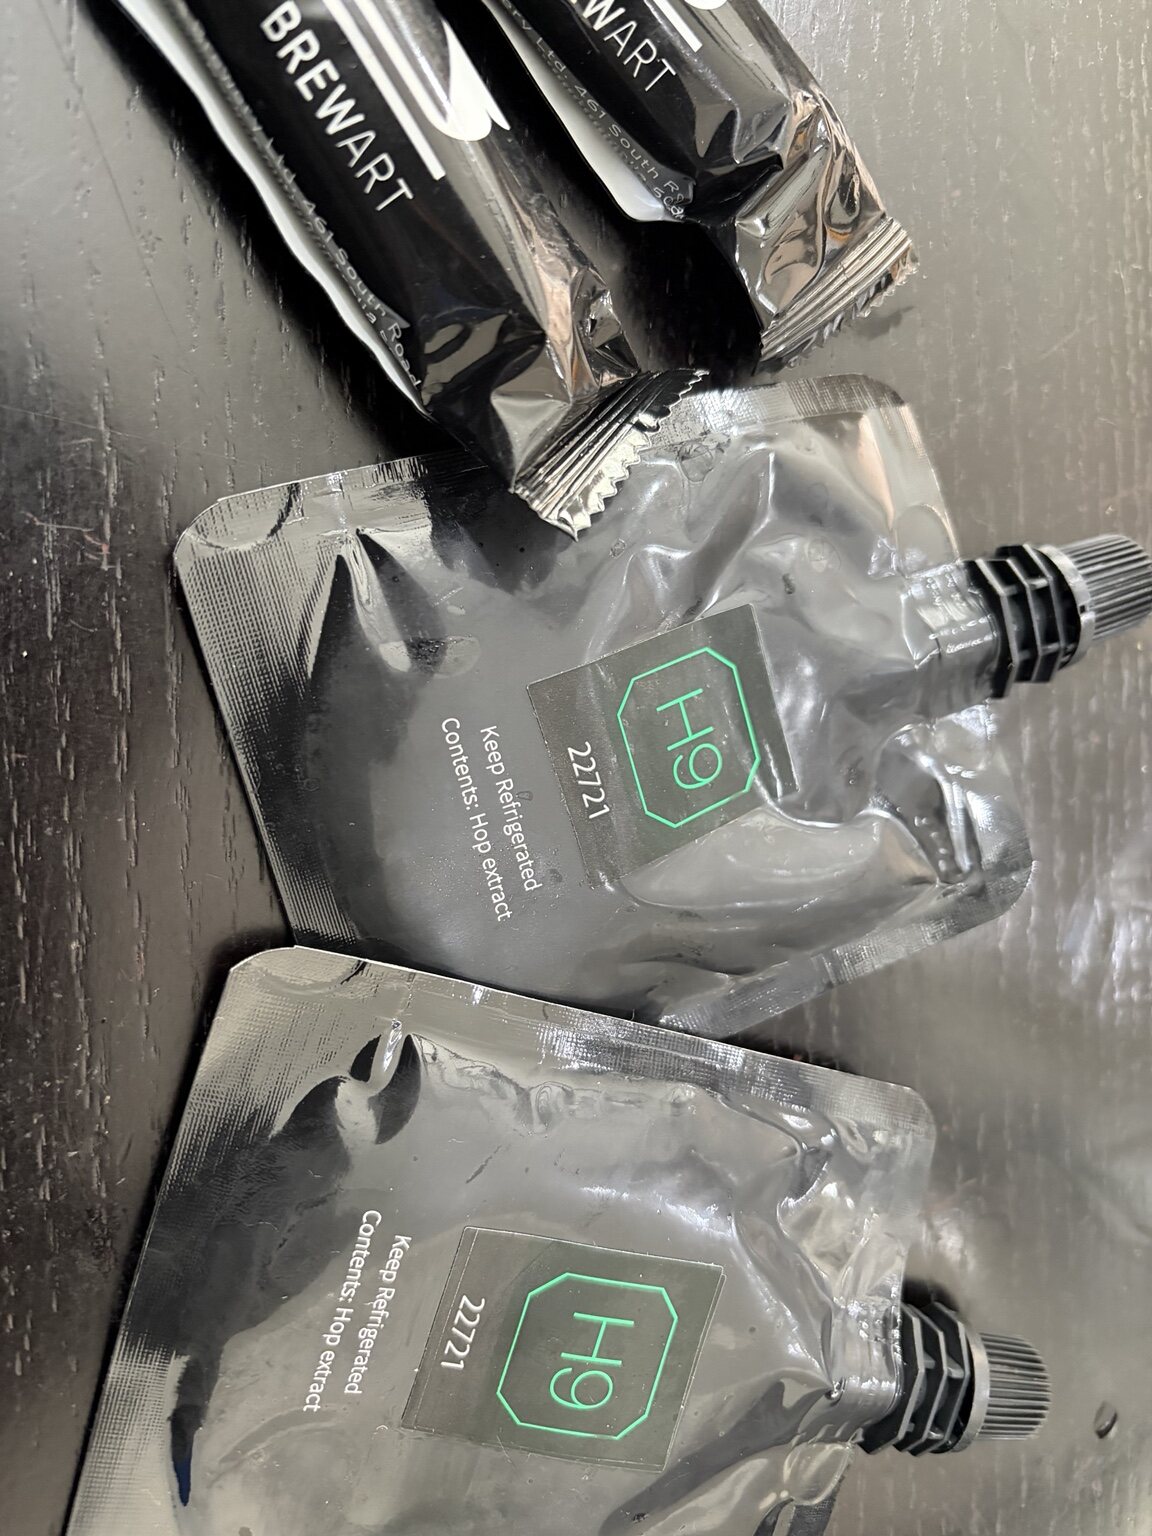
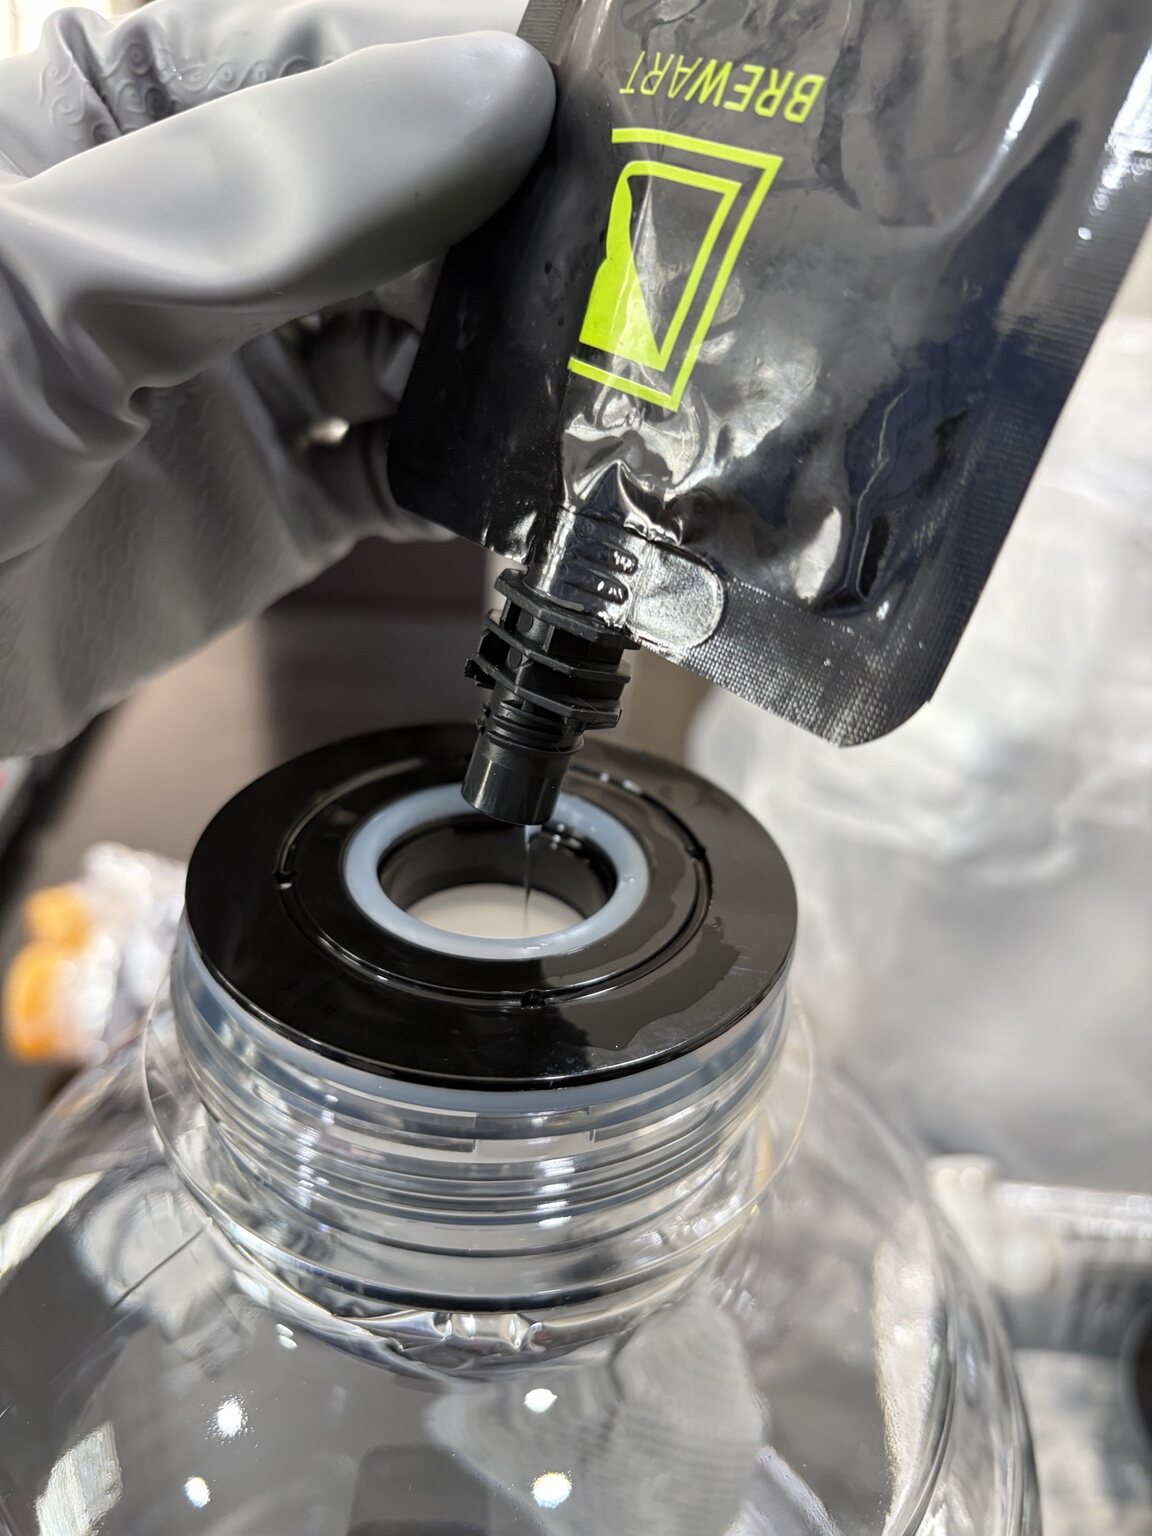
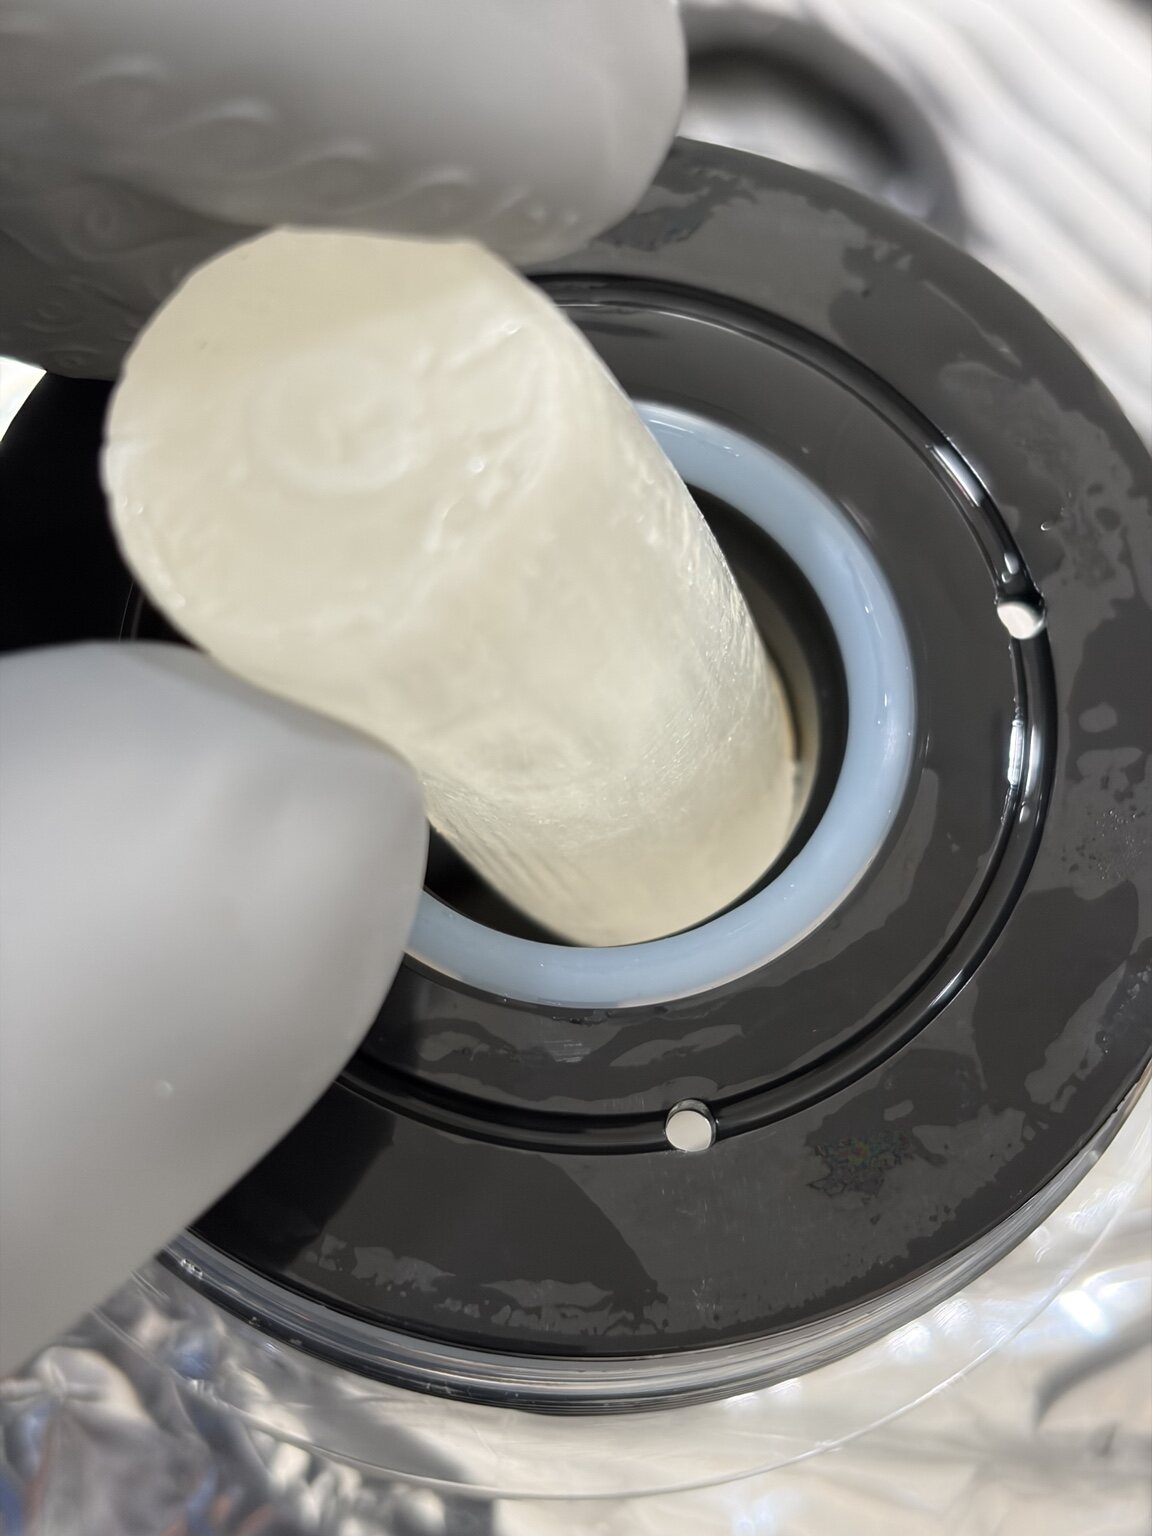
Only after the beer transfer was complete did I add one primer bar to each keg. BrewArt specifies one 30 g primer bar per 5 L keg. The sugar supports secondary fermentation and carbonation in the sealed liner.[4]
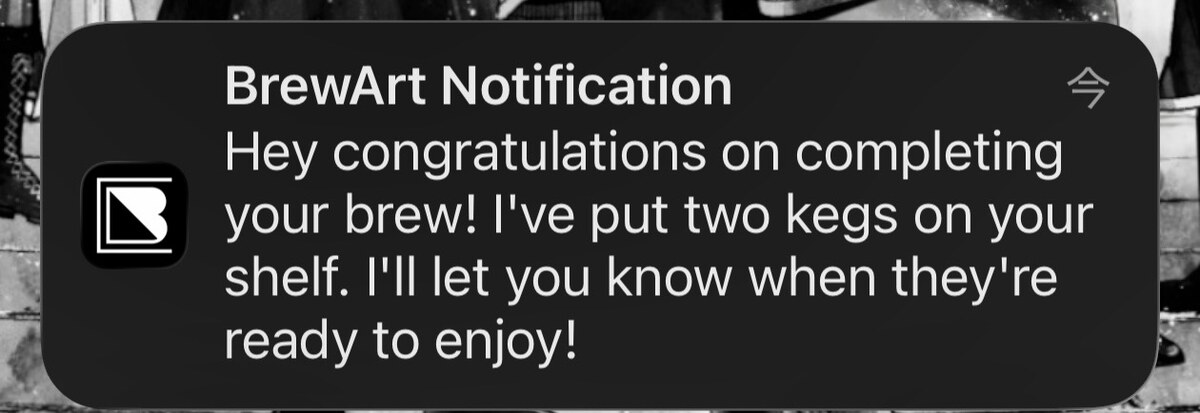
Once sealed and registered, the two Ruby Porter kegs appeared on the app Shelf. They are not ready to drink immediately: BrewArt calls for at least 14 days of secondary fermentation after kegging.[1]
After kegging, the BeerDroid was extremely sticky
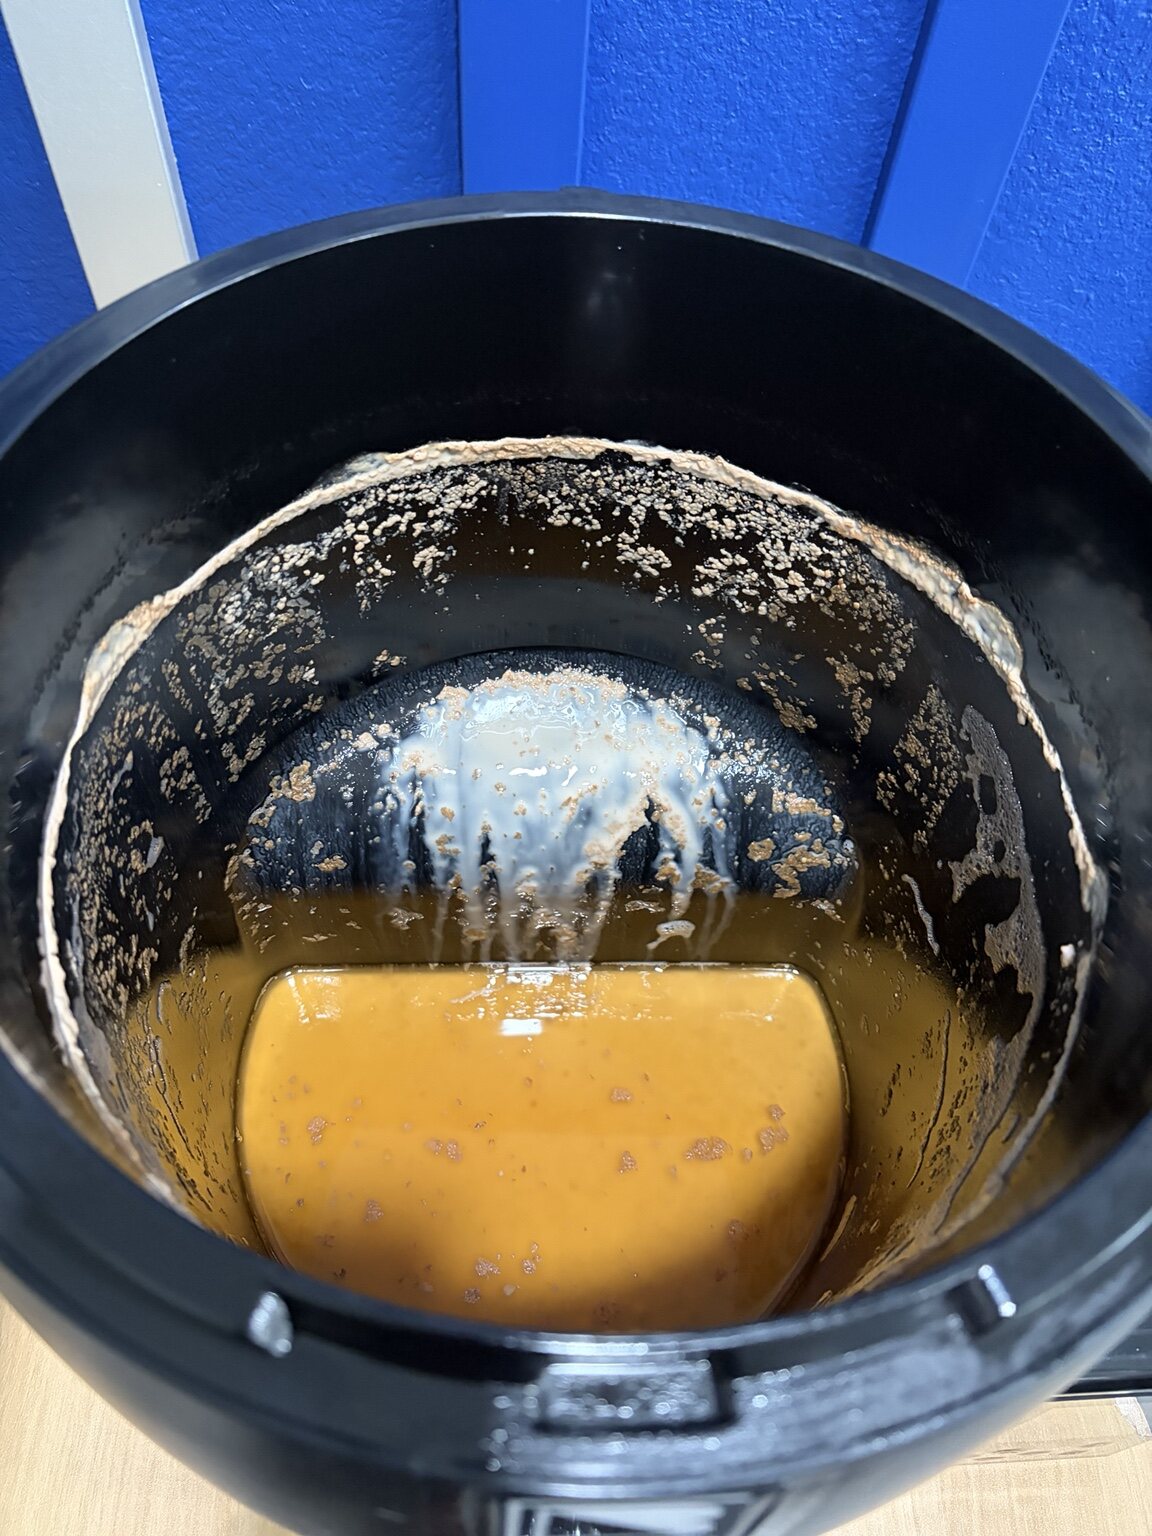
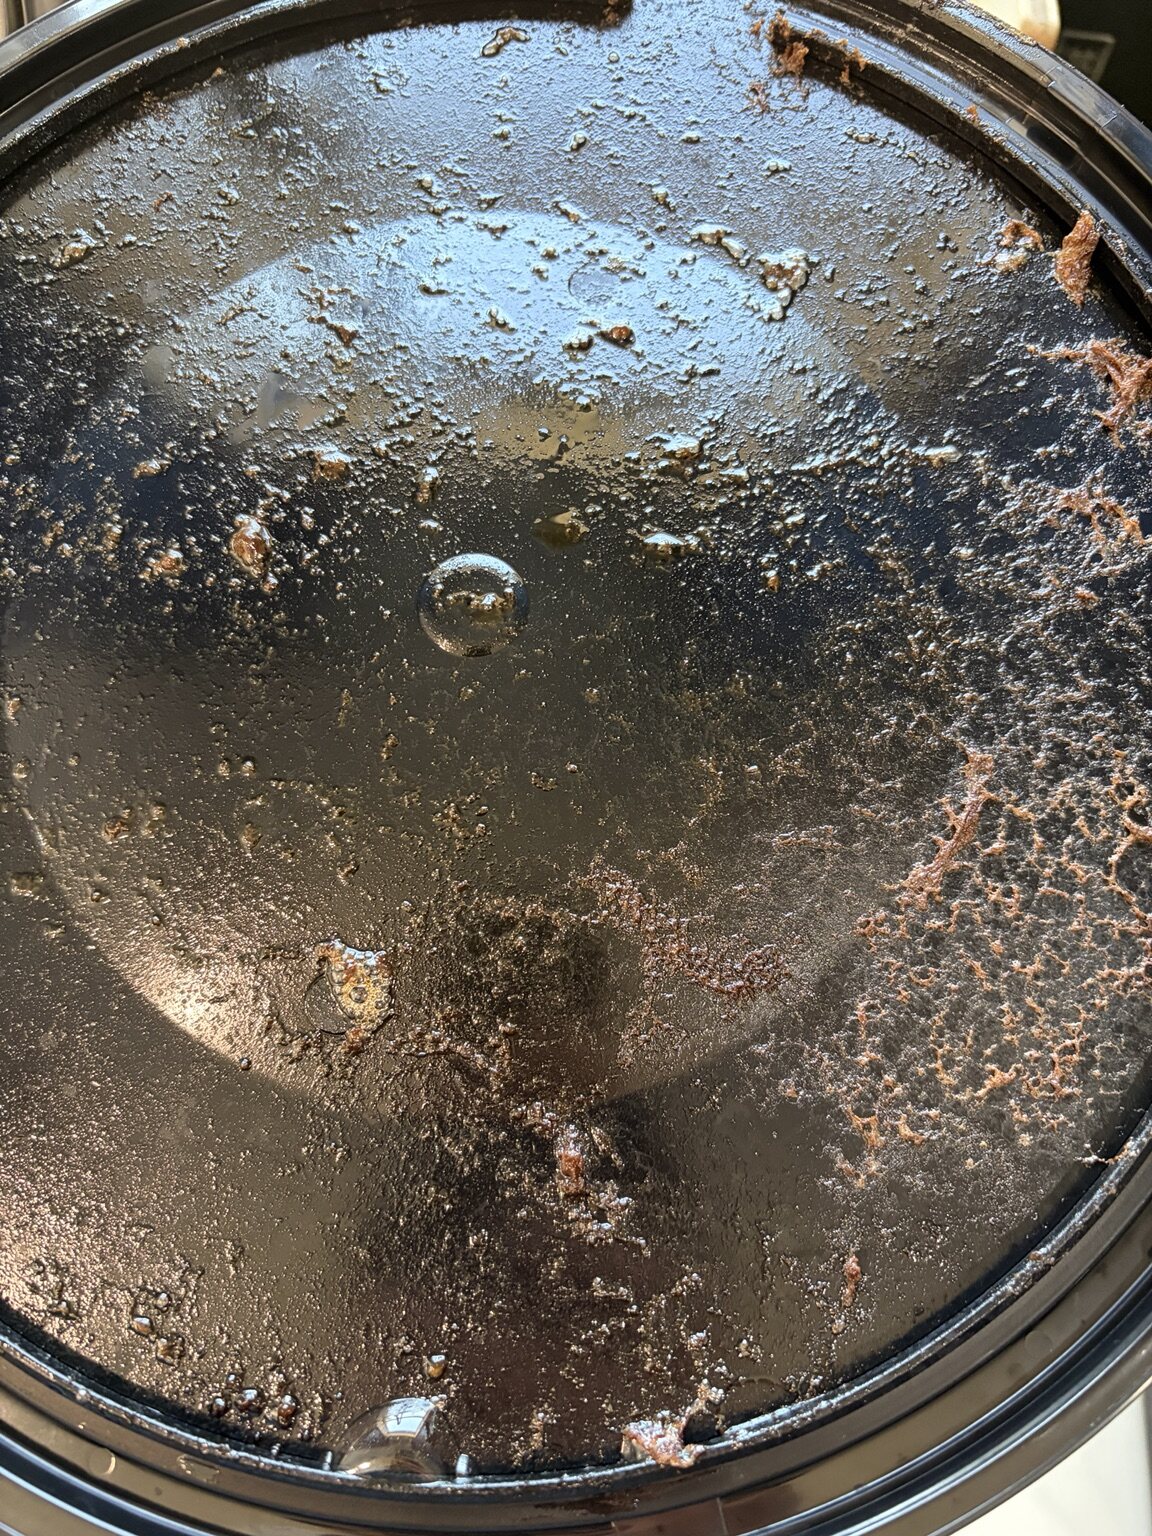
When I opened the BeerDroid after transfer, dark brown fermentation residue covered the underside of the lid and much of the inner wall. It was not just dry staining—the residue was extremely sticky, like sugar-rich foam that had spread and dried partially in place. A small amount of beer also remained at the bottom.
The internal foam trails reinforced how active this fermentation had been. I cleaned the BeerDroid immediately after kegging before the residue became harder to remove.
What this batch showed
- I added the ingredients in the order yeast, DME, then enhancer.
- During Ferment, the displayed temperature generally stayed within about ±1°C of the 16°C target.
- At about 34 hours, foam overflowed through the top vent—not through a seam.
- BrewArt's own product page warns that vent-port overflow may occur during the first 48 hours.
- Yeast Cleanup began at about 5 days 1 hour, raising the target from 16°C to 17°C.
- EOF arrived at about eight days, followed by Ready to Keg after reaching 18°C.
- I added H9 before transferring the beer and added primer after the transfer.
- The BeerDroid interior was extremely sticky with fermentation residue after kegging.
- After at least 14 days of conditioning, the finished beer showed coffee- and cacao-like bitterness with a rich, chocolate-like body and sweetness.
After at least 14 days of conditioning: the first tasting
I waited through BrewArt's minimum 14-day secondary-fermentation and conditioning period before pouring the Ruby Porter. In the glass, it was very dark brown with a light-colored head—the finished result after the unusually active fermentation and vent overflow earlier in the batch.
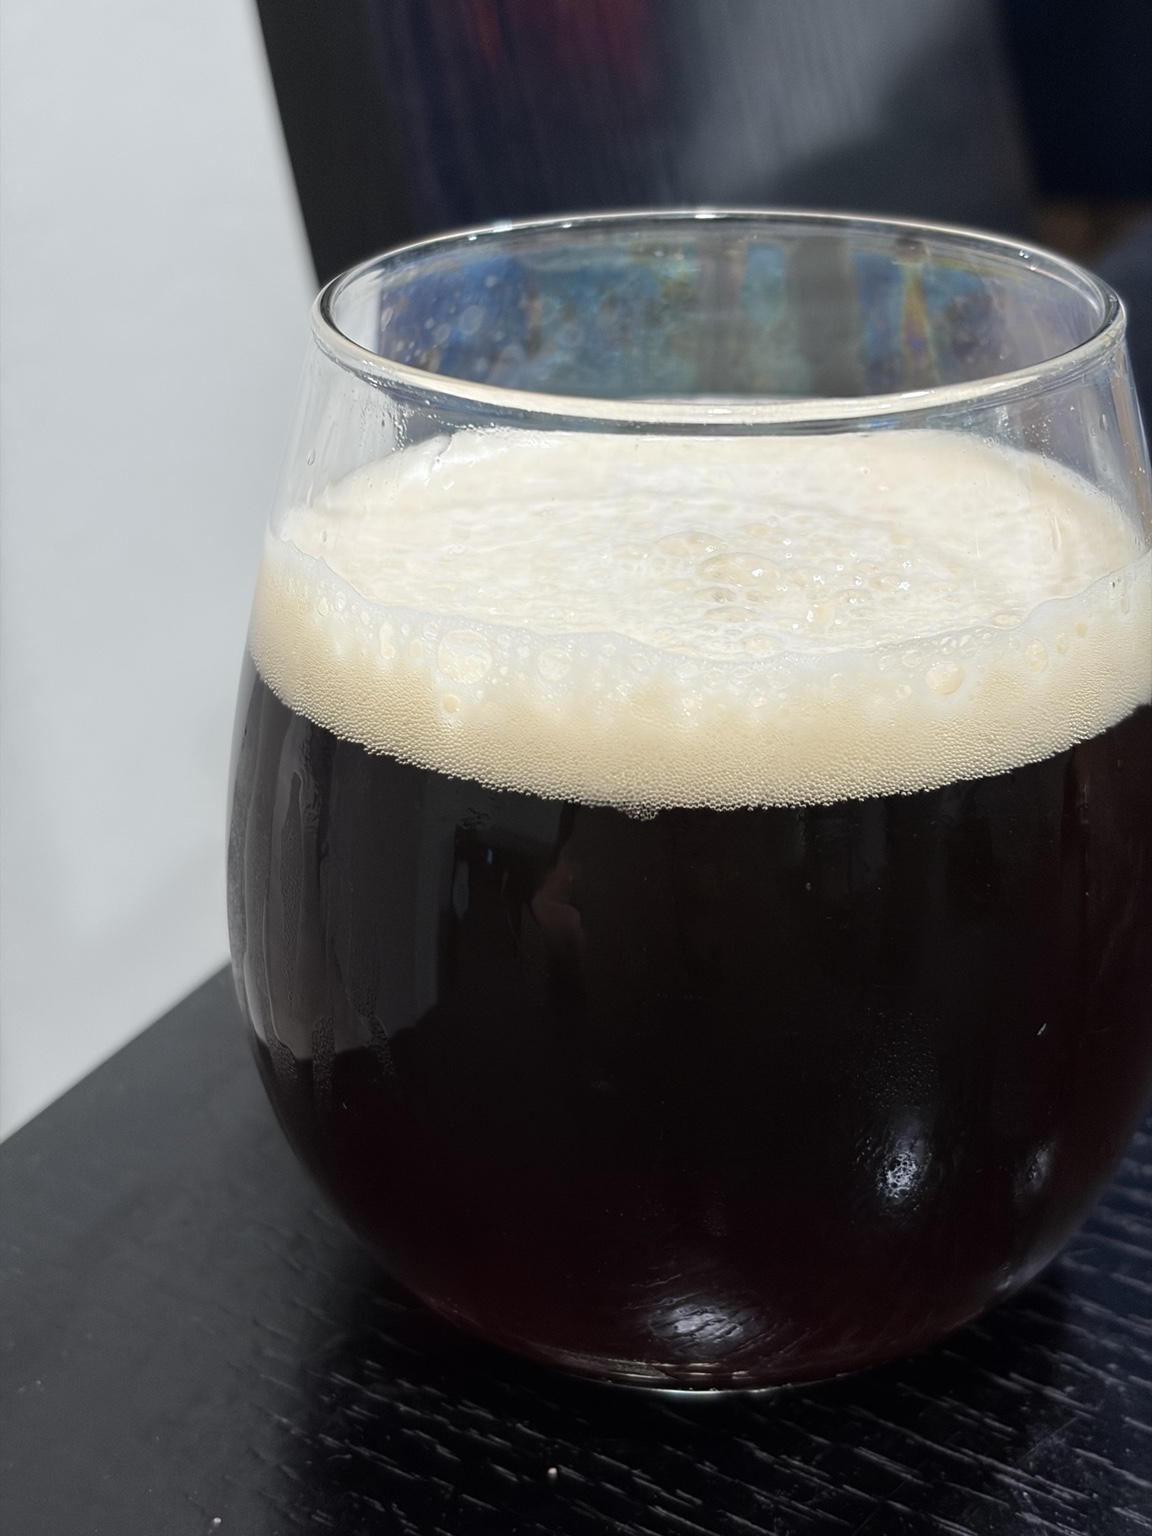
- Bitterness: coffee- and cacao-like.
- Body and sweetness: rich and chocolate-like.
- Overall: completely different from the Weissbier before it, but a direction I personally liked a lot.
BrewArt describes Ruby Porter as an English-style Porter with toffee and subtle chocolate notes.[1] In my batch, the chocolate-like richness was there, but the coffee- and cacao-like bitterness stood out most. That is my tasting impression from this batch, not a claim about how every Ruby Porter will taste.
Conclusion
This Ruby Porter log covers the full process from cleaning after the previous batch through ingredients, fermentation, Yeast Cleanup, EOF, kegging, and the first tasting after at least 14 days of conditioning.
The biggest surprise was the overflow at about 34 hours. The temperature remained close to the 16°C target, yet fermentation was vigorous enough to push foam out through the vent. Finding the official first-48-hours overflow warning afterward helped put the event in context.
Fermentation then settled, Yeast Cleanup began at about 5 days 1 hour, and EOF arrived at about eight days. I transferred the beer into two kegs with H9 and primer, then waited at least 14 days before tasting. The finished Porter gave me coffee- and cacao-like bitterness followed by a rich, chocolate-like body and sweetness. It was completely different from the Weissbier before it, but I liked this direction a lot.
References
- BrewArt, Ruby Porter (product characteristics, temperature program, estimated brewing time, overflow warning, and minimum secondary-fermentation time)
- BrewArt, BrewArt Complete System / BeerDroid (temperature control, app monitoring, and EOF technology)
- Wyeast Laboratories, Yeast Fermentation (secondary fermentation, diacetyl reduction, and reduction of flavor-active compounds during conditioning)
- BrewArt, Primer (one 30 g primer bar per 5 L keg)
Questions or comments about this article?
If you have tried the same thing or noticed something different, feel free to send a message. Add your email address only if you would like a reply.
I use the website for complete write-ups after an experiment reaches a stopping point. In-progress observations are posted on X at @ConyDIYHouston.