
Brewing German Weissbier with a BrewArt BeerDroid
This was my second German Weissbier batch with the BrewArt BeerDroid. I documented sanitation, ingredients, day-by-day fermentation, the temperature change, BeerDroid's end-of-fermentation decision, kegging, conditioning, and finally a side-by-side tasting against my previous 17°C / 63°F batch.
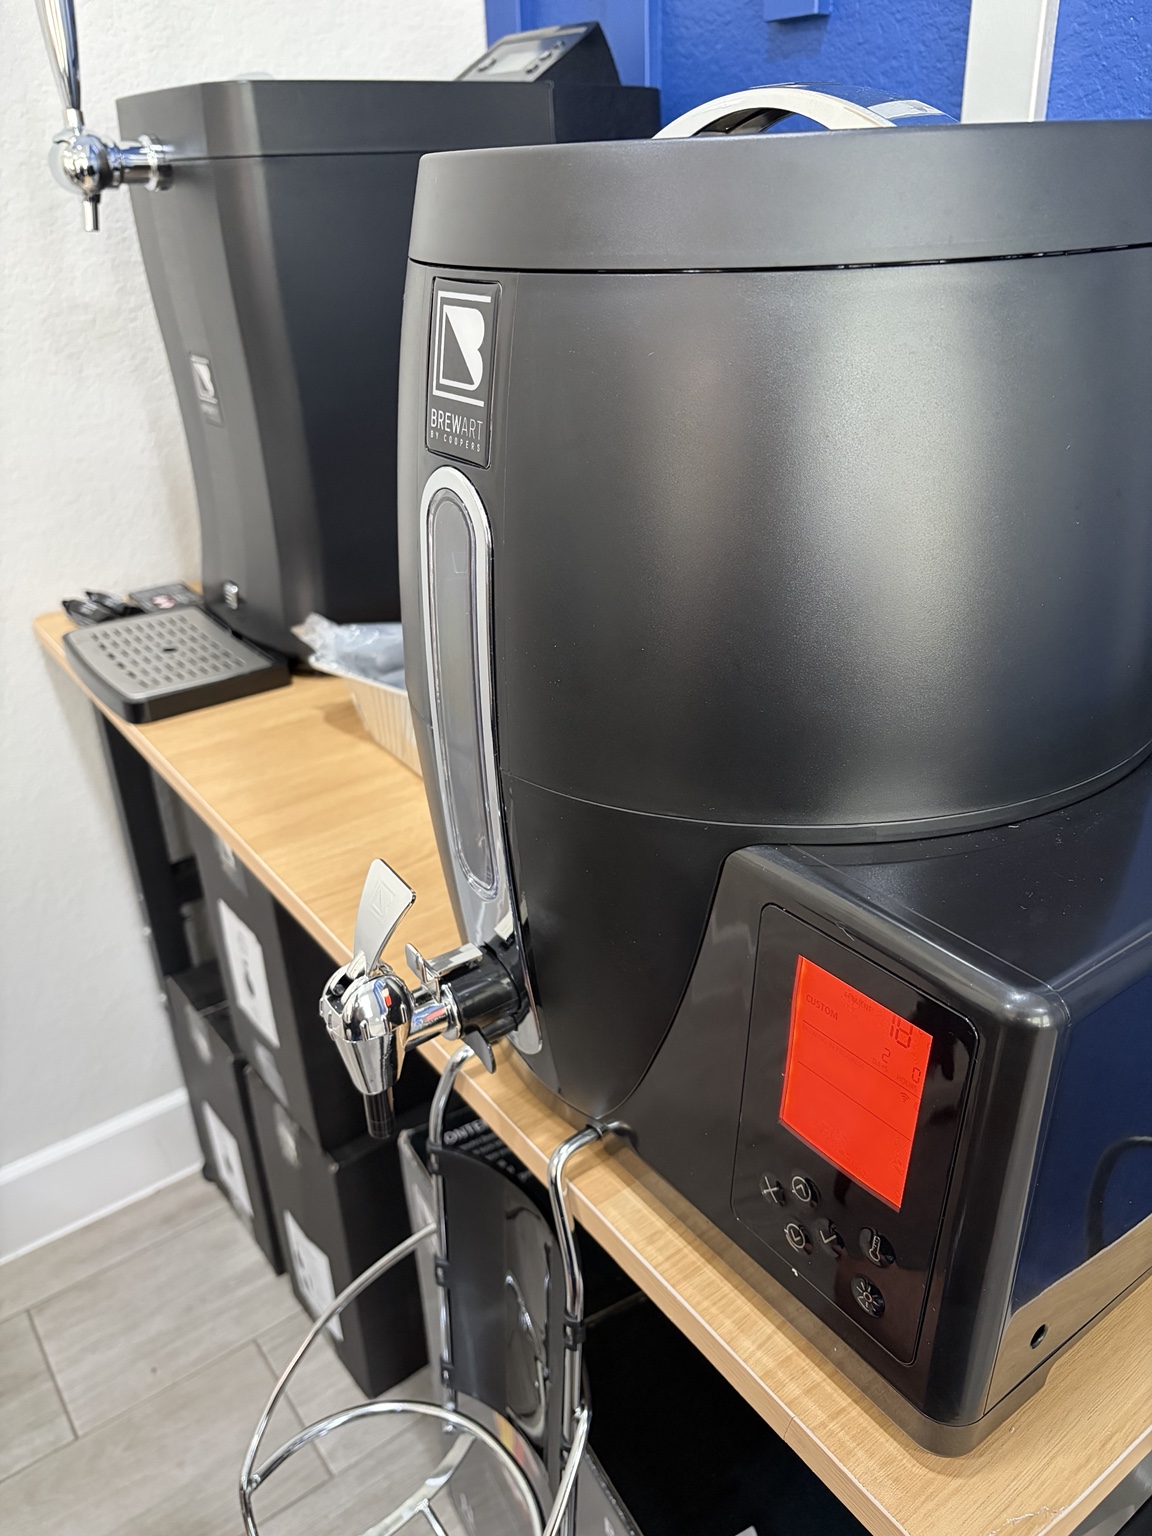
Batch at a glance
| Batch | German Weissbier — second batch |
|---|---|
| Brewer | BrewArt BeerDroid |
| Batch size | 10 L / 2.6 gal |
| Temperature | Propagate at 21°C / 70°F. Ferment started at 17°C / 63°F, then raised to 19°C / 66°F |
| EOF | About 7 days on batch one; about 6 days this time |
| Kegging | Split into two kegs, then primer added after filling |
| Ready to drink | About two weeks of secondary fermentation / conditioning; the BrewArt app notifies me when it's ready |
| Tasting comparison | 17°C / 63°F felt a little lacking in body; 19°C / 66°F was richer with stronger banana aroma. Carbonation was slightly weak in both |
Gear and supplies used in this article
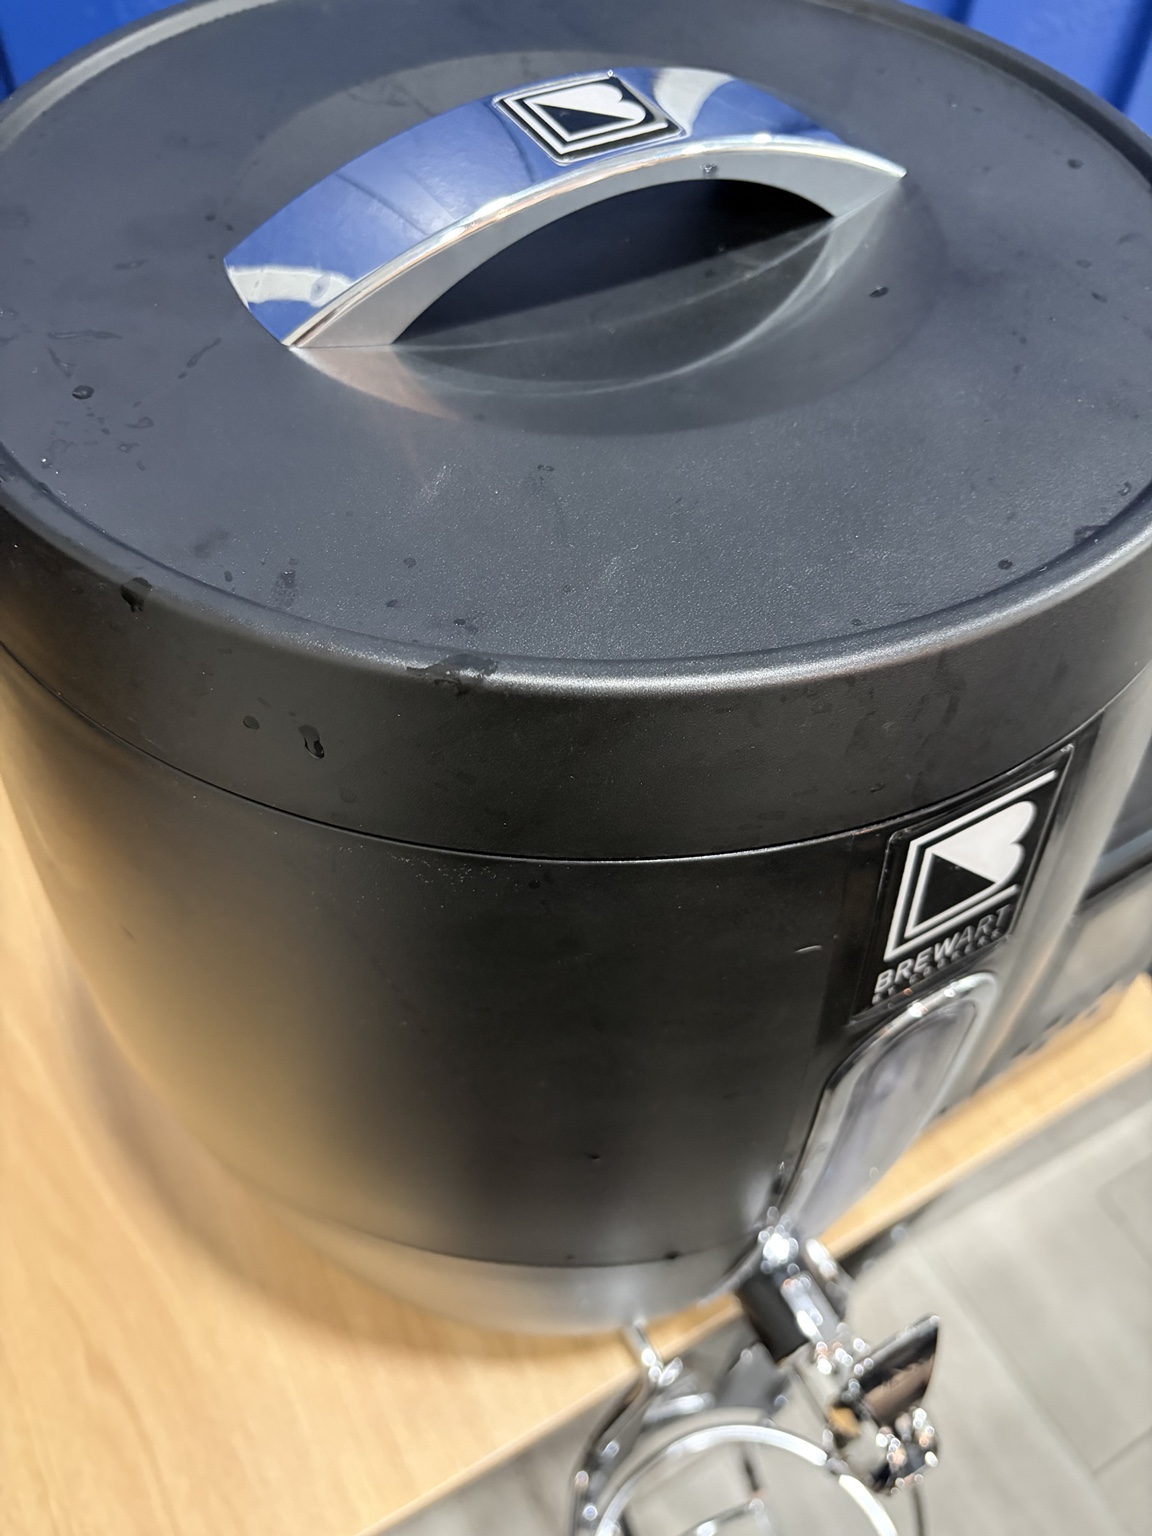
BrewArt BeerDroid
A 10 L (2.6 gal) automated brewing system that handles temperature control and lets me follow the brewing stage in the BrewArt app.
This German Weissbier batch was brewed in the BeerDroid from setup through the EOF decision.
View the BrewArt BeerDroid on BrewArt →
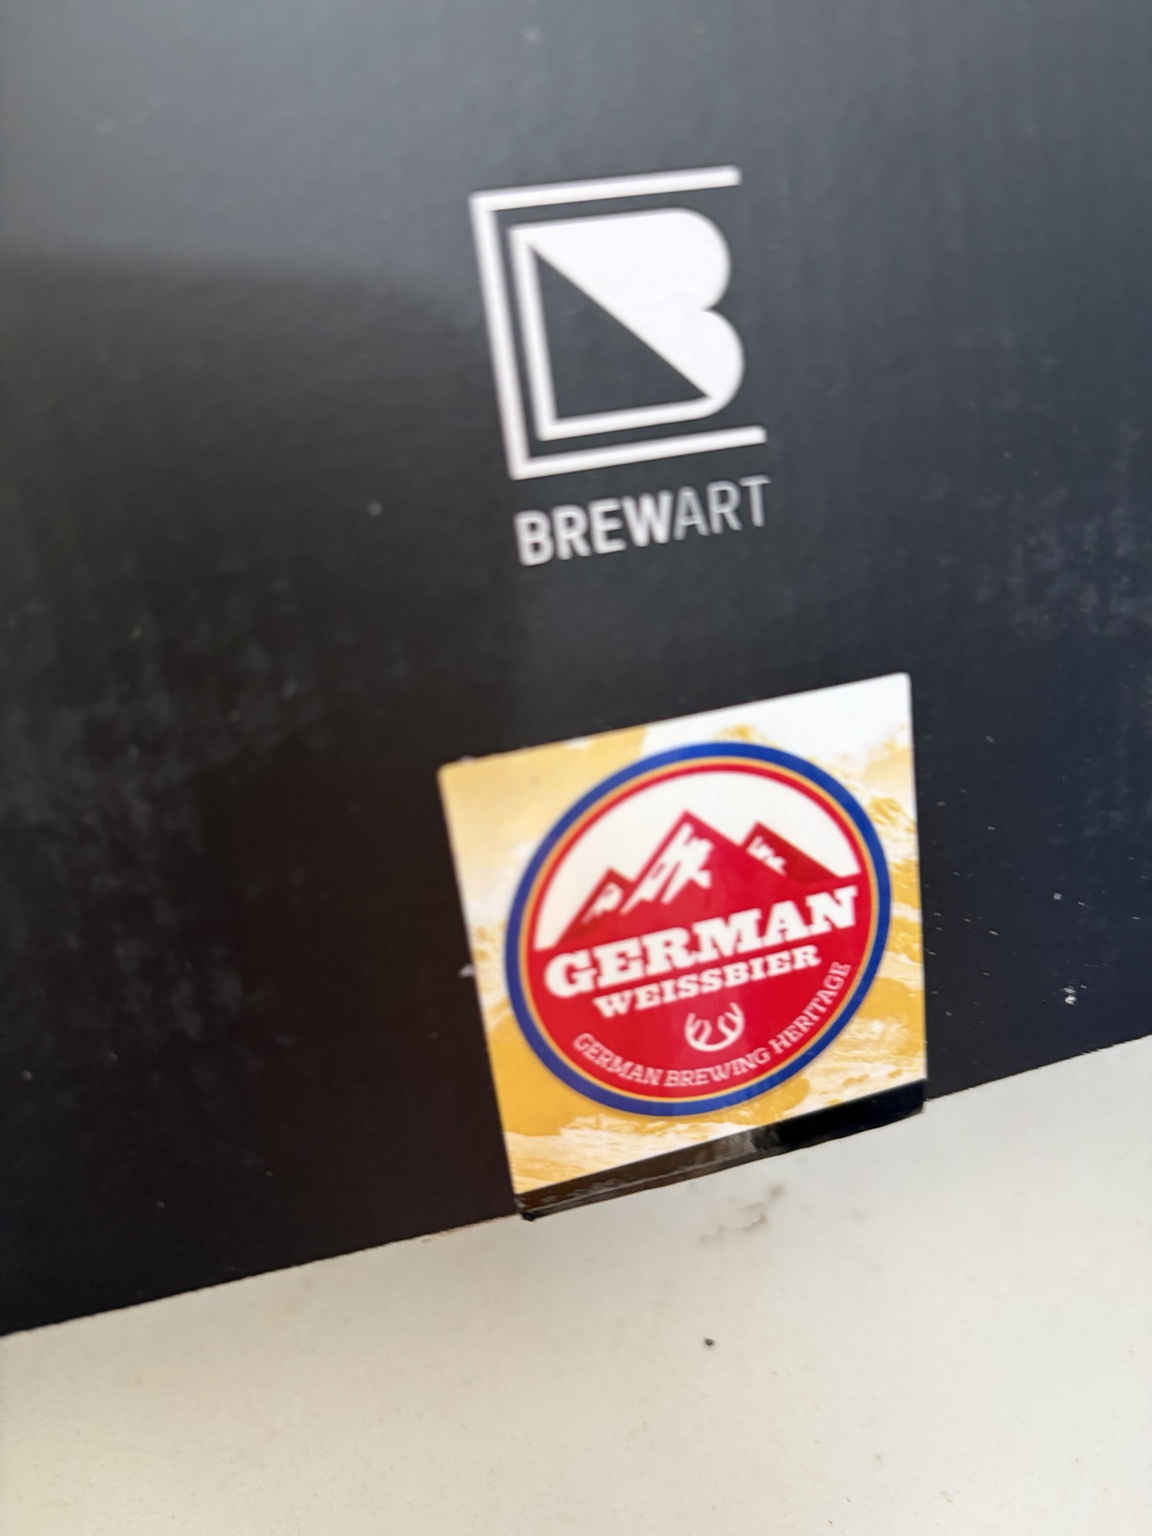
German Weissbier BrewPrint
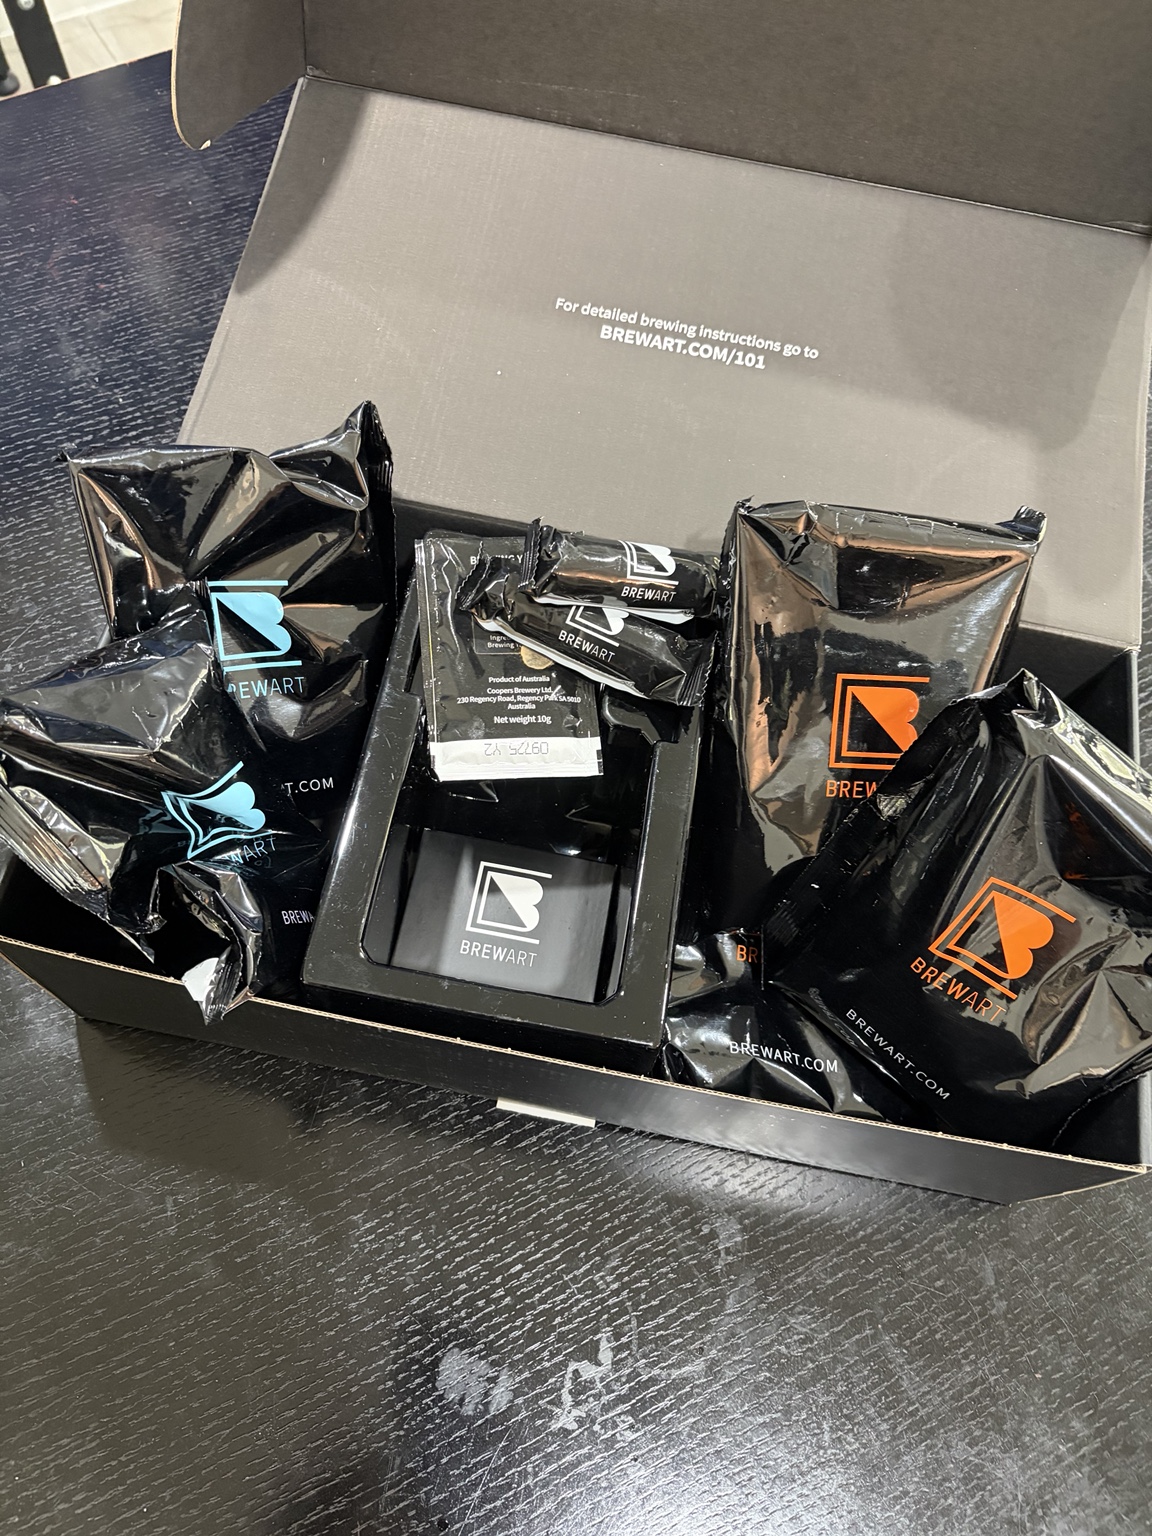
The BeerDroid ingredient pack I used for this batch. It bundles the ingredients for the brew and is designed to work with the BeerDroid brewing program.
View the German Weissbier BrewPrint on BrewArt →
BrewArt BrewFlo (I use the V1 model)
A refrigerated beer dispenser for BrewArt 5 L (1.3 gal) kegs. After conditioning, I load the keg into the BrewFlo and pour straight from the tap.
I used my BrewFlo V1 for this tasting comparison too.
View BrewFlo V1 resources on BrewArt →
View the current BrewFlo on BrewArt →
Five Star Star San Sanitizer
I used it to sanitize the keg, caps, and other beer-contact parts around kegging. I keep this separate from the BeerDroid cleaning/sanitizing step itself.
What's in the German Weissbier BrewPrint?
I used BrewArt's German Weissbier BrewPrint. The kit comes with the ingredients portioned out for the BeerDroid, including DME (dry malt extract), yeast, and an enhancer to support fermentation. The BeerDroid handles temperature control and shows the current stage in the app: Propagate, Ferment, Keg, and Store.
It's not exactly a push-button-and-forget-it machine, though. You still sanitize, add the ingredients, and keg the beer yourself. I think of it more as a brewing partner that takes the annoying temperature-control job off my hands.
Sanitation takes longer than the actual hands-on work
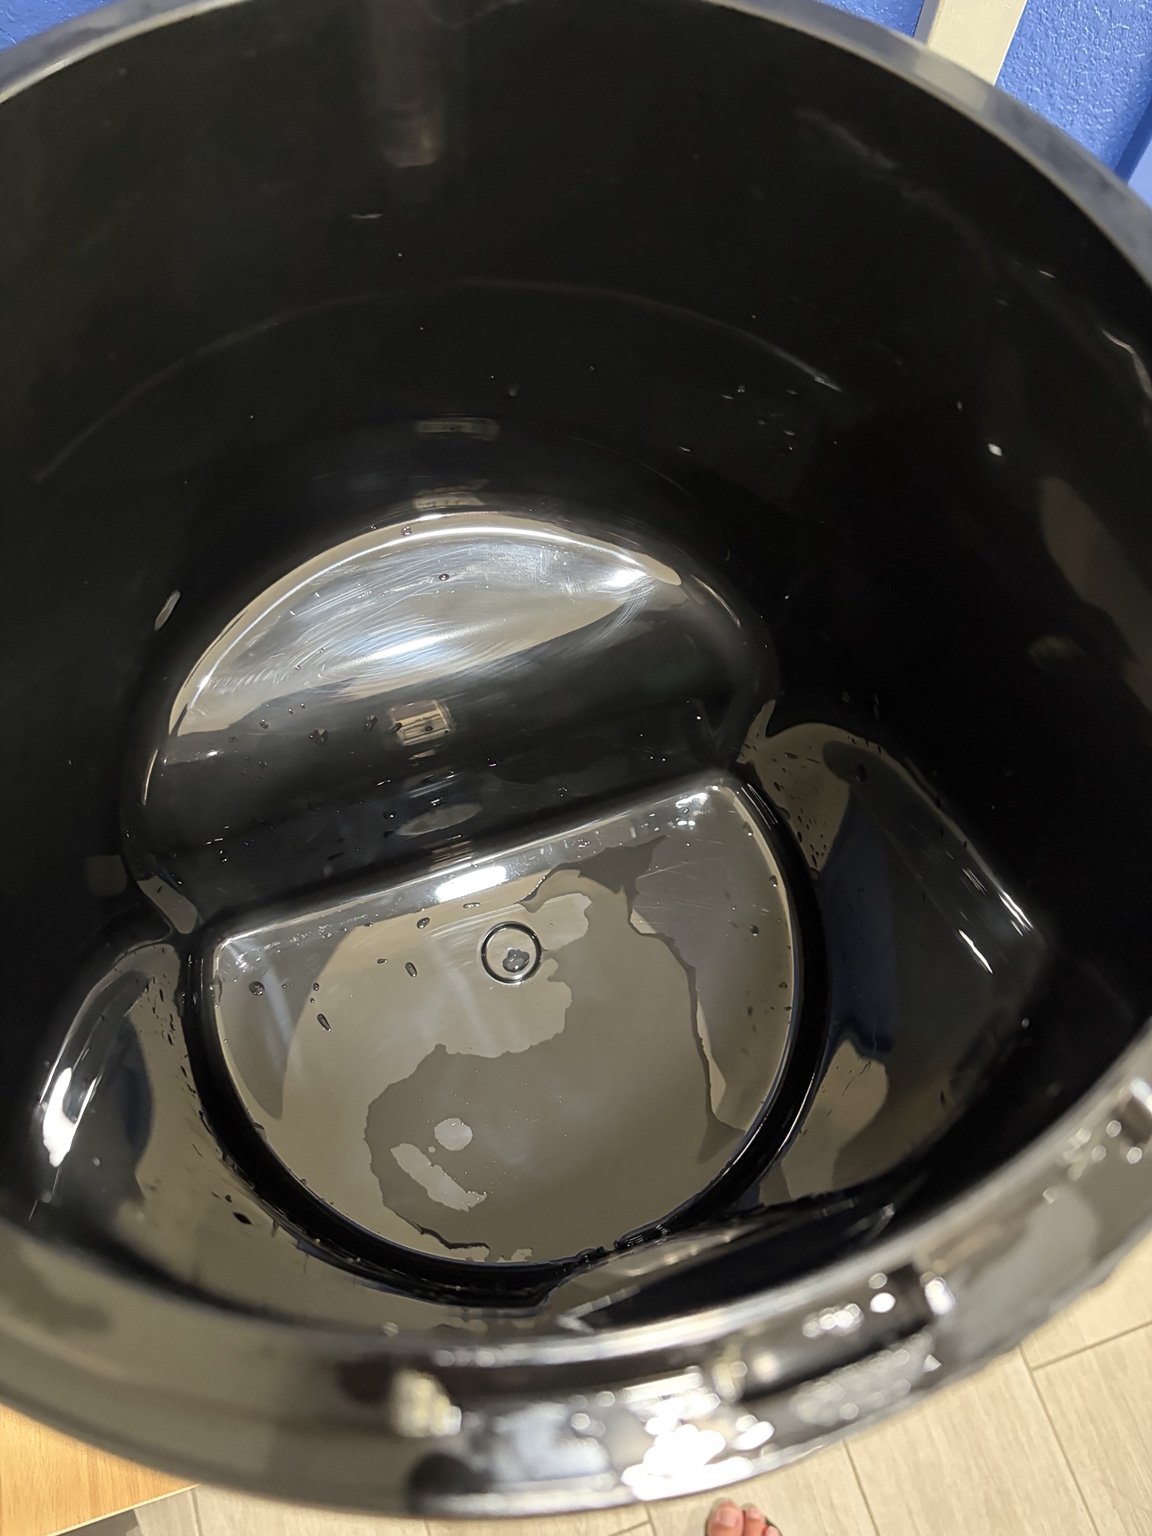
First up: cleaning and sanitation. It isn't the exciting part, but it's one of the parts I really don't want to rush. With BrewArt Cleanse, I add the cleaner and leave it in the BeerDroid for about one hour. Then I run a small amount through the tap so the inside of the tap gets wet with the solution too, and leave everything for another hour.
So even though the brewing system itself is convenient, the prep isn't instant. Sanitation alone adds roughly two hours of waiting before the fun part starts.
Fill to 10 liters and add the ingredients
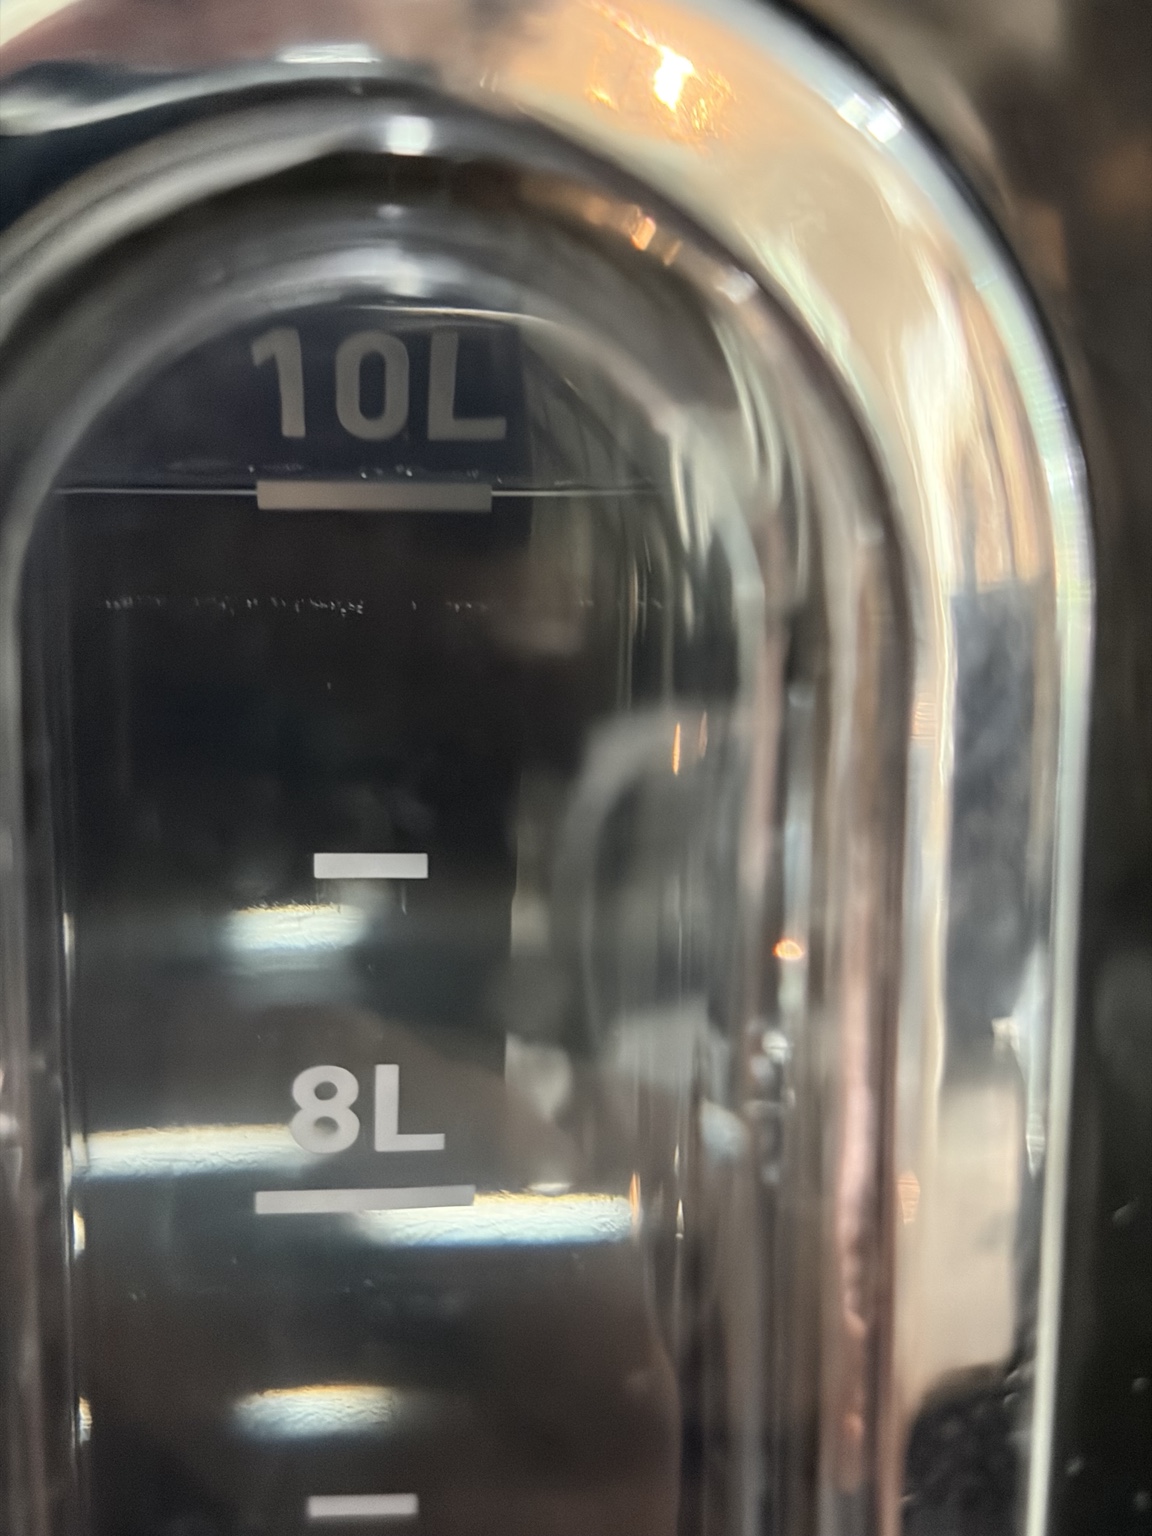
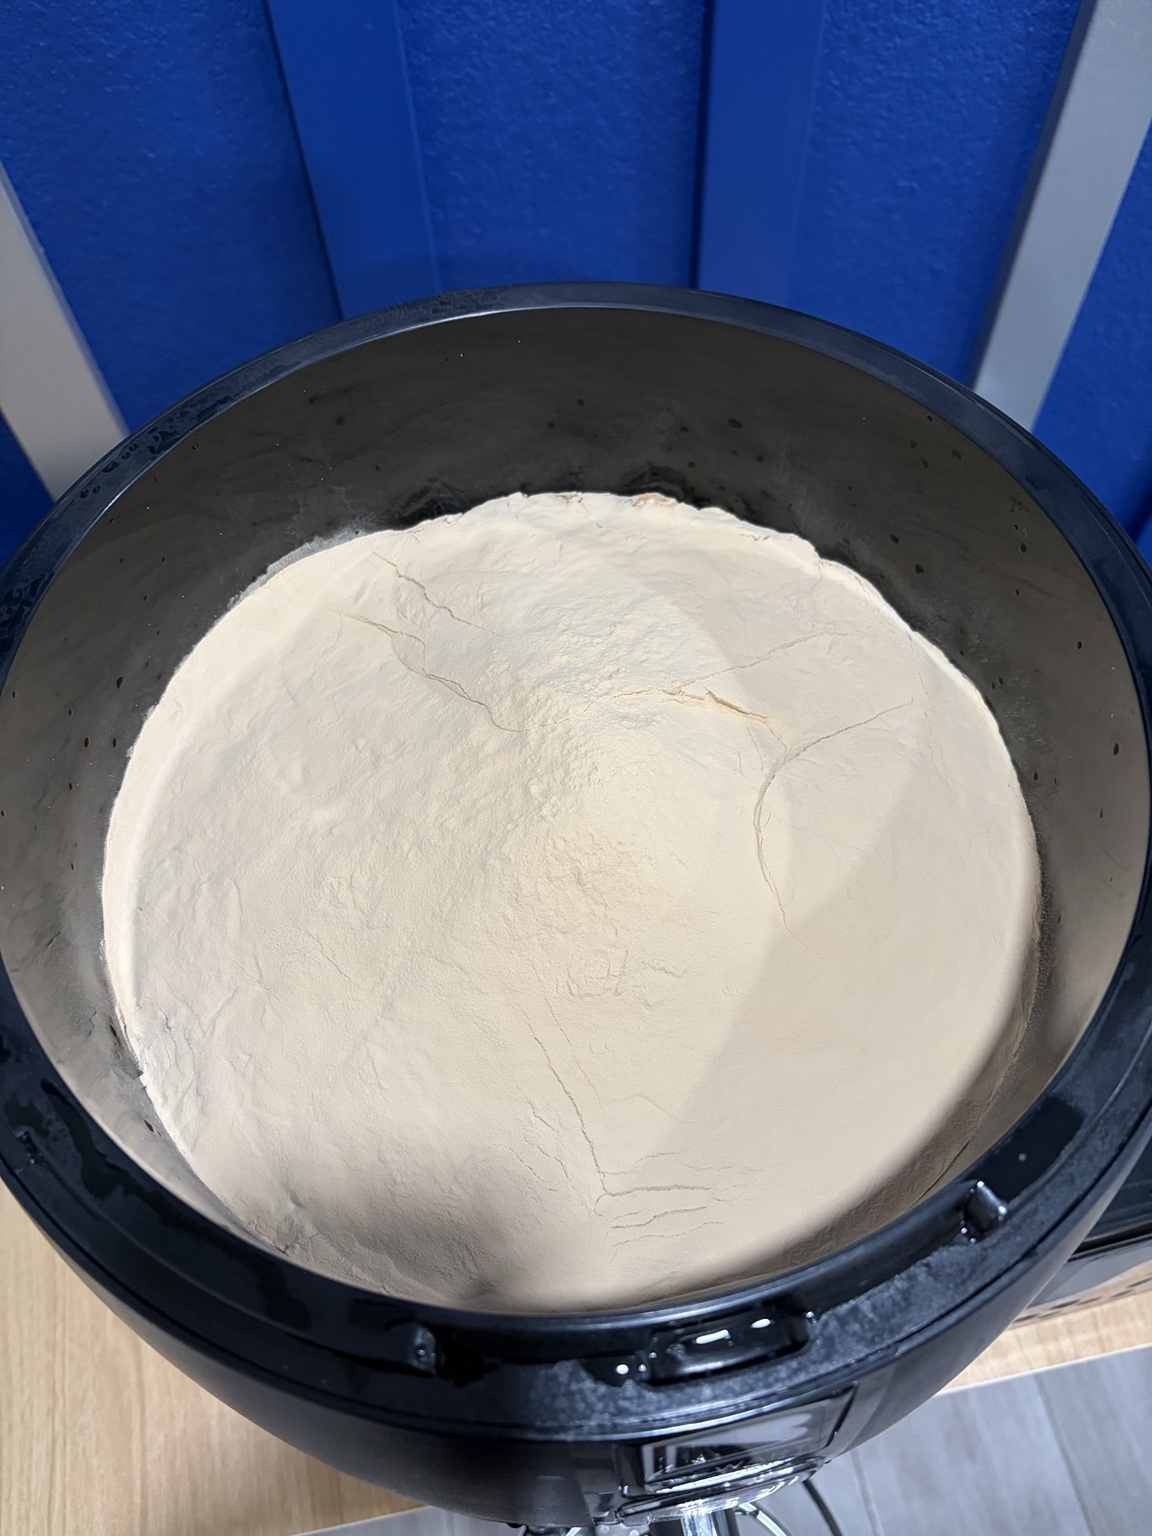
I filled the BeerDroid to the 10 L / 2.6 gal mark, then added the BrewPrint ingredients, yeast, and enhancer in order. Right after everything went in, the surface was almost completely covered in white powder. My first reaction was basically: "Is this really okay?" I left it alone rather than trying to stir it in and let the BeerDroid take over.
Propagate, then Ferment
The BeerDroid starts in Propagate. This batch targeted 21°C / 70°F there, then automatically moved into Ferment. This is one of the parts I like most: I don't have to babysit the transition.
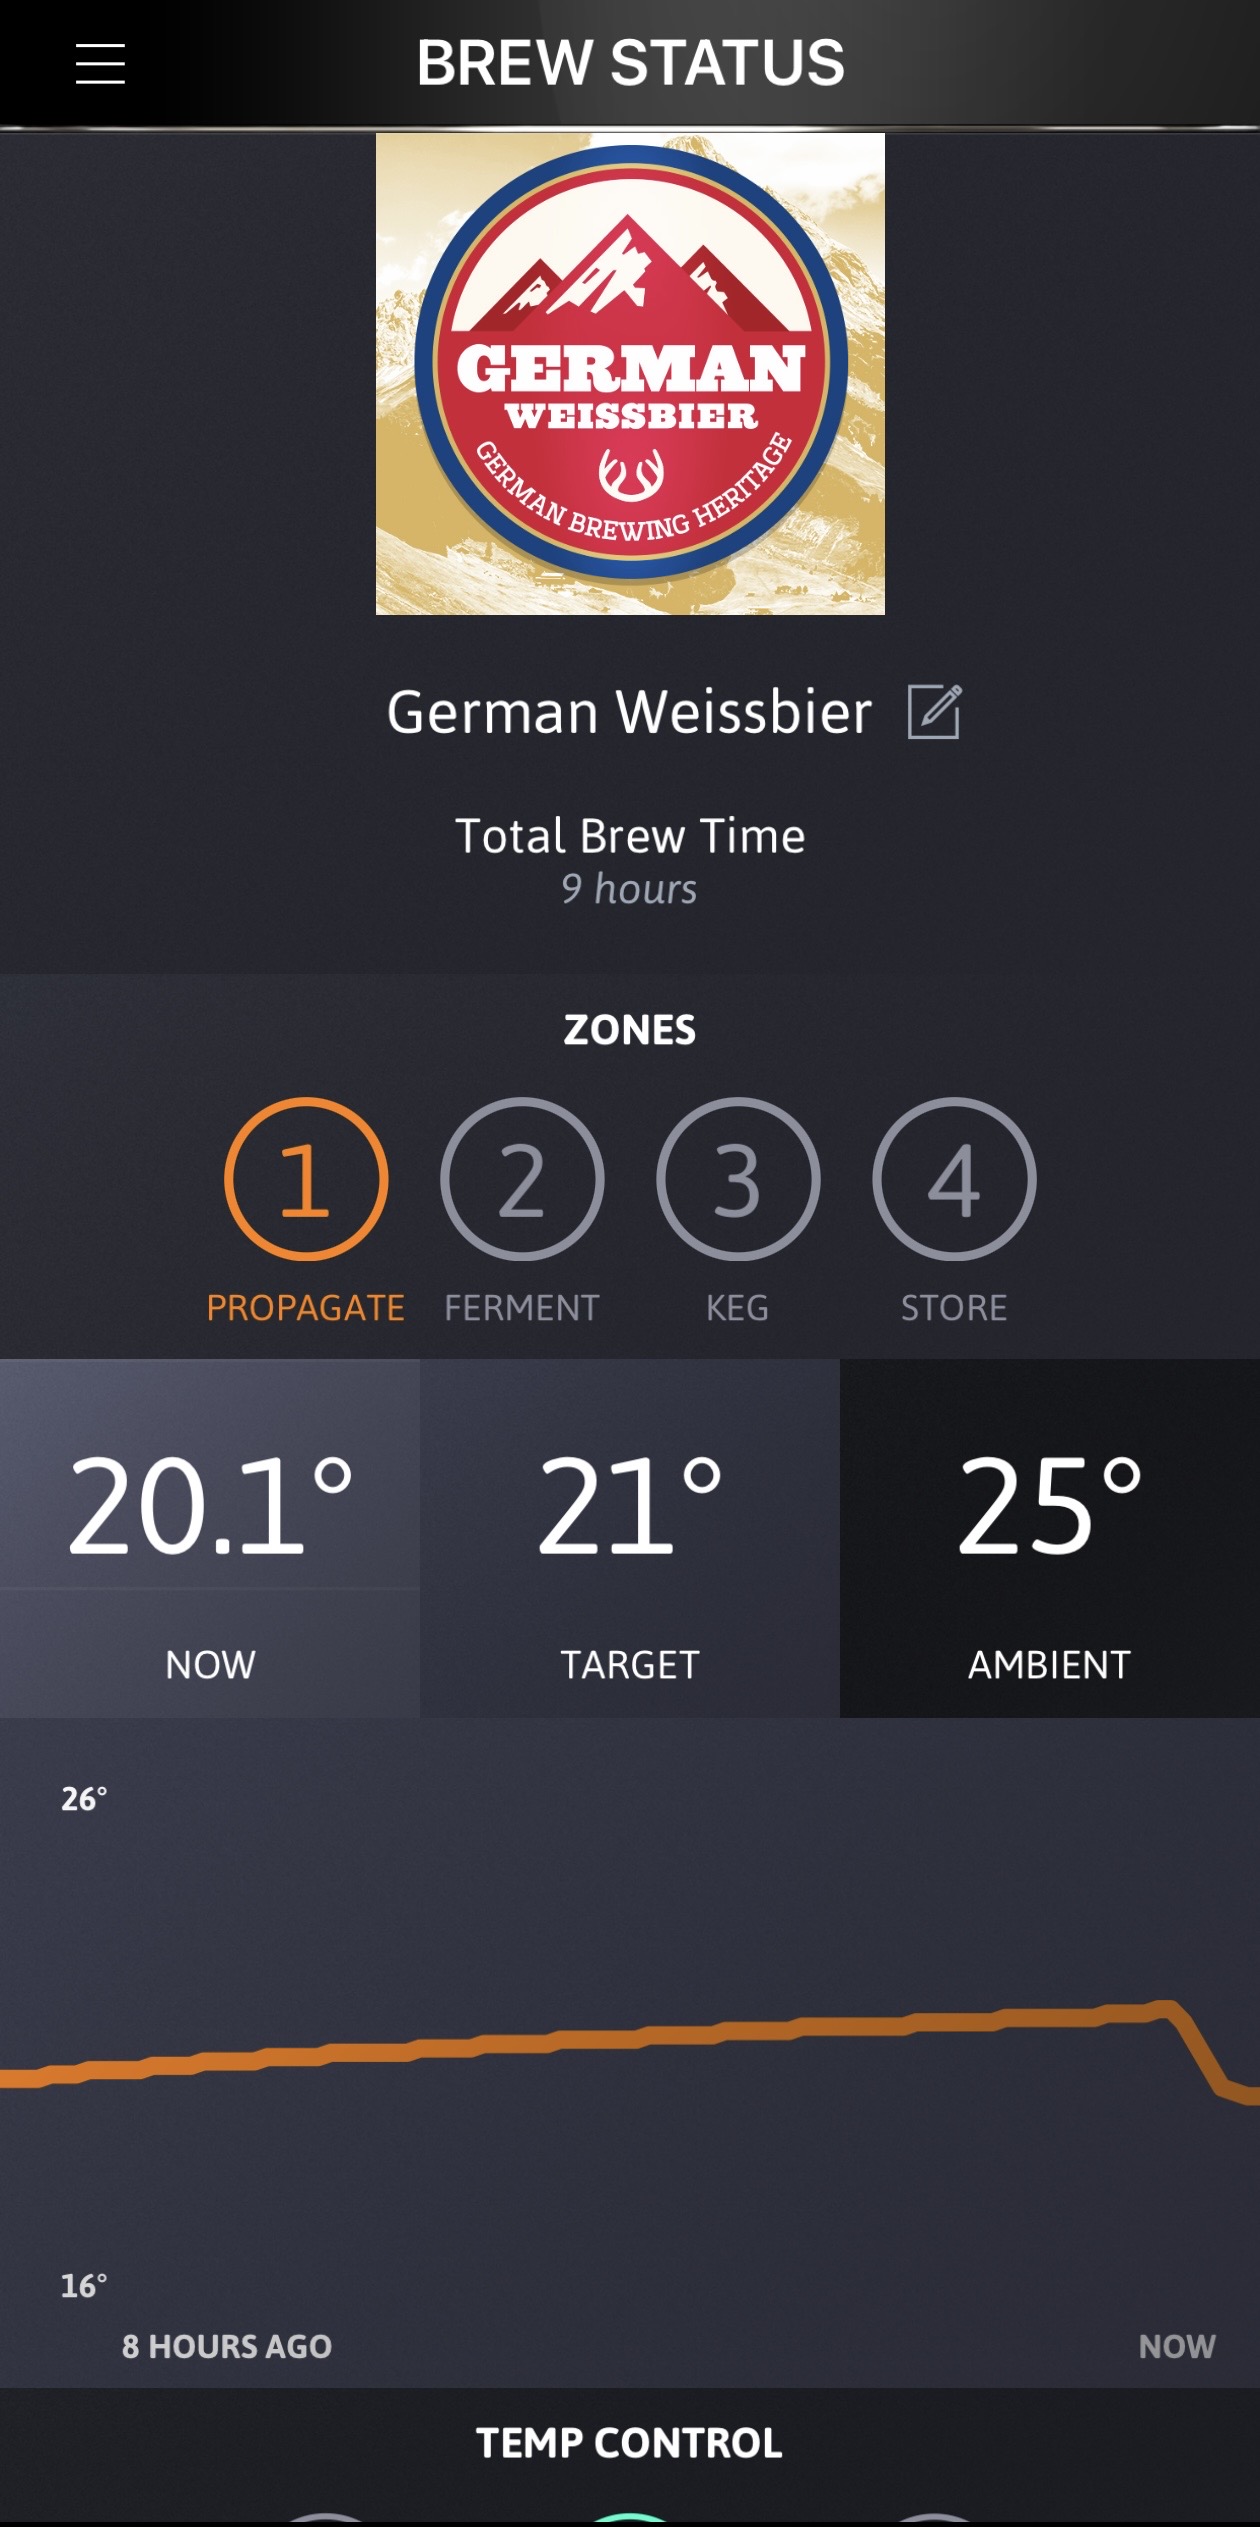
I raised Ferment from 17°C to 19°C (63°F to 66°F)
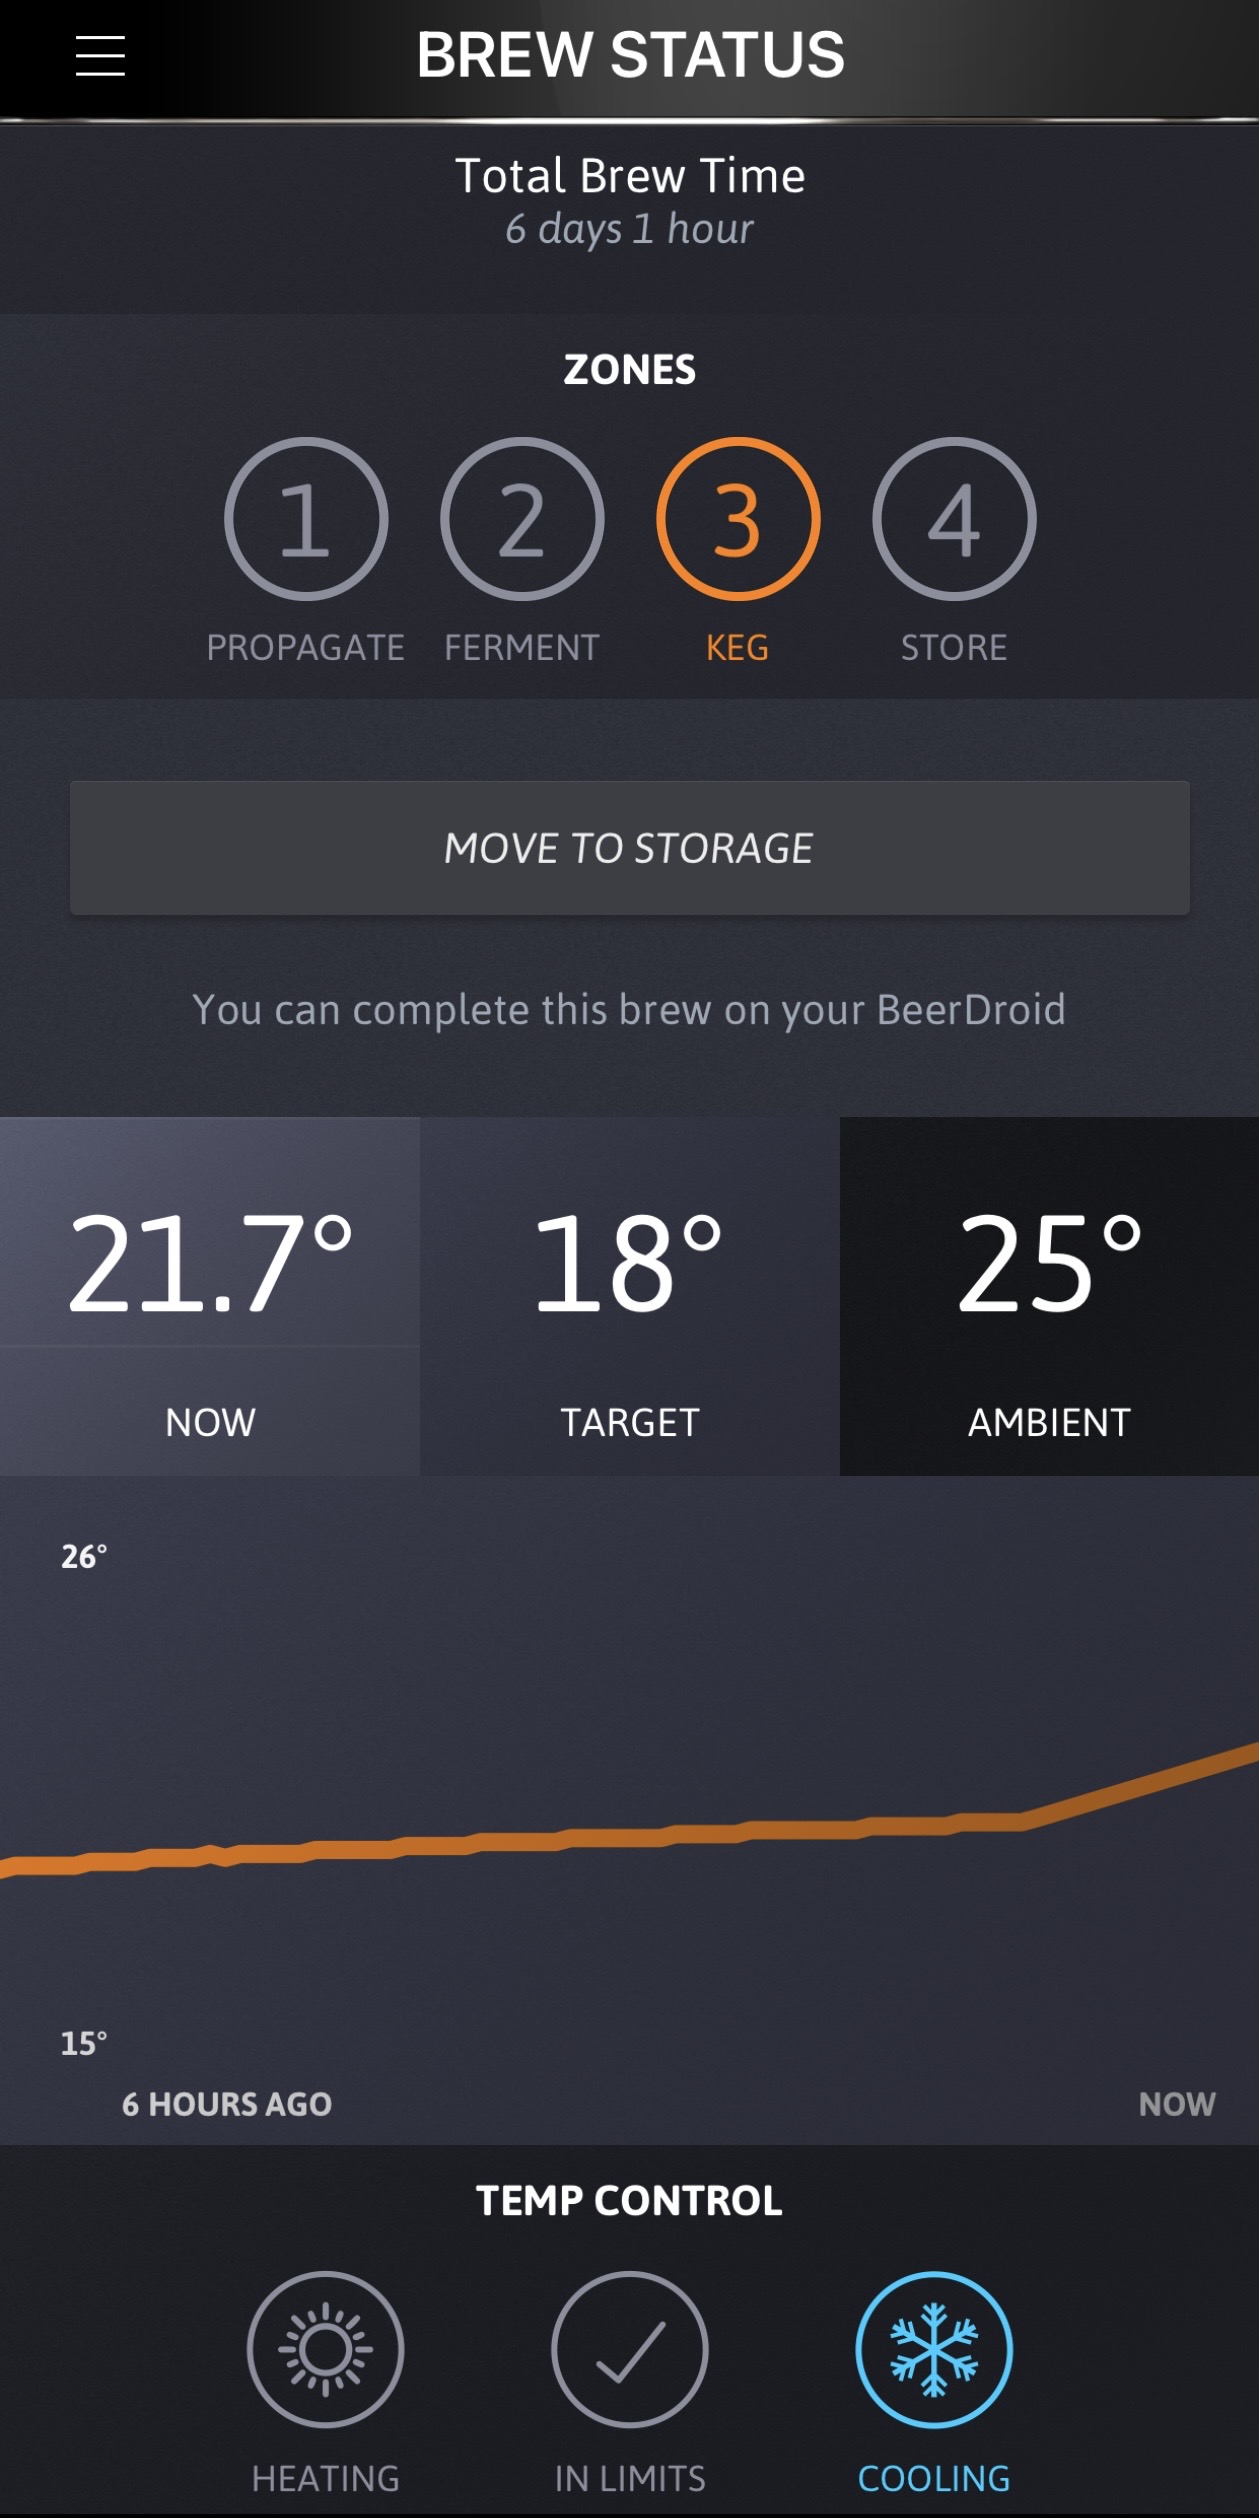
Ferment started at 17°C / 63°F. Partway through, I decided to raise the target to 19°C / 66°F. I wanted to see how a slightly warmer fermentation might affect both the Weissbier character and the fermentation pace. Room temperature stayed around 25–26°C / 77–79°F, while the BeerDroid kept the beer close to target.
My first German Weissbier took about seven days to reach EOF. This batch, with the temperature raised to 19°C / 66°F, reached EOF in about six days — roughly one day faster. That's interesting, but with only one batch at each condition I'm not calling temperature the cause yet. It's something I want to keep tracking on future batches.
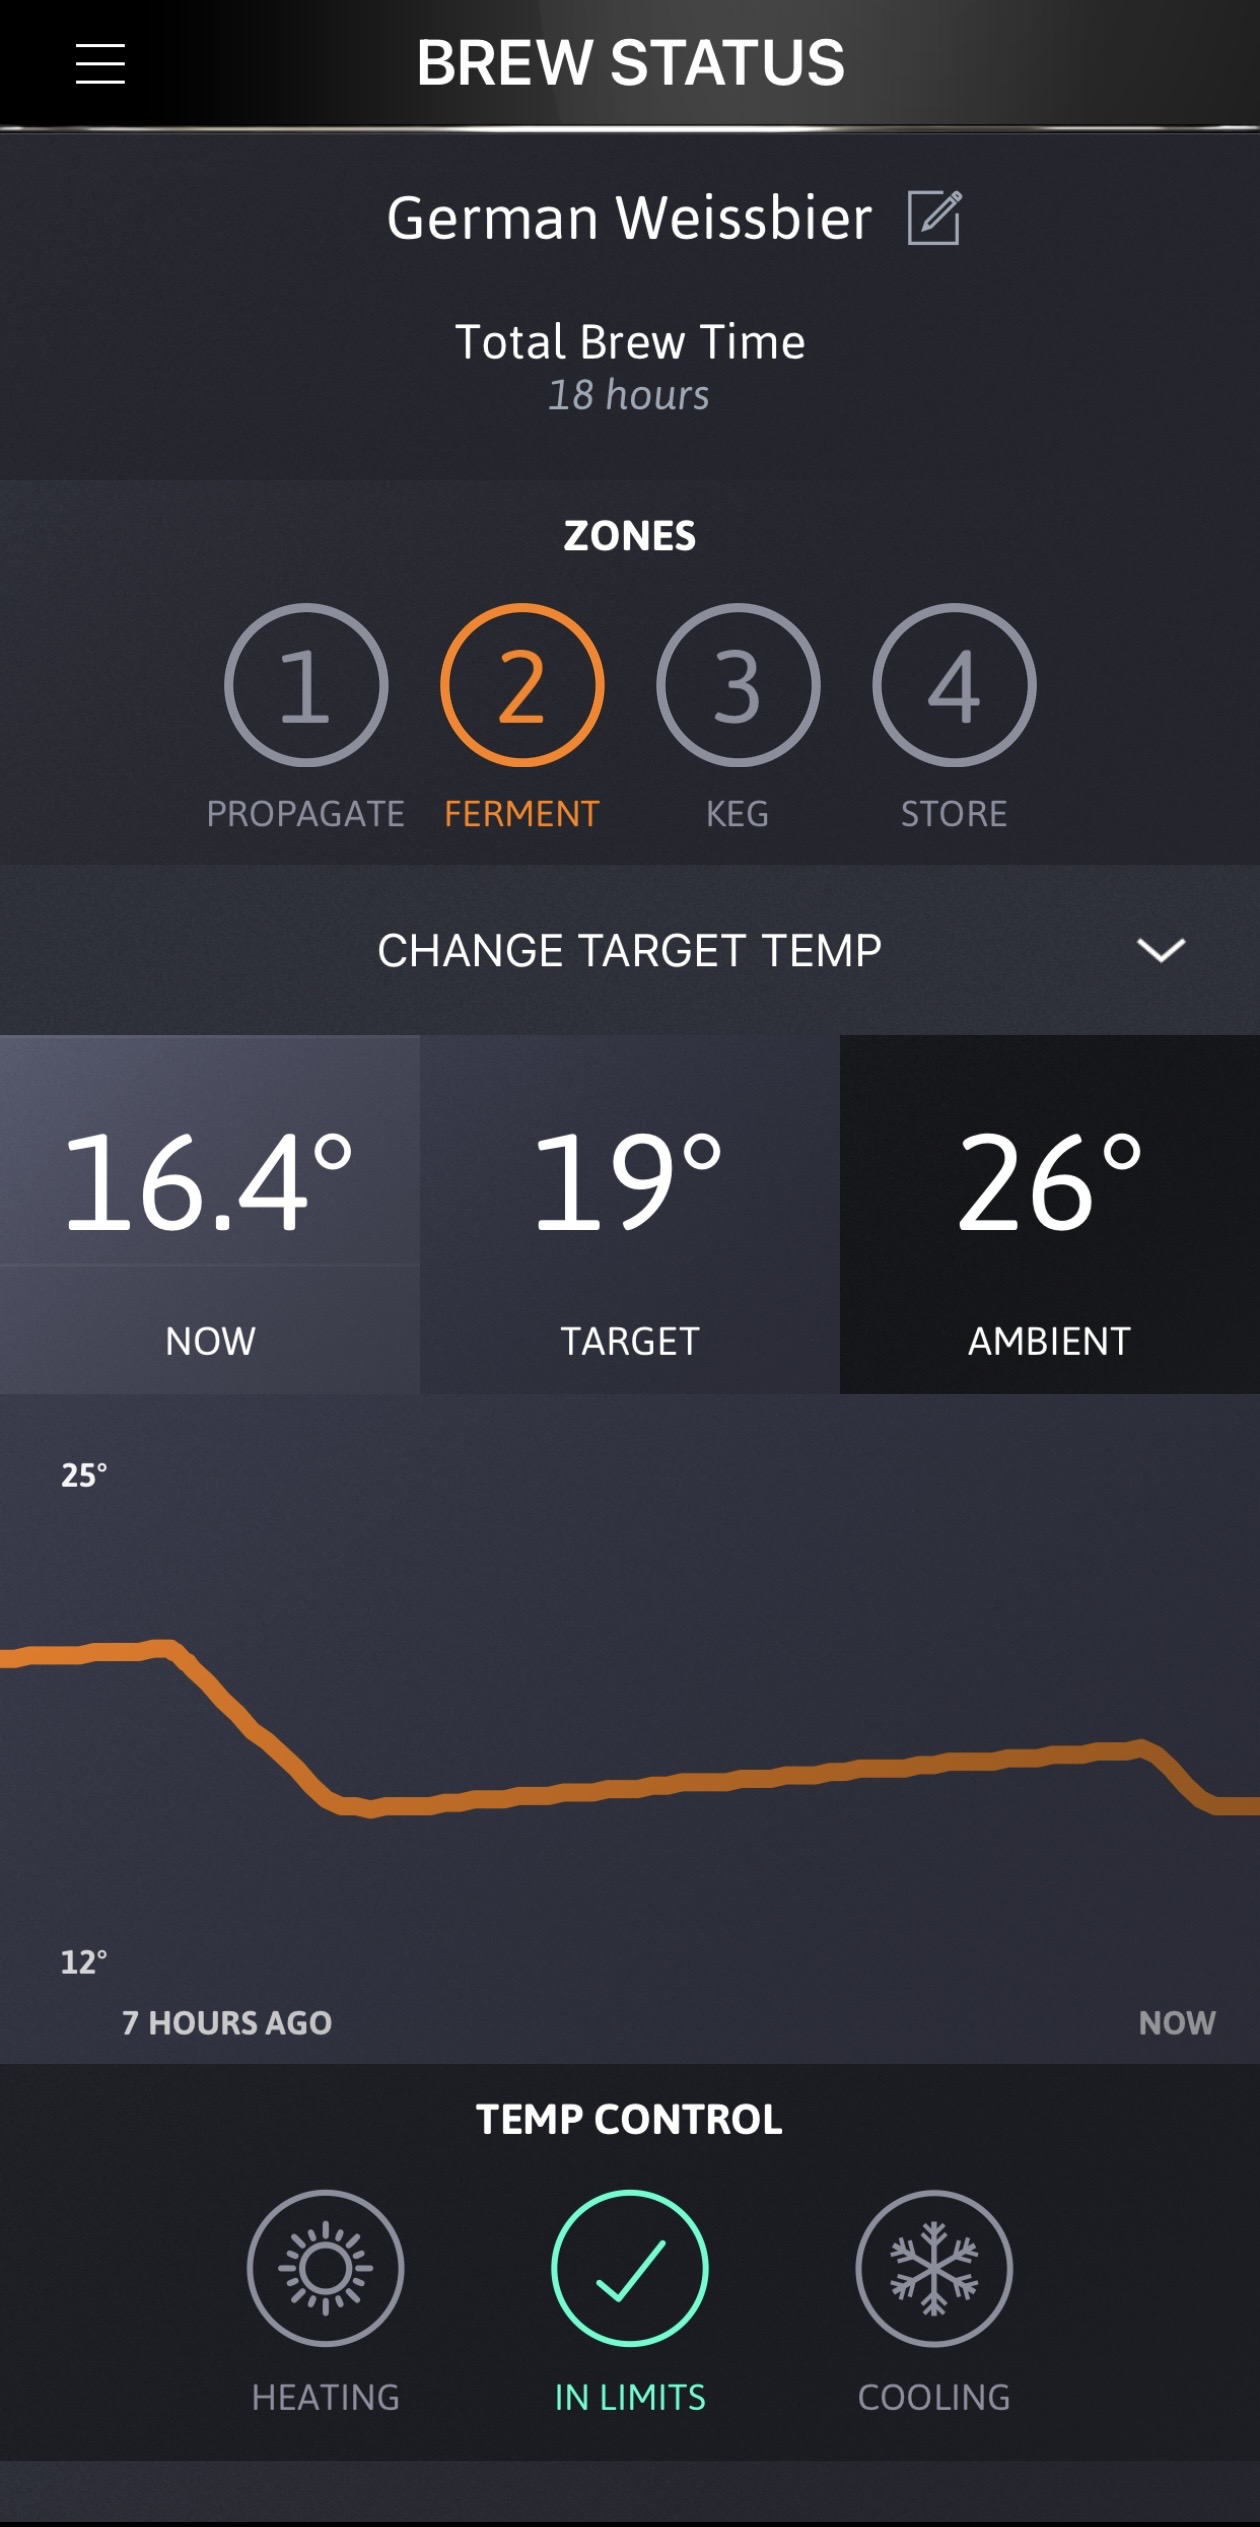
Watching fermentation change day by day
Since the BeerDroid has a front window, I recorded the activity from day 1 through day 5 under roughly the same conditions. The difference is pretty easy to see. One thing became obvious, though: less bubbling did not mean fermentation was finished.
Day 1: lots of fine bubbles
Fermentation was clearly moving. The app showed 20.0°C / 68°F against a 19°C / 66°F target, with the temperature slowly climbing again after a cooling cycle.
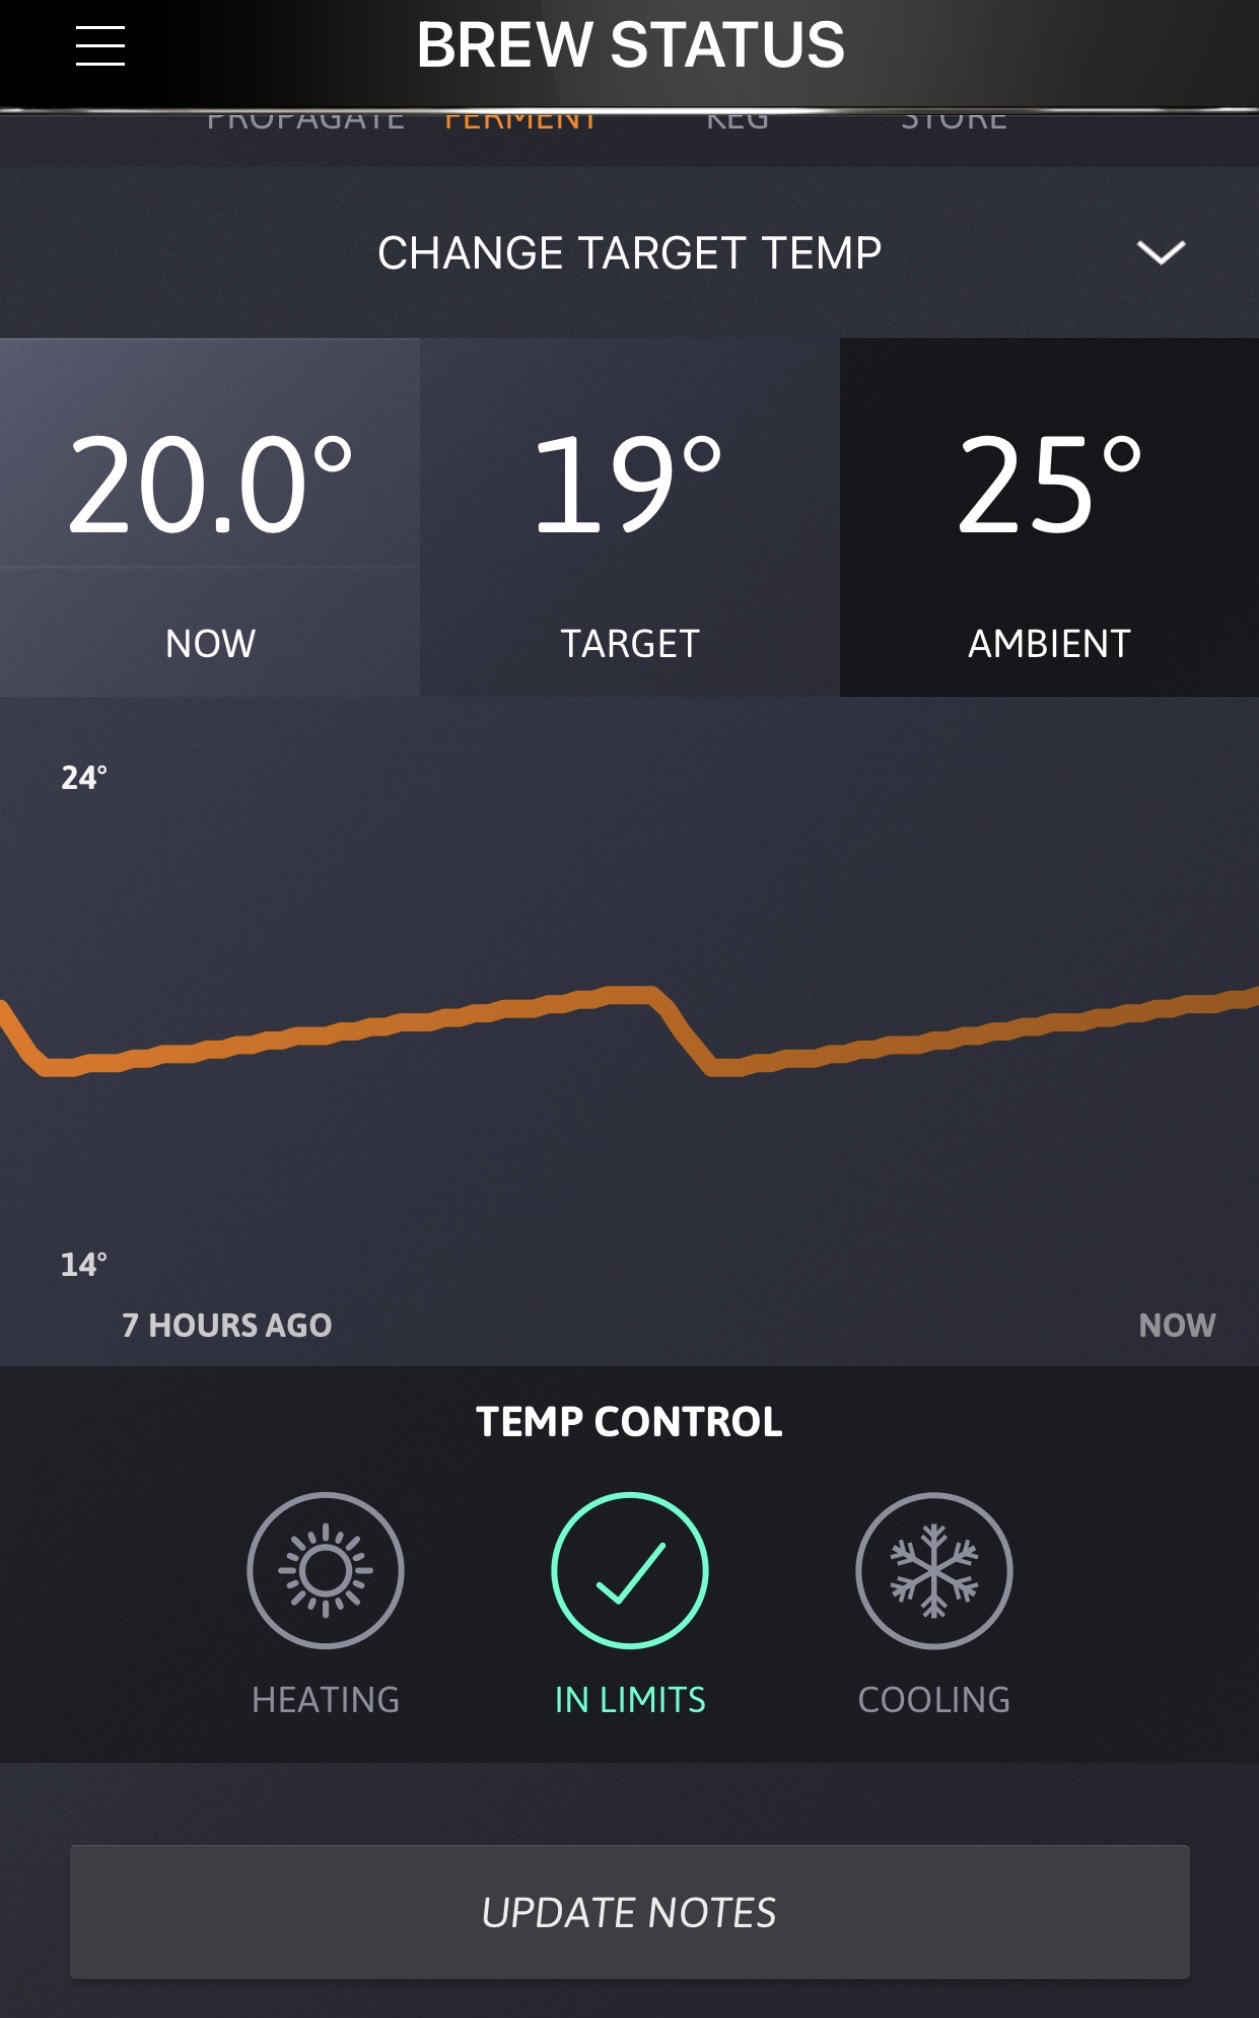
Day 2: still active
The bubbles were still busy. The beer was at 18.5°C / 65°F, close to the 19°C / 66°F target, and the graph still showed a noticeable rise between cooling cycles.
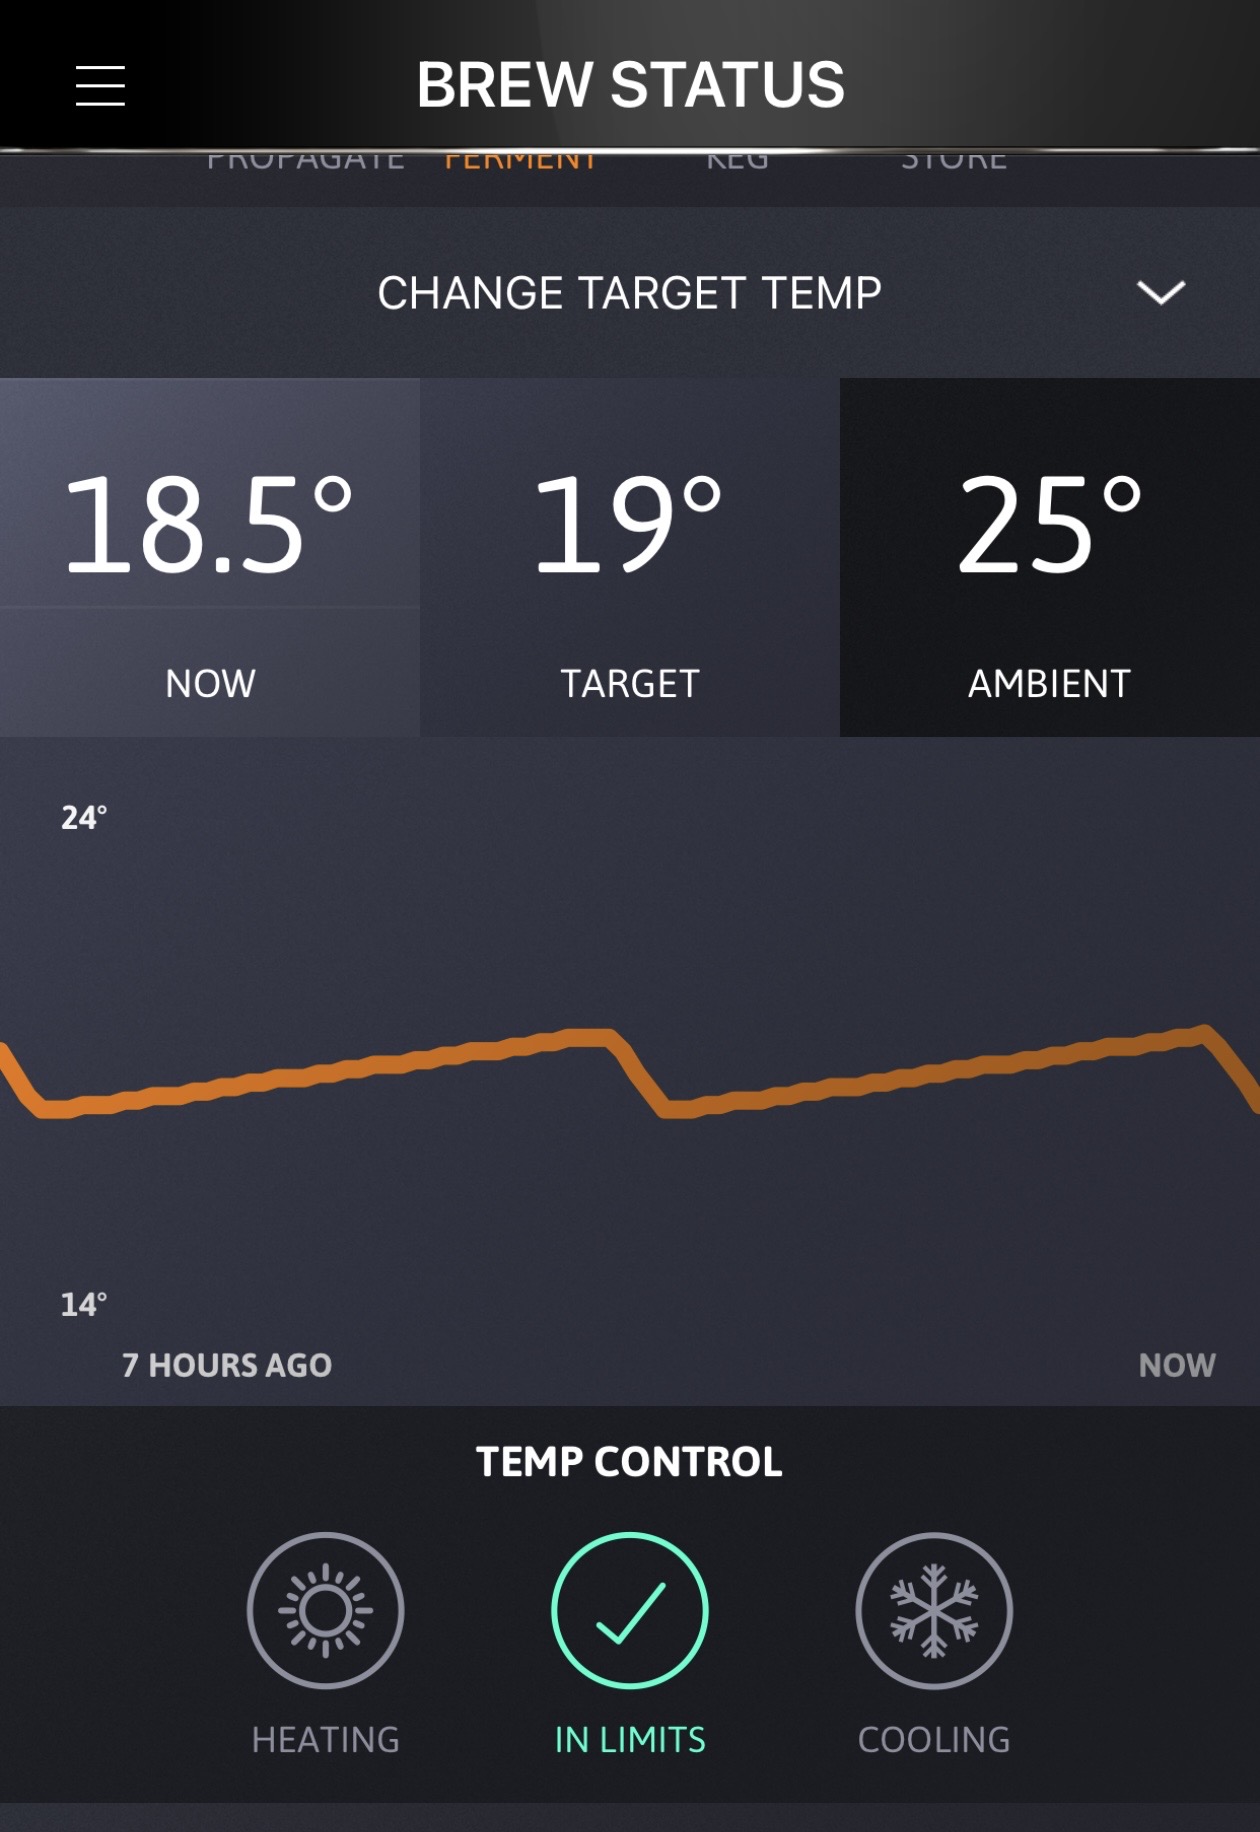
Day 3: starting to calm down
The visible bubbling backed off a little. The temperature rise between cooling events also looked gentler than on days 1–2. The app read 19.3°C / 67°F, essentially right around target.
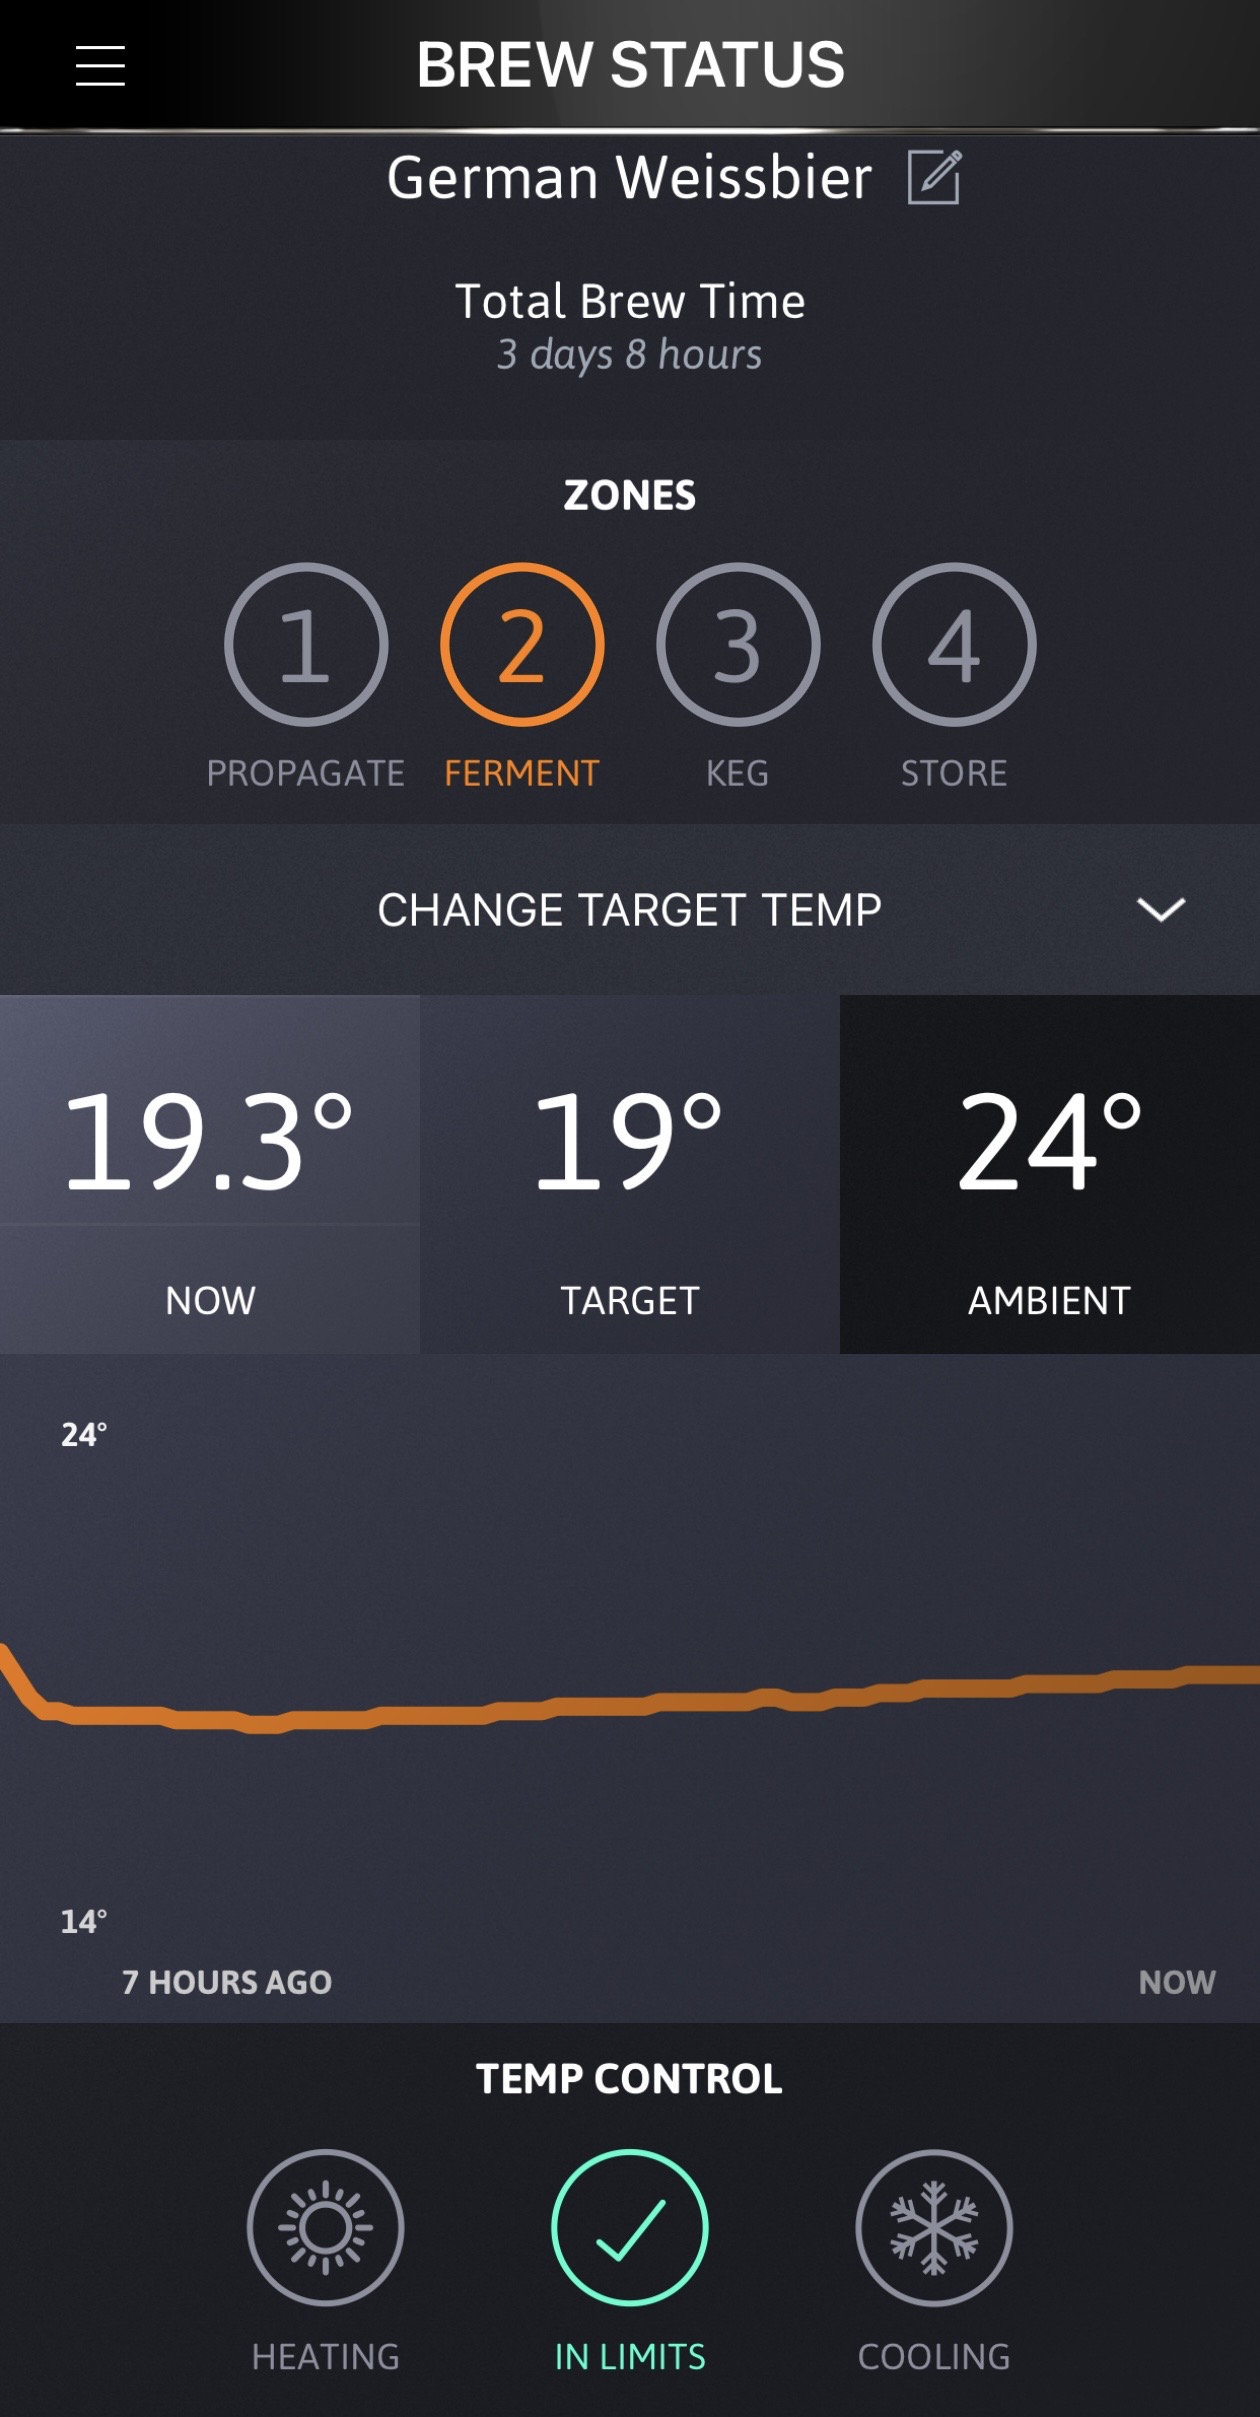
Day 4: much quieter, but still in Ferment
The bubbling had dropped a lot and the temperature curve was smoother too. Even so, the app still showed Ferment — no EOF yet.
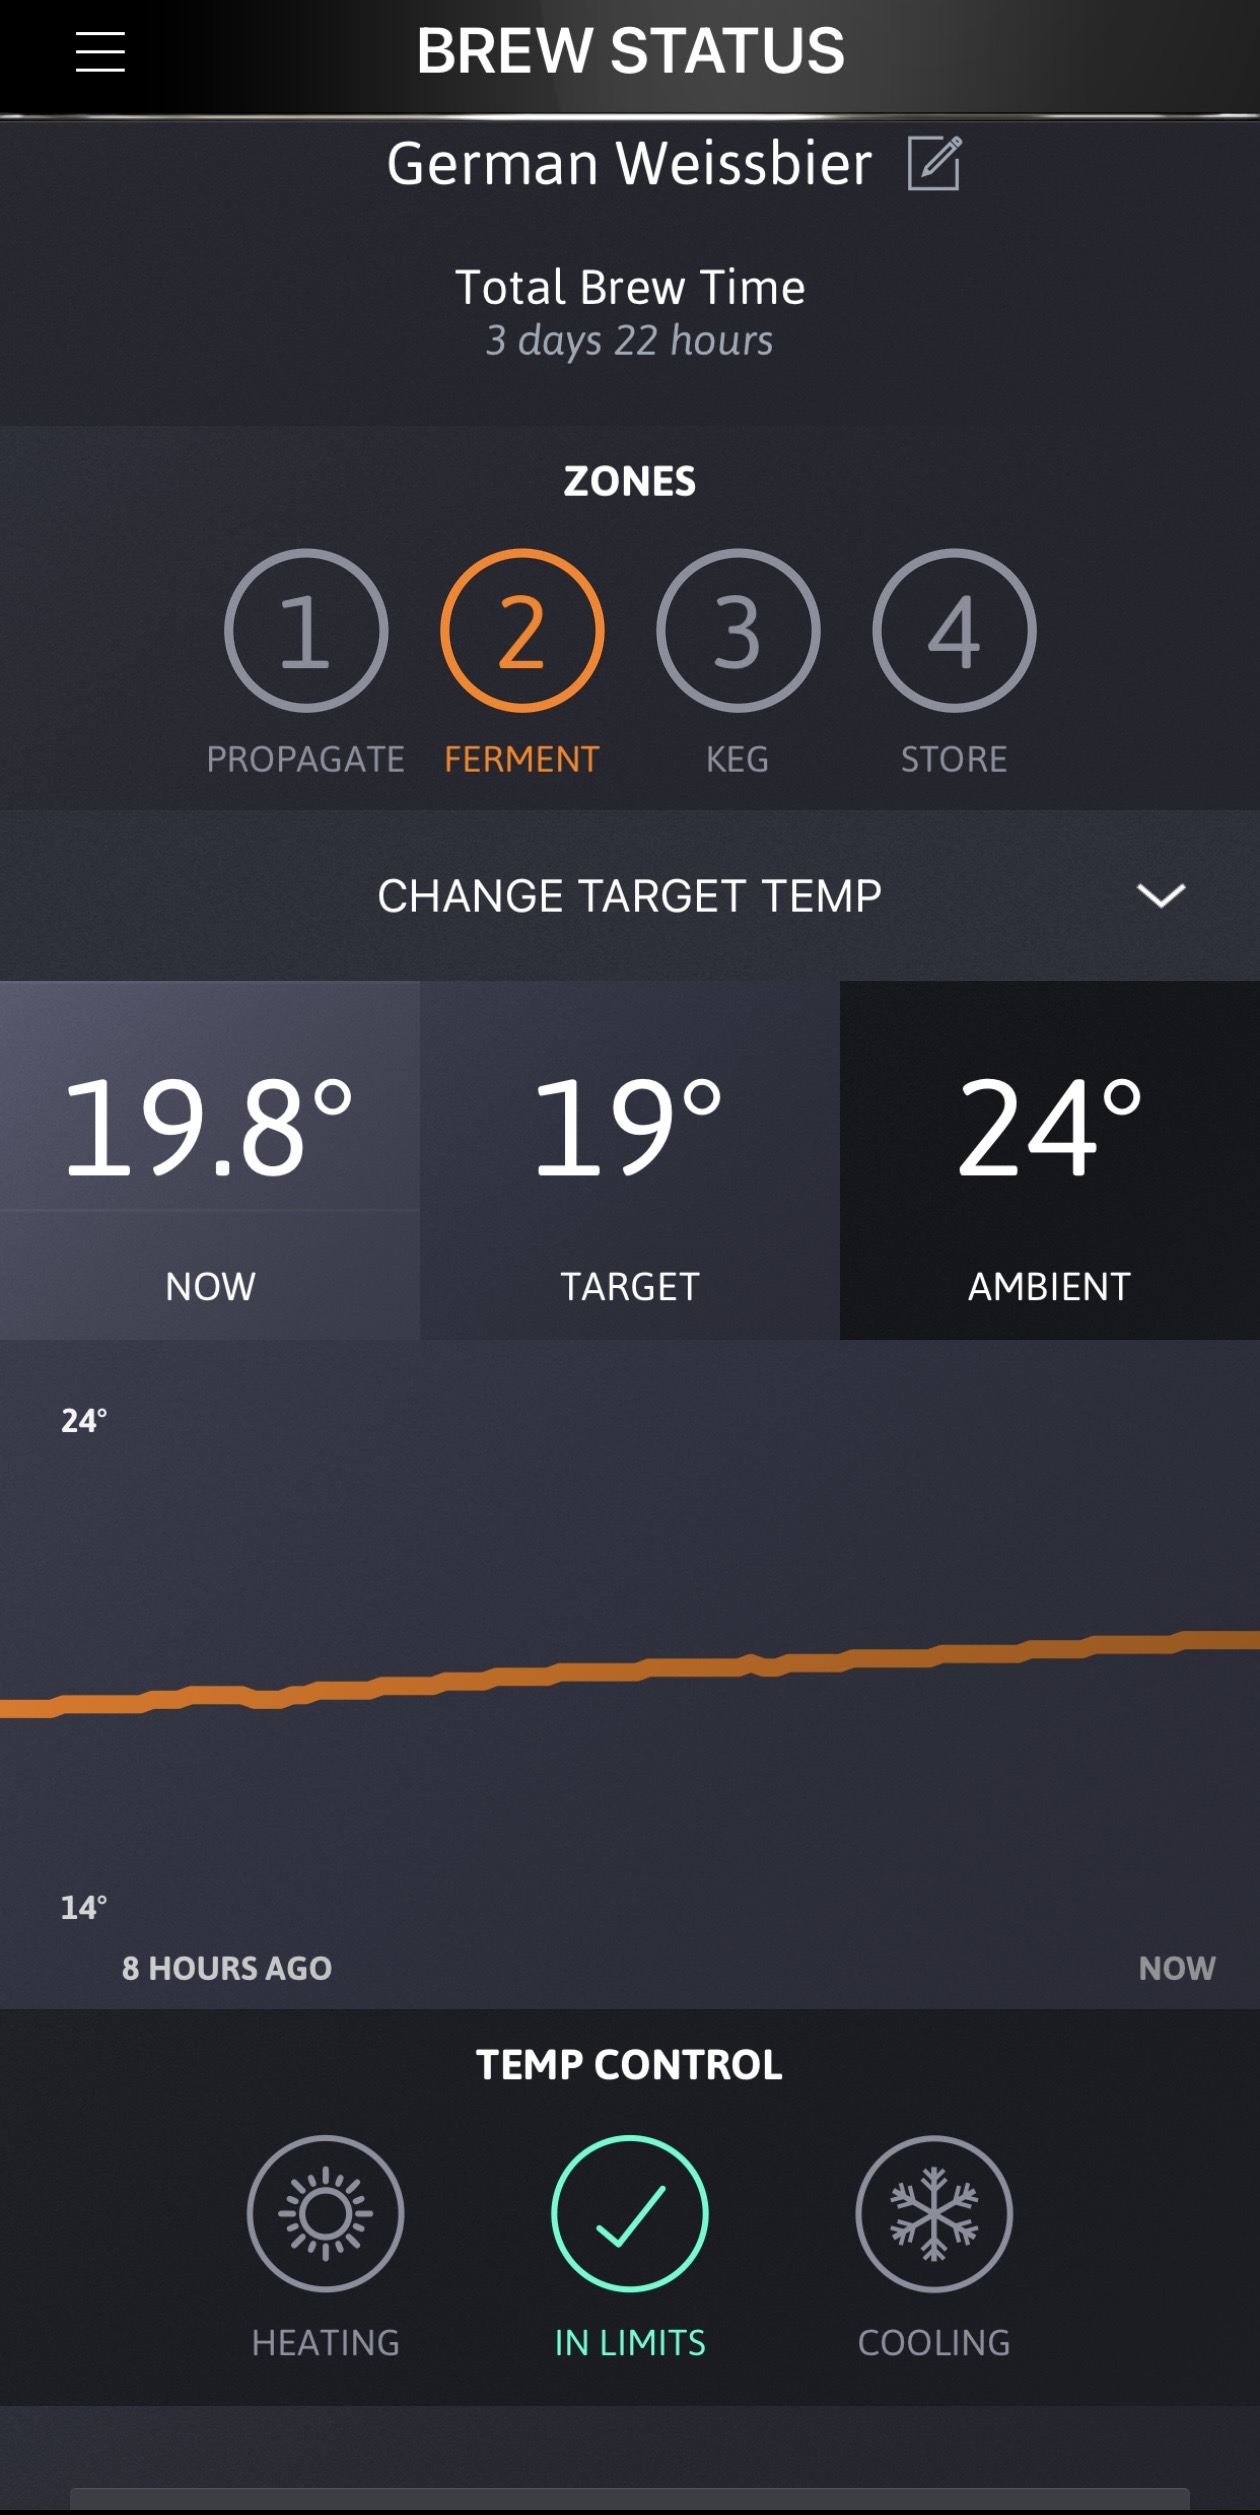
Day 5: almost flat, but still no EOF
The app showed 19.0°C / 66°F — exactly on target — and the temperature graph was getting pretty flat. The bubbling was quiet too. Still, no EOF yet.
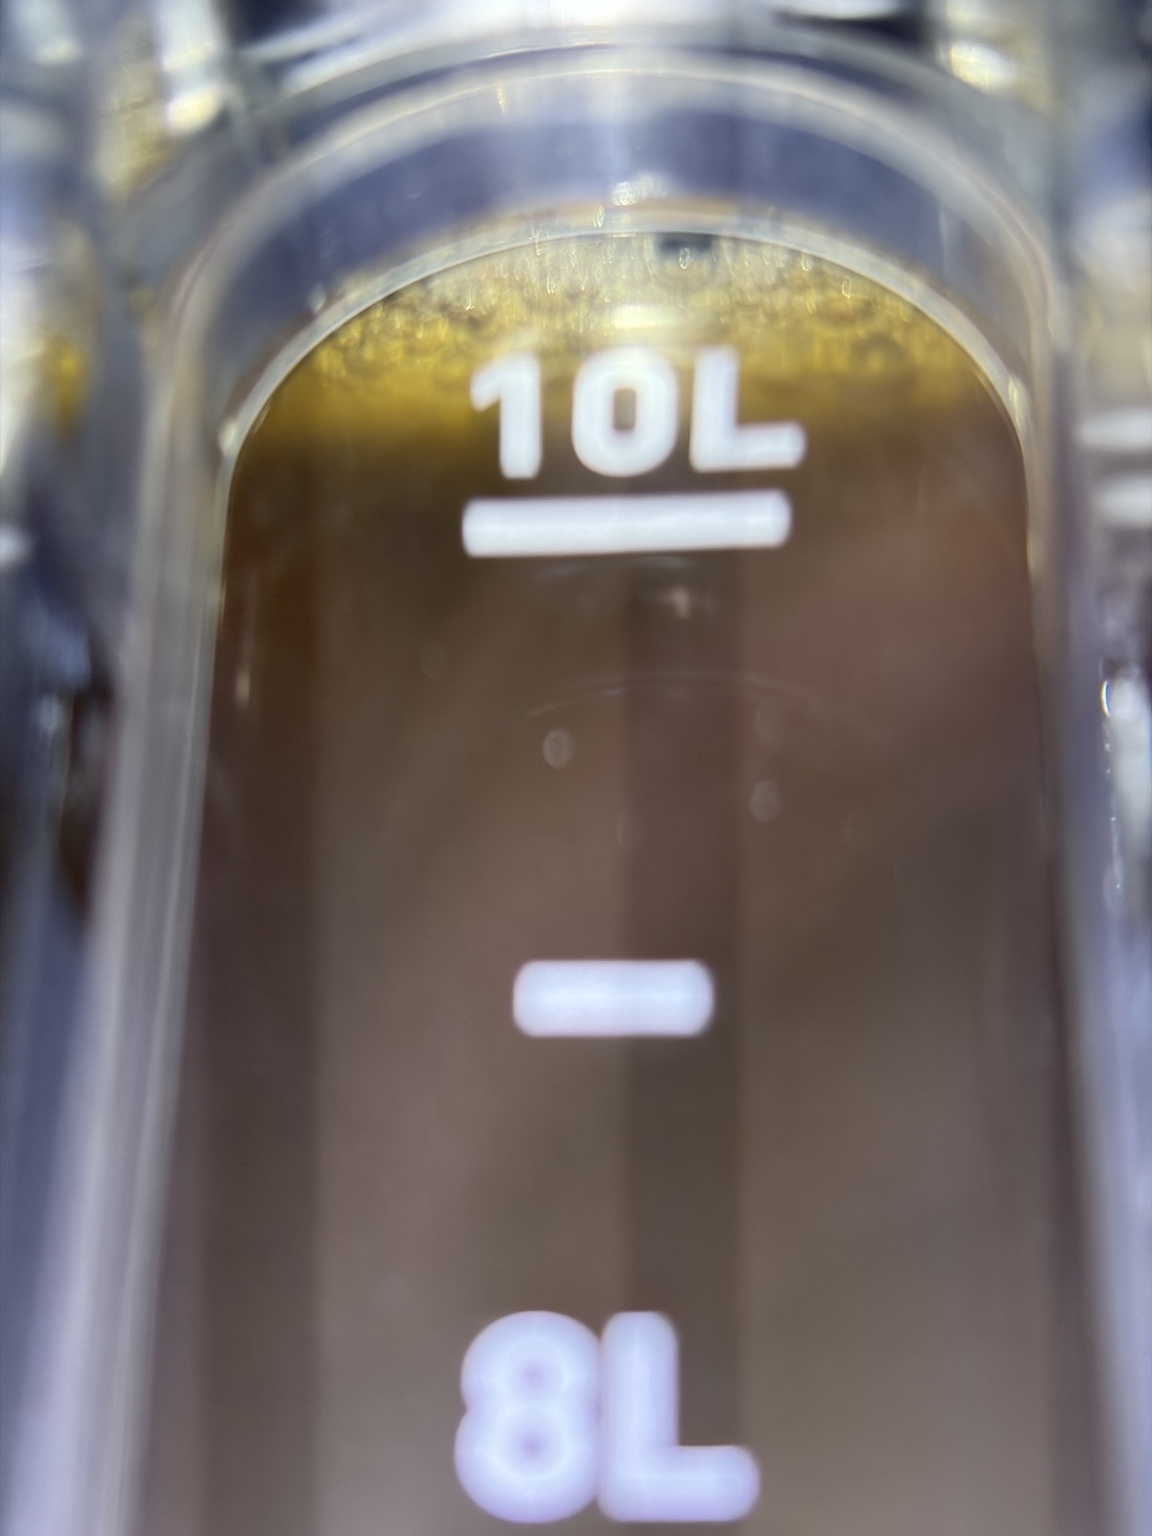
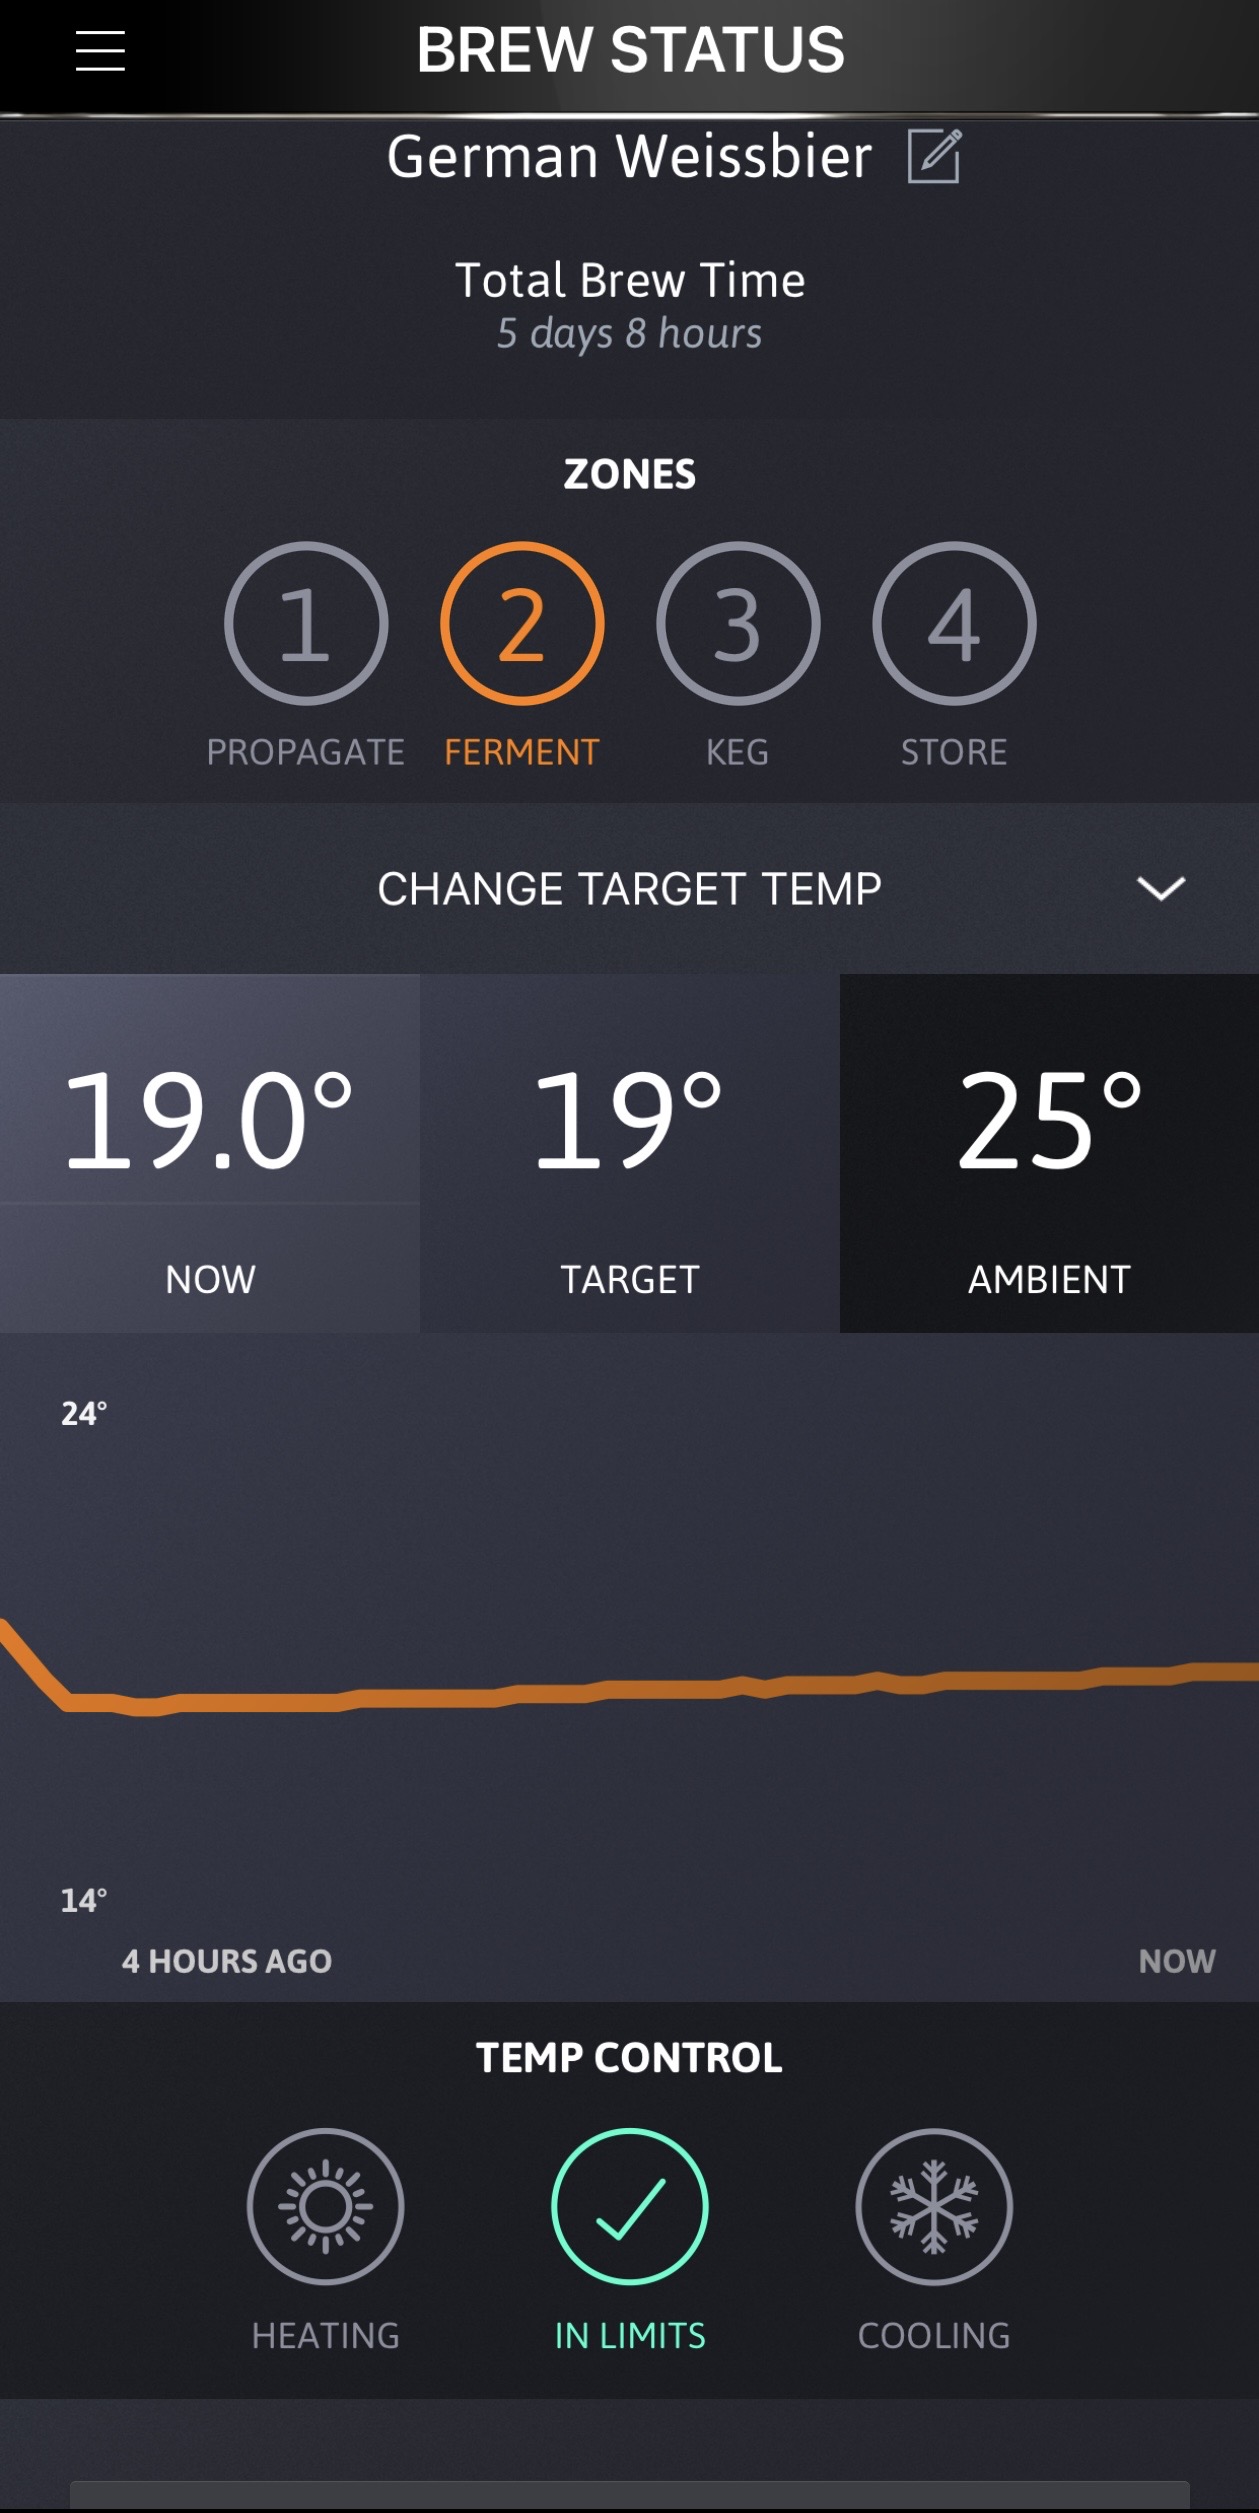
Looking across days 1–5, the bubbles get weaker and the upward temperature drift between cooling cycles gets gentler too. The sharp drops on the graph are the BeerDroid actively cooling. During the slower upward sections, it isn't cooling. Because room temperature stayed fairly steady, I think the most reasonable explanation is that fermentation heat was decreasing as fermentation itself slowed down.
It's still an inference — sensor location and the BeerDroid's control logic matter — but the temperature trend and the visual bubbling are moving in the same direction. Watching bubbles + temperature + app stage together gives a much clearer picture than any one of them alone.
Quiet bubbles still didn't mean fermentation was done
By days 4–5, it looked quiet enough that I kept thinking, "Surely it's done now." Nope. BeerDroid stayed in Ferment. EOF finally arrived at around day 6.
That was probably the clearest lesson from this batch: low visible activity is not the same thing as finished fermentation. The window is useful — and fun to watch — but I wouldn't use bubbles alone to call the end. The app stage, and gravity if I need an independent check, are better evidence.
Keg first, primer second
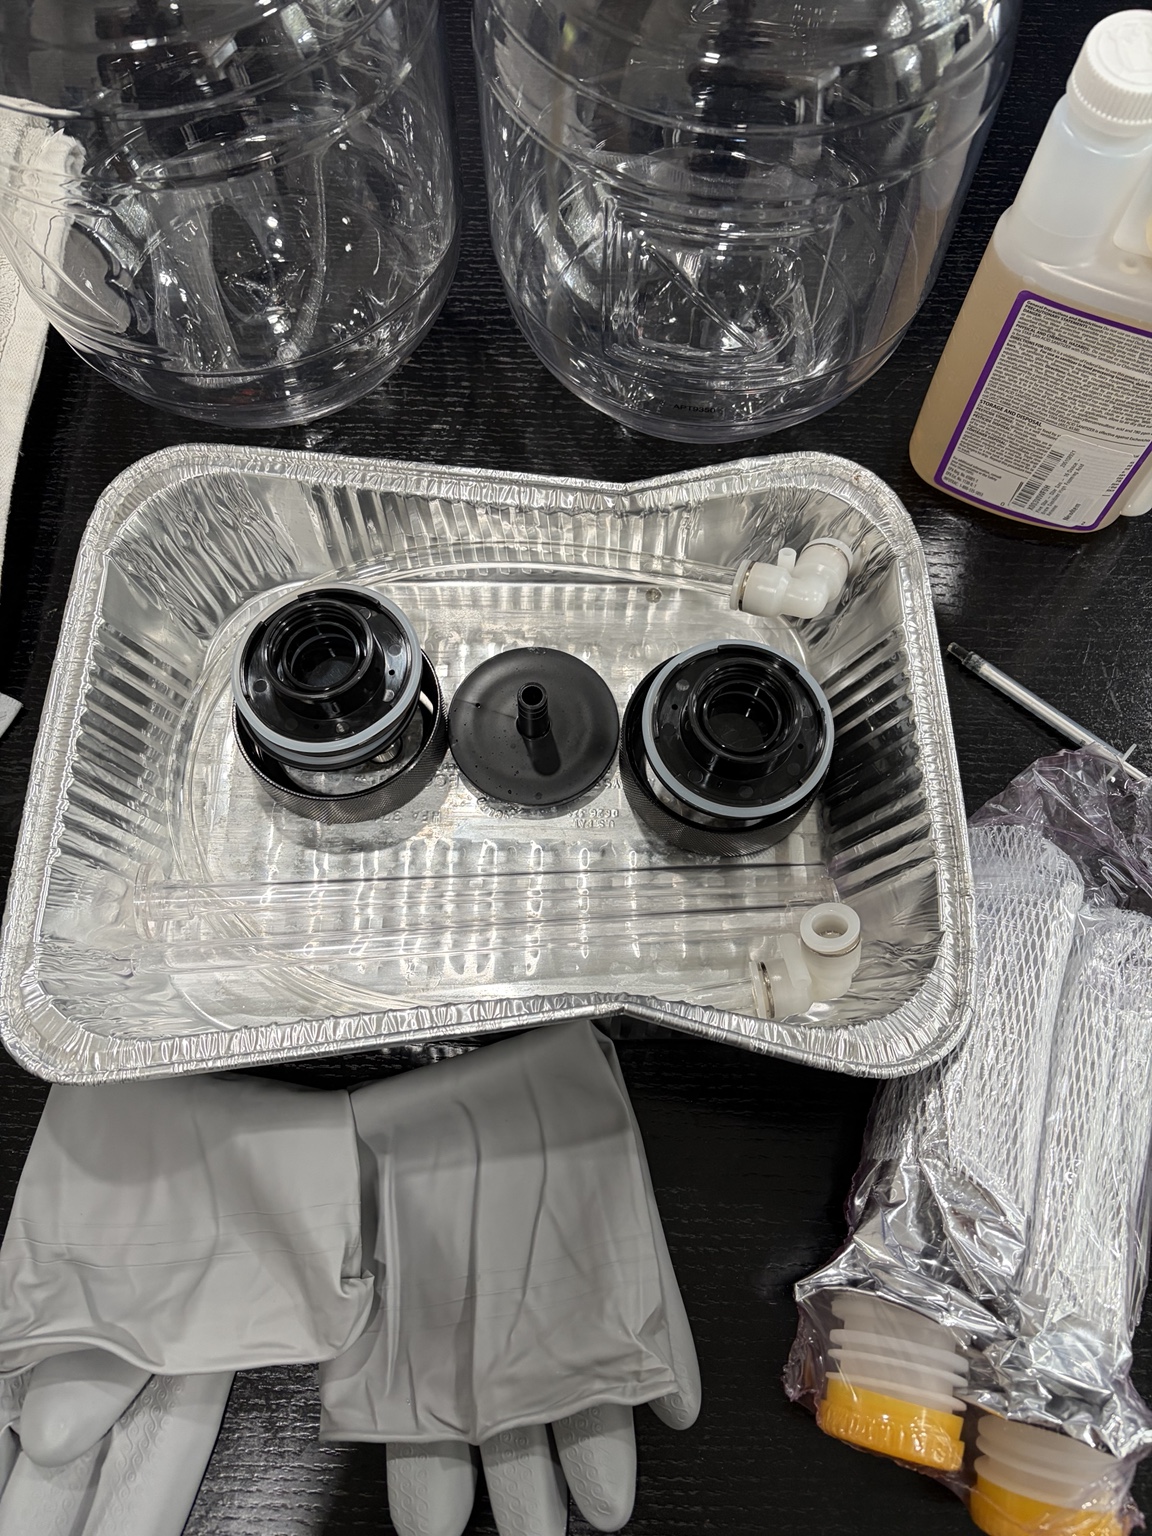
Once fermentation was finished, it was finally kegging time. I cleaned the kegs, caps, and fittings, sanitized them with Star San, then transferred the beer from the BeerDroid. The primer goes in after the beer is in the keg. That sugar drives secondary fermentation in the keg and builds carbonation while the beer conditions.
Which means kegged does not mean ready to drink. I still have about two weeks of secondary fermentation and conditioning before it's time to pour one.
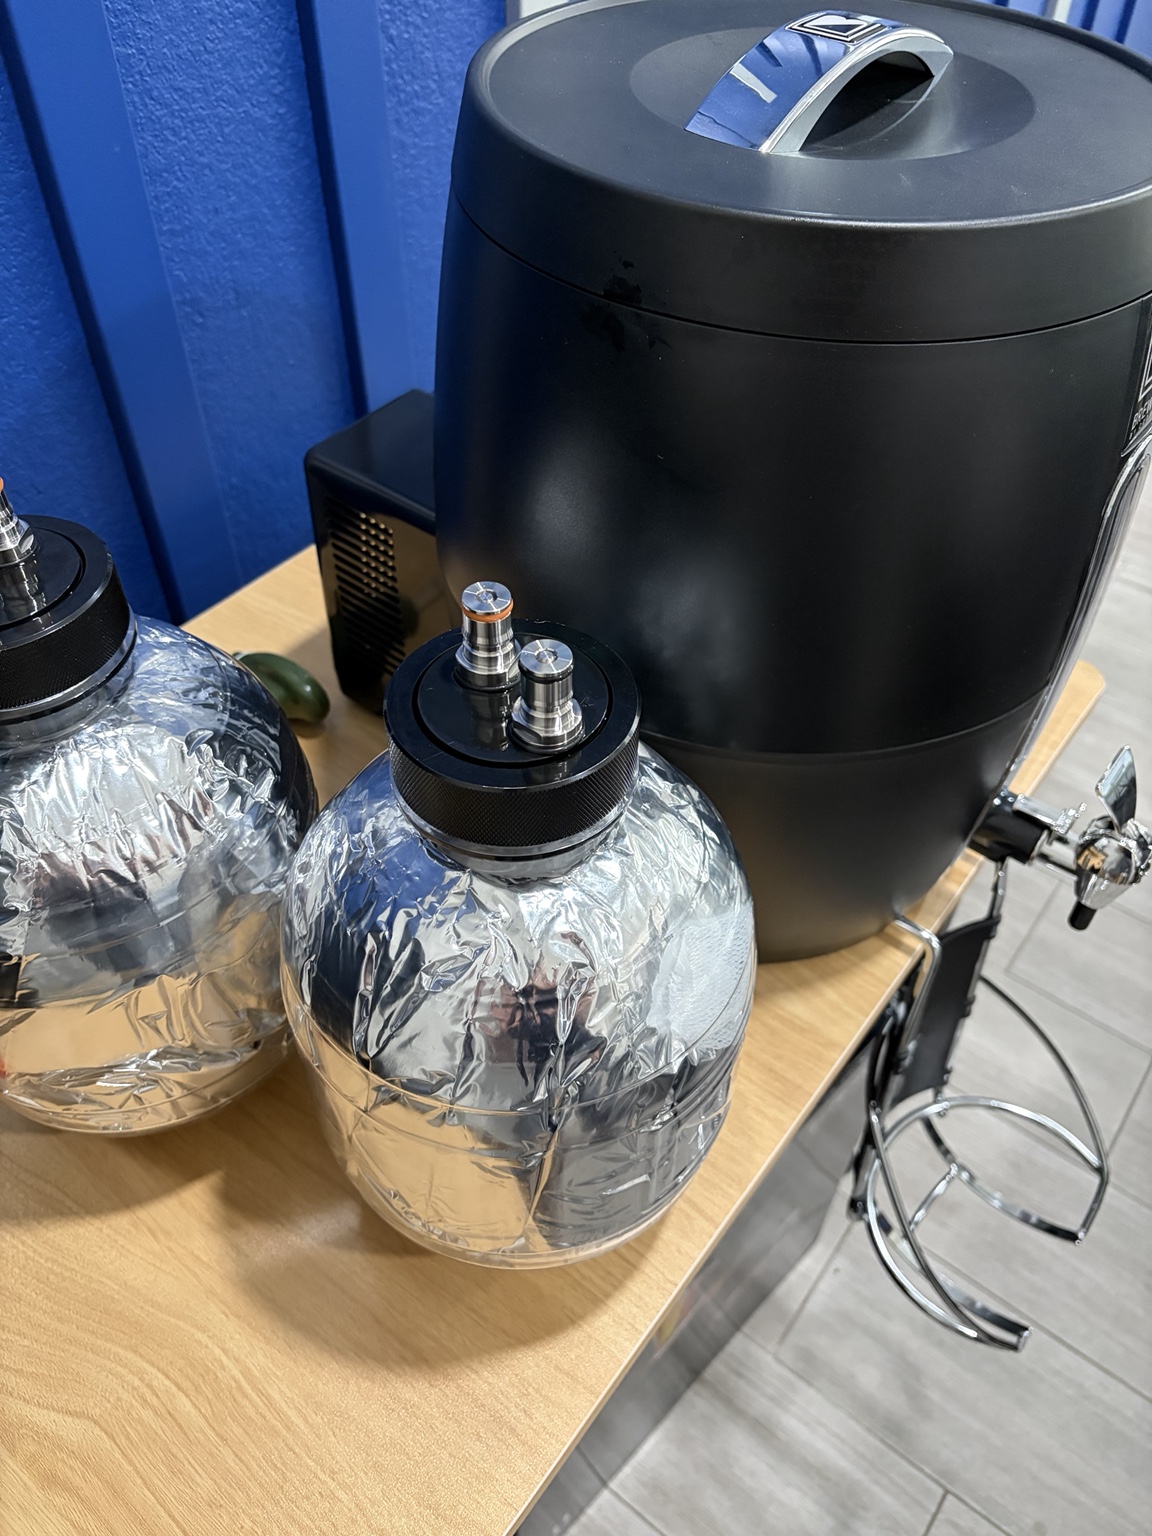
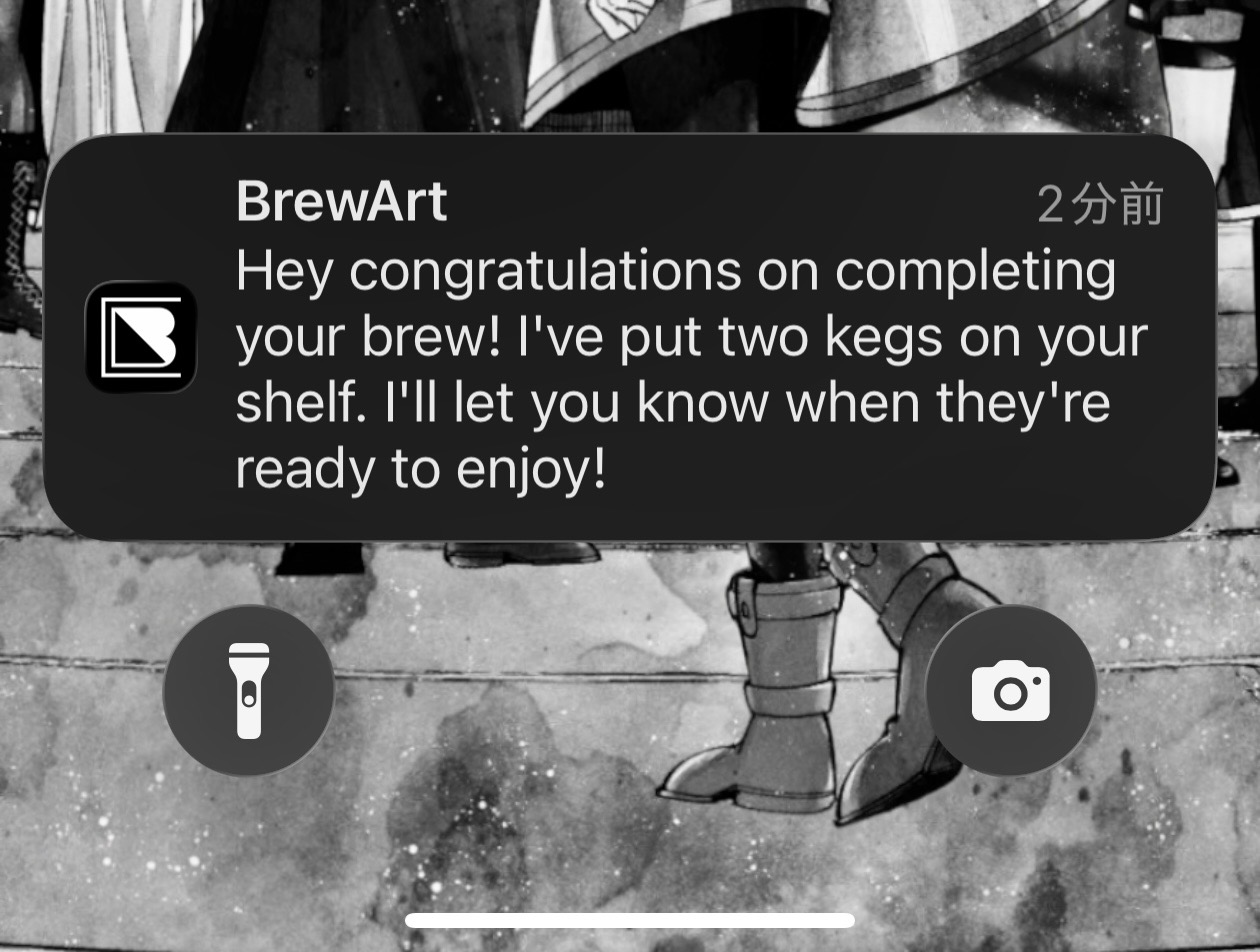
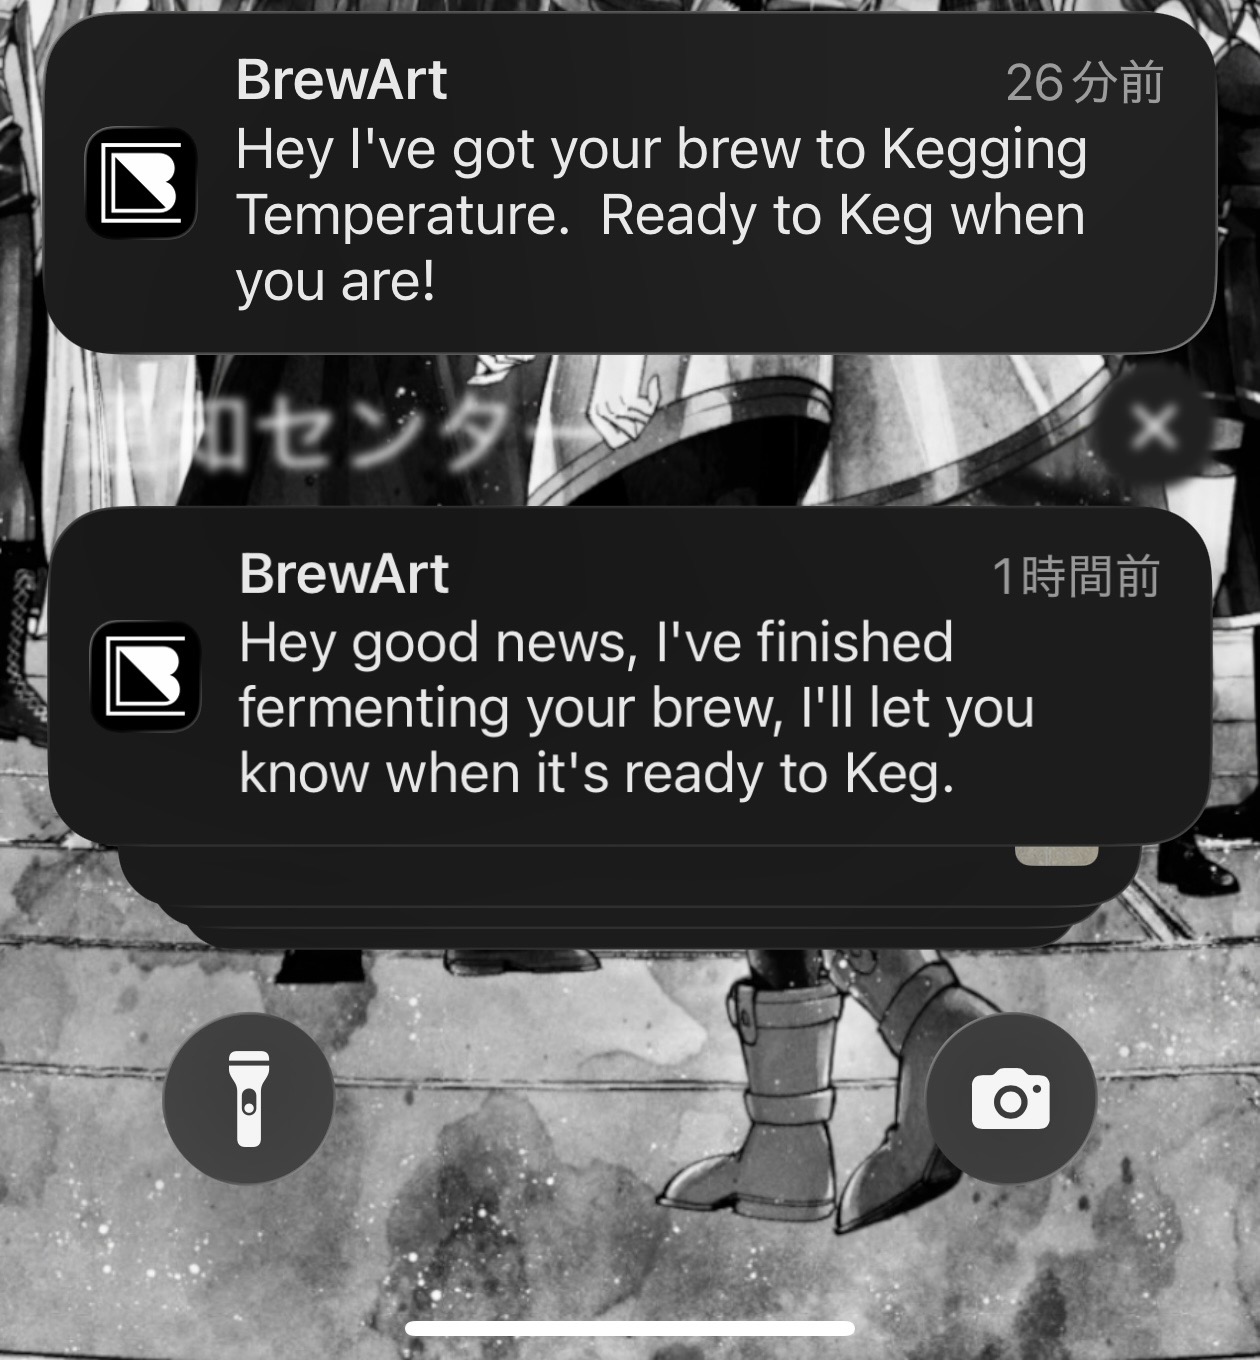
Once kegging is complete, both kegs appear on the BrewArt Shelf. At that point it was basically a two-week waiting game. When conditioning was done, the app sent the ready-to-drink notification — which is nice because I didn't have to keep asking myself, "Wait... what day am I on?"
Pouring from the BrewFlo, then tasting
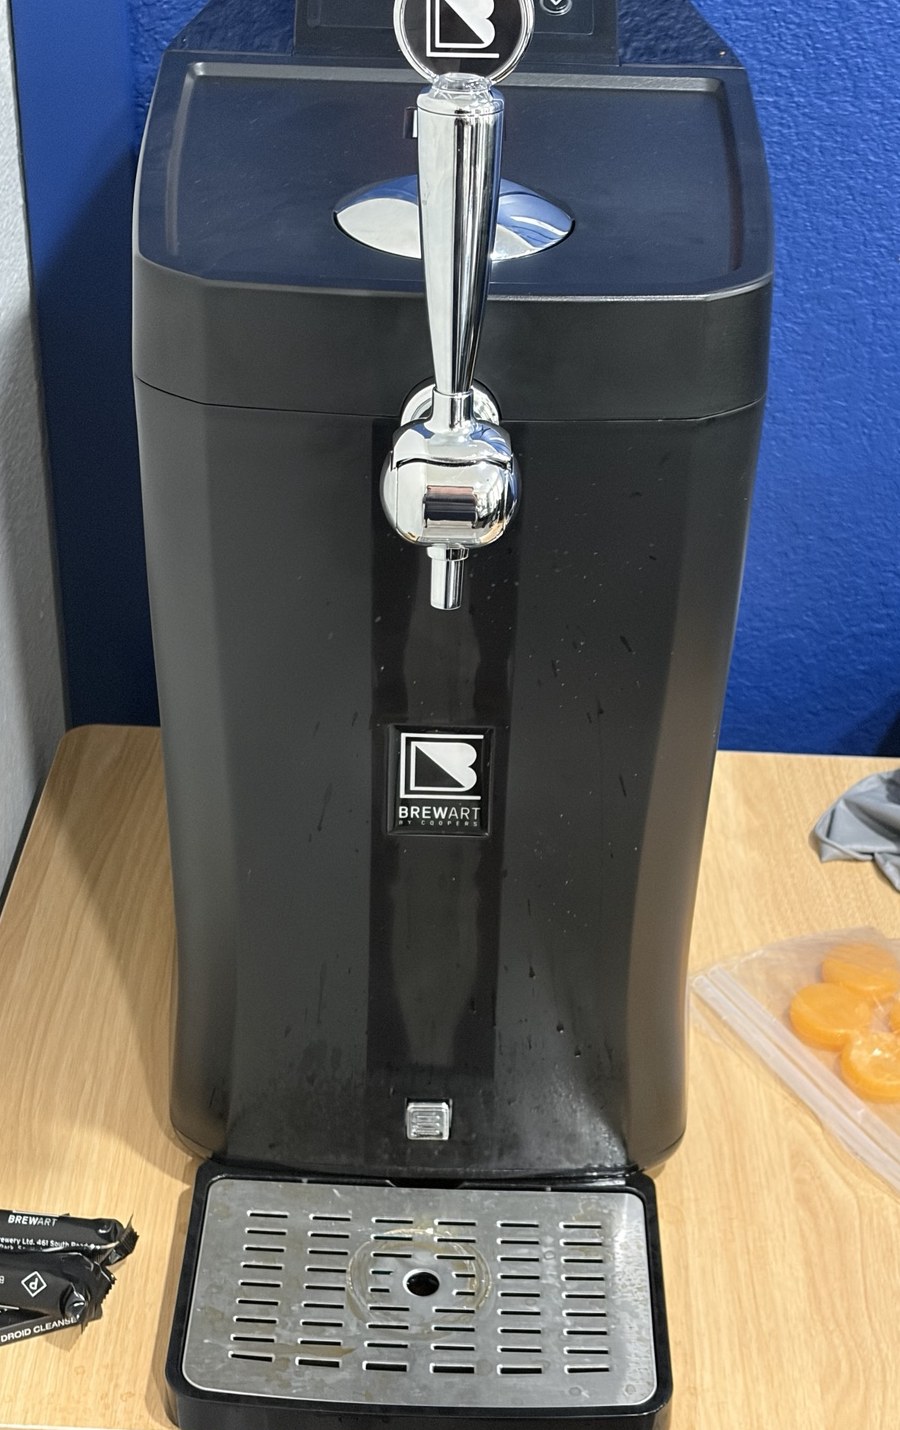
After about two weeks of secondary fermentation and conditioning, I loaded the keg into my BrewFlo V1. The BrewFlo is a refrigerated dispenser for BrewArt 5 L (1.3 gal) kegs, so I can pour the finished beer straight from the tap into the glass. That is how I poured both German Weissbier batches for this comparison.
Tasting day: 17°C vs 19°C (63°F vs 66°F)
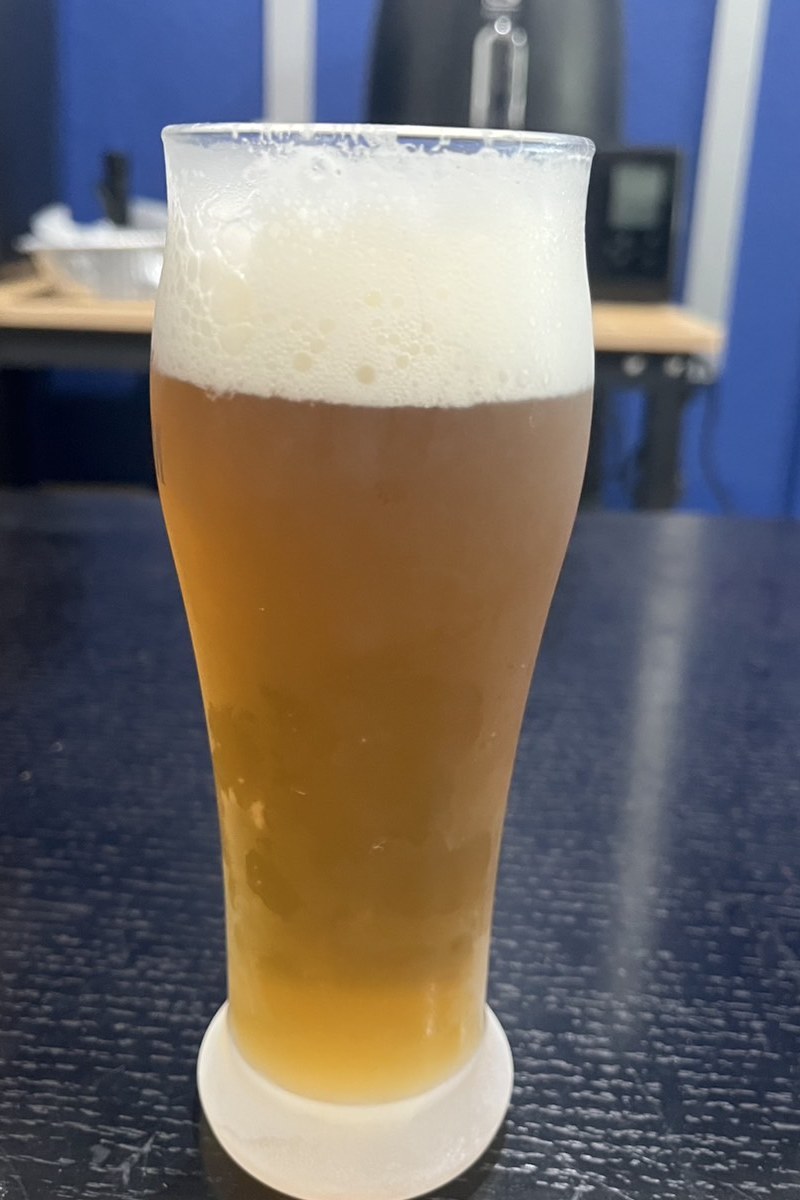
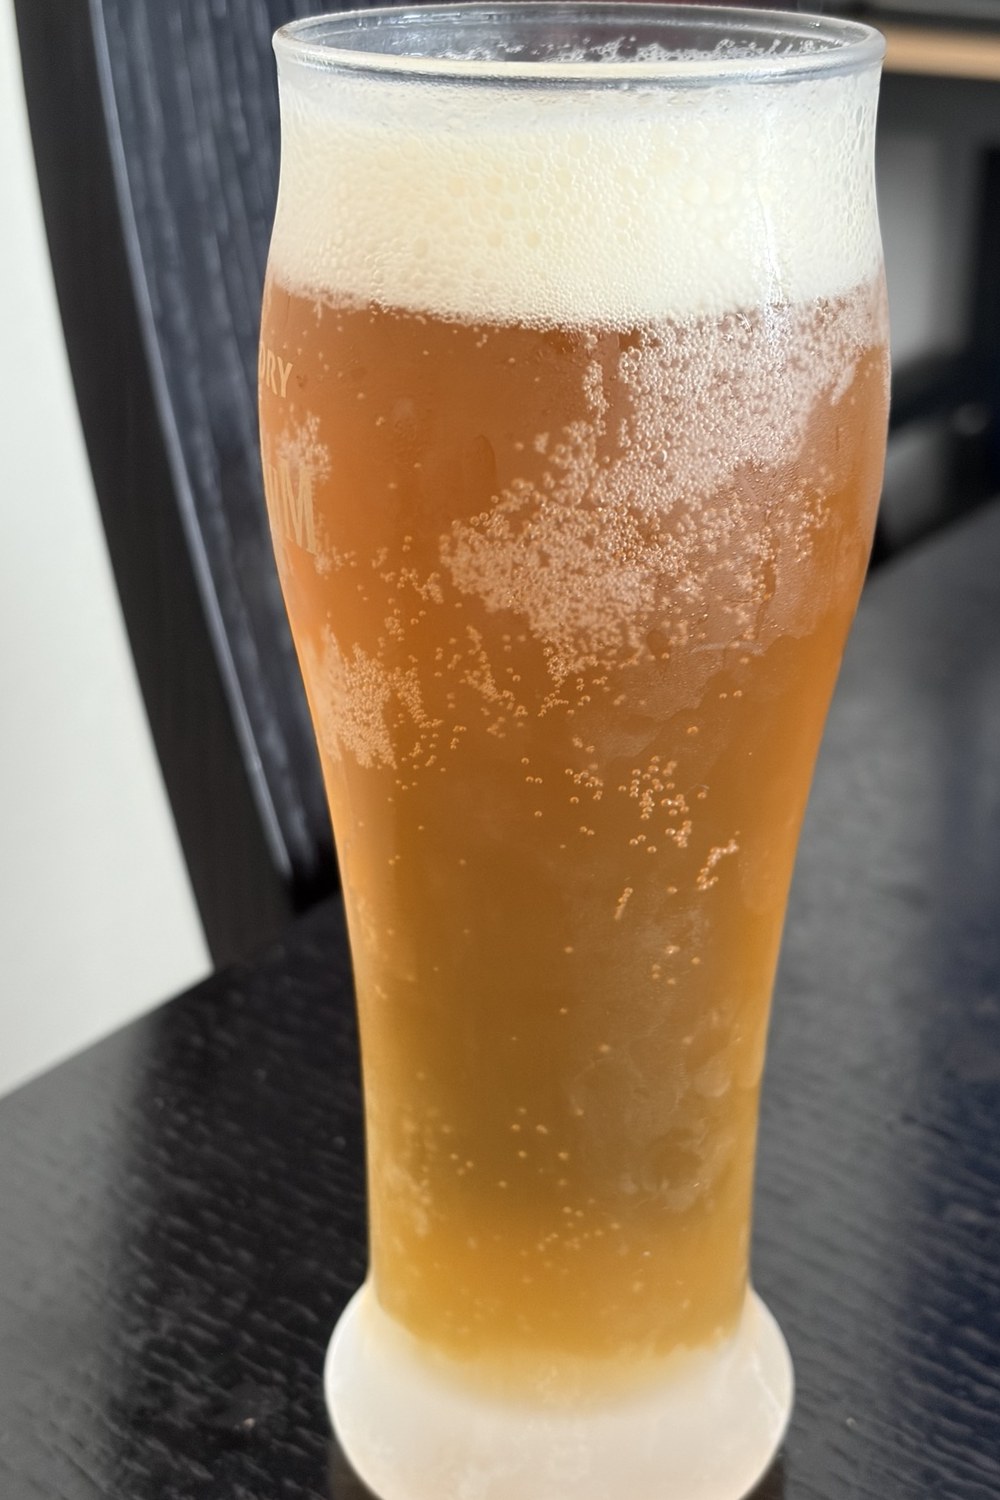
After about two weeks of conditioning, I finally put the two batches side by side: my previous 17°C / 63°F fermentation and this batch, which started Ferment at 17°C / 63°F and was then raised to 19°C / 66°F. The question was simply whether these two fermentation approaches would show a noticeable difference in the glass. For readability below, I call the second one the “19°C / 66°F batch,” but it was actually a 17→19°C / 63→66°F fermentation.
What changed?
| Item | 17°C / 63°F | 17→19°C / 63→66°F |
|---|---|---|
| Time to EOF | About 7 days | About 6 days |
| Body | A little lacking | Richer |
| Banana aroma | Present | Stronger |
| Carbonation | Slightly weak | Slightly weak |
The 17°C / 63°F beer felt a little light in body — not bad, just slightly incomplete. At 19°C / 66°F, that missing richness was much improved, and the classic Weissbier banana aroma came through more strongly. Carbonation was a different story: both batches were still slightly weak, so the warmer fermentation did not solve that part in this comparison.
The previous 17°C / 63°F fermentation reached EOF in about seven days, while the 17→19°C / 63→66°F batch took about six days and tasted richer with more banana character. But this is still one batch at each condition, and it was not a blind tasting. So I'm treating this as a useful result to reproduce, not proof that temperature alone caused every difference.
What I learned from batch two and the tasting
- The BrewPrint includes DME, yeast, enhancer, and the other ingredients needed for the batch.
- BeerDroid automatically moves between Propagate and Ferment, and I can change the Ferment target temperature.
- The previous 17°C / 63°F fermentation took about 7 days to EOF; this 17→19°C / 63→66°F batch took about 6.
- As bubbling slowed, the temperature rise between cooling cycles also became gentler, which is consistent with fermentation heat decreasing.
- Very quiet bubbling still did not mean EOF had arrived.
- Beer goes into the keg first; primer is added afterward, followed by about two weeks of secondary fermentation / conditioning.
- In the tasting, the 17→19°C / 63→66°F batch had more body and stronger banana aroma than the previous 17°C / 63°F batch.
- Carbonation was slightly weak in both batches, so that remains a separate thing to improve.
- The BrewArt app tracks the kegs on its Shelf and notifies me when they're ready.
This tasting pushed me toward 19°C / 66°F for the next Weissbier, but one comparison isn't enough to lock it in. I want to see if the same flavor difference shows up again, and I also want to work on the slightly weak carbonation. I'll keep tracking Porter and Lager with the same approach: visible activity, temperature behavior, fermentation time, and time to EOF.
Final thoughts
For this second German Weissbier, I documented the whole path: ingredients, the 17°C → 19°C / 63°F → 66°F change, five days of fermentation video, EOF, kegging, conditioning, and finally the side-by-side tasting.
The previous 17°C / 63°F fermentation reached EOF in about seven days; this 17→19°C / 63→66°F batch took about six. In the glass, the warmer batch was richer and more banana-forward, and I preferred it overall. Both were still slightly under-carbonated. With only one batch at each condition, I'm not calling temperature the sole cause — but it is a clear enough difference that I want to repeat the test rather than guess.
Questions or comments about this post?
If you tried something similar, spotted something interesting, or have a question, feel free to send me a note. Add your email only if you'd like a reply.
The website is where I organize the photos, videos, numbers, and results after an experiment reaches a good stopping point. The messy middle — "the bubbles are slowing down," "I changed the temperature," "uh... is this normal?" — goes on X as it happens at @conydiyhouston.